Does a Gazebo Need to Be Anchored? What Homeowners Should Know
For a permanent gazebo, plan the attachment and the base before assembly. A heavy frame, a level patio and included post brackets do not answer every anchoring question.
Table of contents
Why weight and a wind rating do not replace anchoringCheck what is underneath the gazebo postsIncluded brackets do not always mean included anchorsWhat if you cannot drill into the patio or deck?Resolve the installation plan before assembly dayMake anchoring explicit in the assembly quote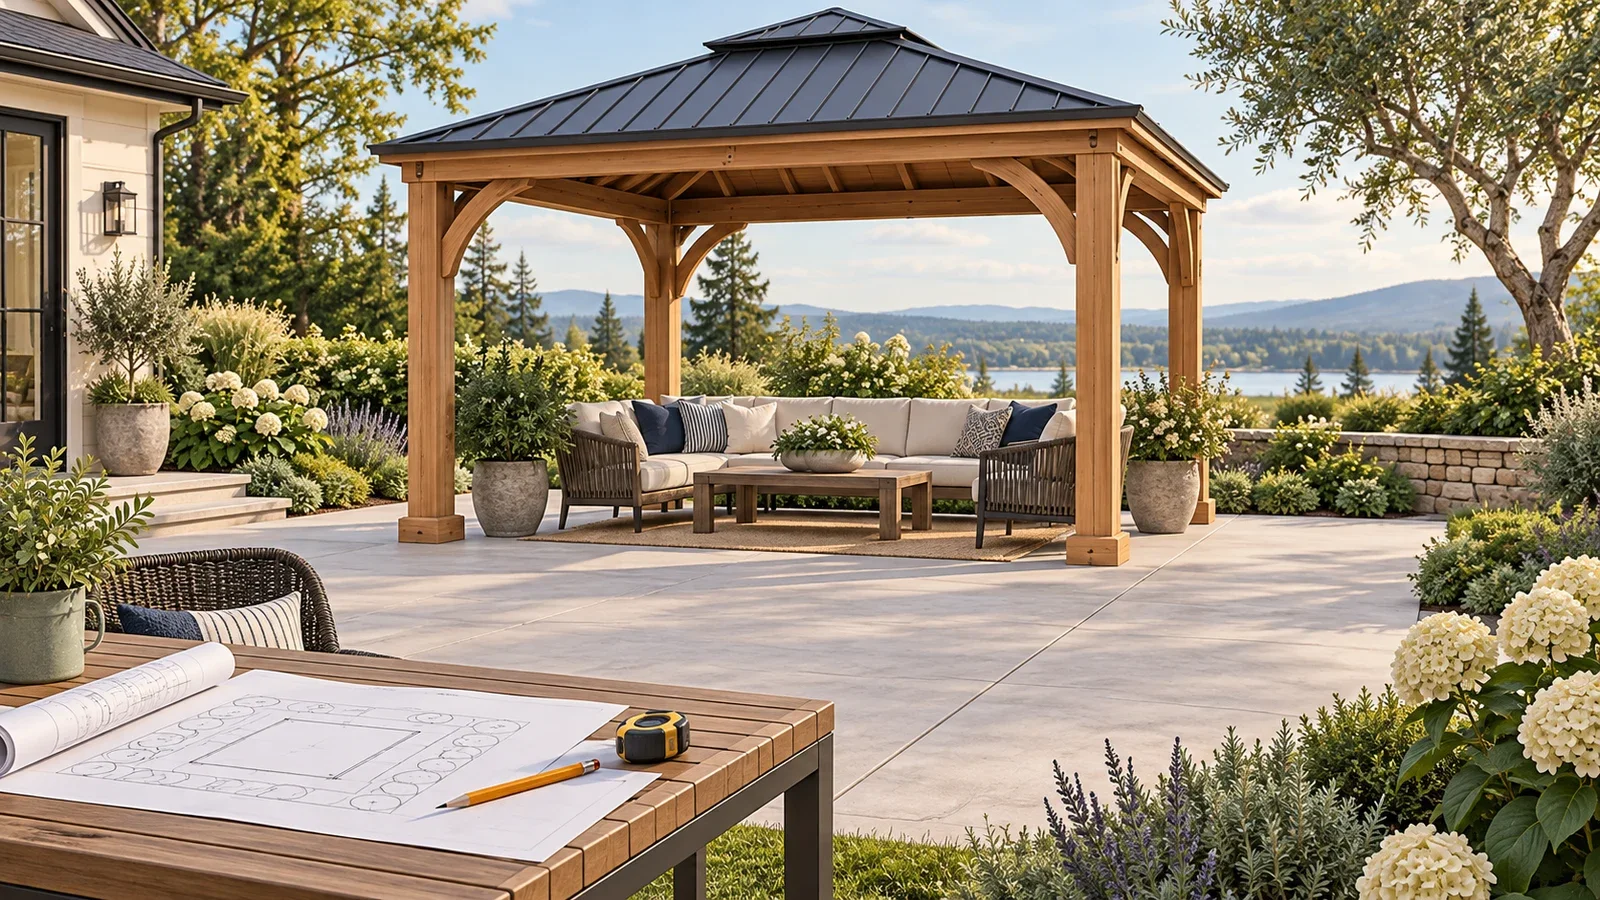
Yes—plan to anchor a permanent gazebo according to the instructions for its exact model and the requirements of its supporting base. Do not assume a heavy wooden frame or metal roof makes attachment unnecessary. Yardistry’s YM12983X manual calls for anchoring, and Backyard Discovery identifies correct anchoring as part of its wind and snow performance requirements.
The practical question is how to provide the attachment the kit requires on your particular site. Concrete, patio pavers and a wooden deck present different questions. Resolve them before the assembly appointment, so a finished frame is not left waiting for a suitable foundation or missing hardware. Manufacturer guidance below was checked September 30, 2026.
Why weight and a wind rating do not replace anchoring
A gazebo can feel substantial while still lacking the attachment specified by its manufacturer. “It is too heavy to move” is not a substitute for following those instructions. Read any wind or snow rating together with its installation conditions, and use the rating for your exact model rather than another product in the same collection.
Backyard Discovery explicitly connects correct anchoring with its stated performance. That does not establish one wind limit for every gazebo, and it does not establish that your existing patio meets the requirements. A product rating and a suitable installation are related parts of the plan; neither should be assumed from the appearance of the assembled structure.
Check what is underneath the gazebo posts
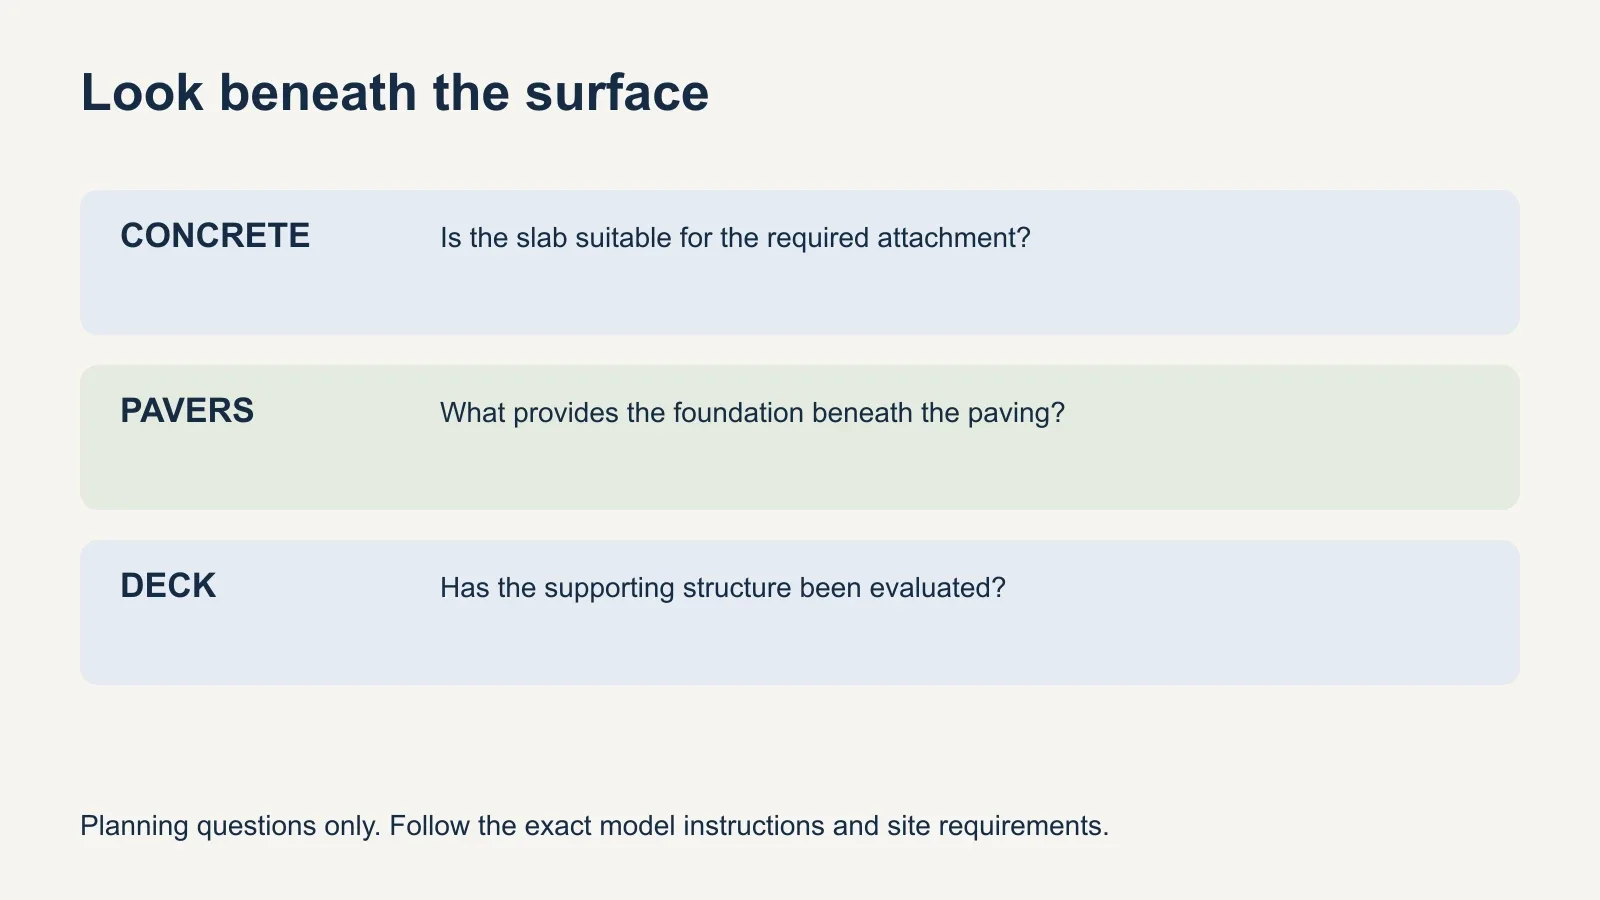
Start by identifying the supporting surface and what is beneath it. A photograph can show the layout and obvious damage, but it may not establish how a slab was built or how a deck is supported. Share available plans or construction information with the person responsible for evaluating the attachment.
| Proposed surface | What to confirm | What not to assume |
|---|---|---|
| Existing concrete patio | Whether the slab and proposed post locations suit the required attachment. | Every patio is suitable because it looks level. |
| Patio pavers | What foundation or anchoring provision is needed beneath the pavers. | Fastening to a loose paver secures the gazebo to the ground. |
| Wood or composite deck | Whether the deck structure and connection plan have been evaluated. | Decking boards alone establish structural suitability. |
| New concrete footings or pad | Model-specific post layout, site requirements and readiness for installation. | A generic gazebo size gives the exact footing locations. |
SOJAG’s gazebo-base FAQ gives a useful example: if pavers are easily lifted by hand, it calls for concrete pillars beneath them for safe anchoring. This illustrates why the visible paving is not the whole foundation. Use the exact kit instructions and a site-specific plan instead of treating a few drilled pavers as an automatic solution.
For a deck, Backyard Discovery advises having an expert evaluate its structural integrity for the gazebo’s weight and stability requirements. Gather the deck information before booking assembly. If the support or connection details are unknown, get them resolved; choosing longer screws by guesswork does not answer the structural question.
Included brackets do not always mean included anchors
Separate the pieces that connect the gazebo to its post mounts from the pieces that connect those mounts to the site. In the March 2026 Yardistry YM12983X manual, hardware attaching the post mounts to the structure is included, while hardware for permanent mounting is purchased separately. Other kits may package their hardware differently.
Check the parts list and permanent-installation section before shopping. Ask who will specify, supply and install the required anchors. The selection needs to suit both the gazebo’s connection details and the supporting material. A bolt that fits a hole in a bracket is not, by that fact alone, a confirmed choice for the foundation.
- Identify the gazebo by model number and manual revision.
- Separate kit assembly fittings from site attachment hardware.
- Confirm who evaluates the base and selects the attachment.
- Confirm who purchases the required hardware and brings installation equipment.
What if you cannot drill into the patio or deck?
Raise that constraint before buying the kit or arranging assembly. Do not assume sandbags, planters, furniture or added weights are an approved substitute for permanent attachment. Ask the manufacturer whether it provides a supported alternative for the exact model, then confirm that the proposal suits the site and any applicable requirements.
If no suitable approach is available, reconsider the location or product before construction starts. A temporary pop-up canopy has its own setup and weather instructions; advice for one does not automatically apply to a permanent hardtop gazebo. Keep rental-property permission and any restrictions on modifying the surface in the discussion from the beginning.
Resolve the installation plan before assembly day
Use the manual’s post layout when coordinating new footings or a base. A nominal 12×14 label may describe the product differently from its outside-post dimensions. Do not set concrete locations from the product name alone. Share the actual layout drawing with the person preparing the foundation.
The Yardistry manual directs owners to local planning, zoning and building inspection departments for applicable requirements, and to check for underground utilities before ground work. Confirm any necessary permissions and site checks early. This article does not provide a nationwide permit exemption or a universal foundation design.
- Obtain the instructions for the purchased model.
- Confirm the final location and exact post layout.
- Have the supporting base and attachment approach assessed.
- Resolve permissions and required site checks.
- Assign hardware supply, base work and anchoring responsibilities.
- Confirm the base is ready before the assembly visit.
If assembly and anchoring will happen at different times, ask the responsible provider how the work will be sequenced and how an unfinished structure will be managed. Follow the exact manufacturer’s instructions; there is no single rule here for when every gazebo should be anchored. Settle the gap between appointments in advance.
Make anchoring explicit in the assembly quote
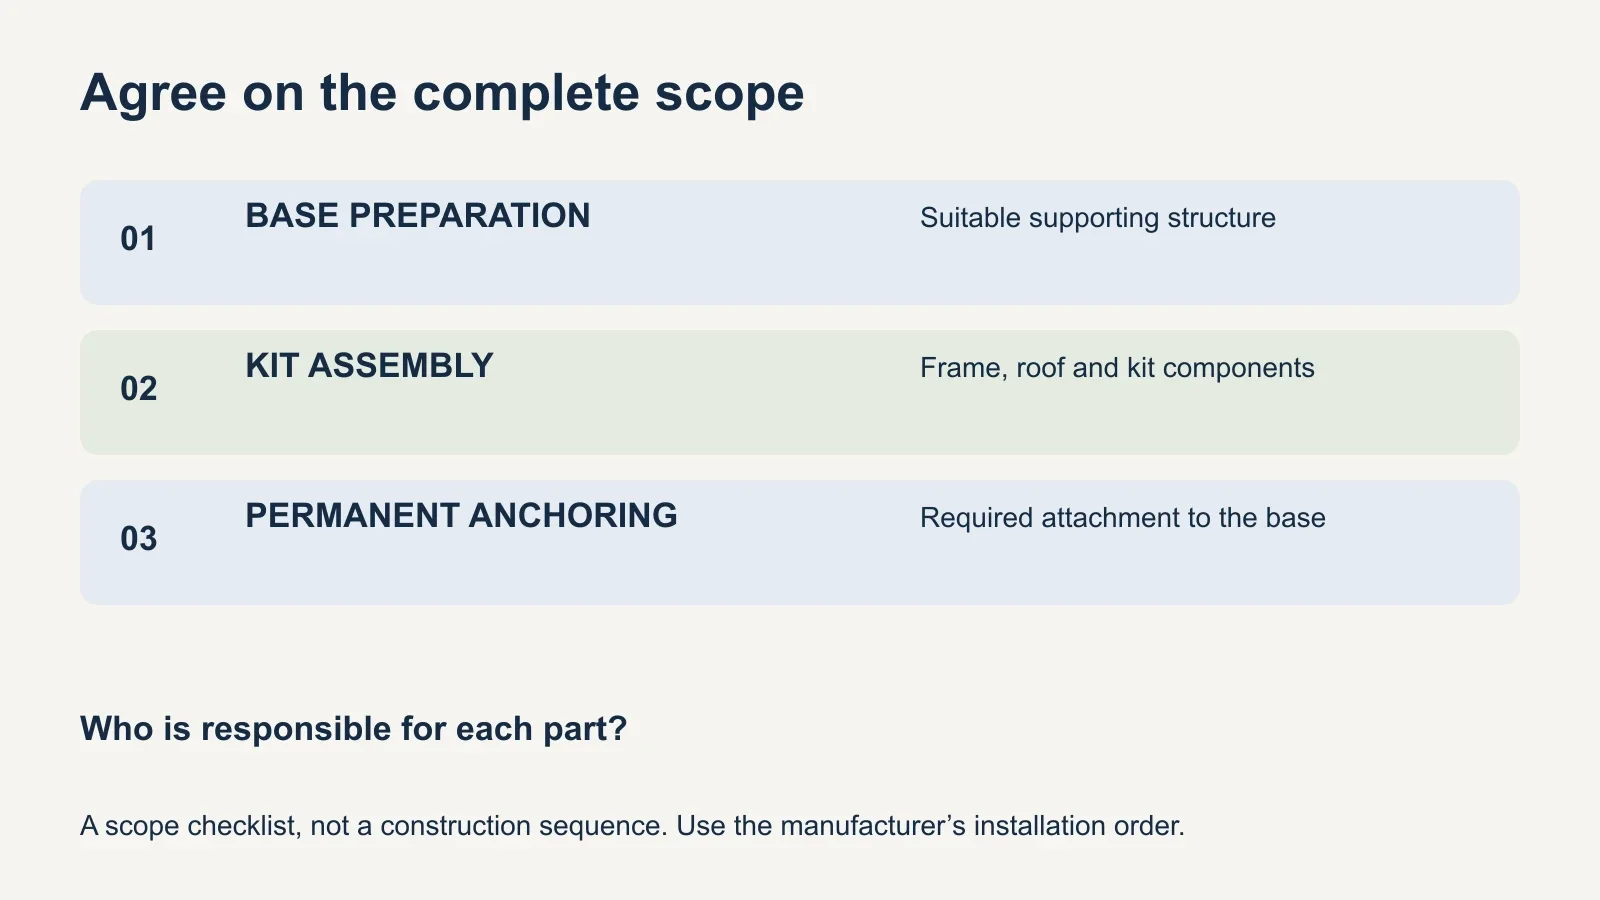
Ask whether the quote covers only assembling the supplied kit or also includes attachment to an approved base. Foundation construction, ground preparation and anchoring are separate scope items unless specifically agreed. A separately priced requirement is still a requirement. Do not interpret an exclusion from an assembly quote as permission to skip the manufacturer’s anchoring instructions.
The gazebo assembly cost guide explains how UPTask’s assembly pricing works. When arranging gazebo assembly with UPTask, share the model manual, photos of the location and the base information available. Confirm the attachment plan and each provider’s responsibilities before the visit.