What Size Gazebo Do I Need? A Guide for Dining and Seating
Size your gazebo around the furniture in use, then check the clear space between posts, roof overhang and installation site. A size label alone cannot confirm the fit.
Table of contents
Read three different sets of gazebo dimensionsCalculate dining space around the table you will usePlan lounge seating with the chairs pulled forwardCheck the roof, openings and surroundingsMock up the usable space before committingConfirm the site and assembly scope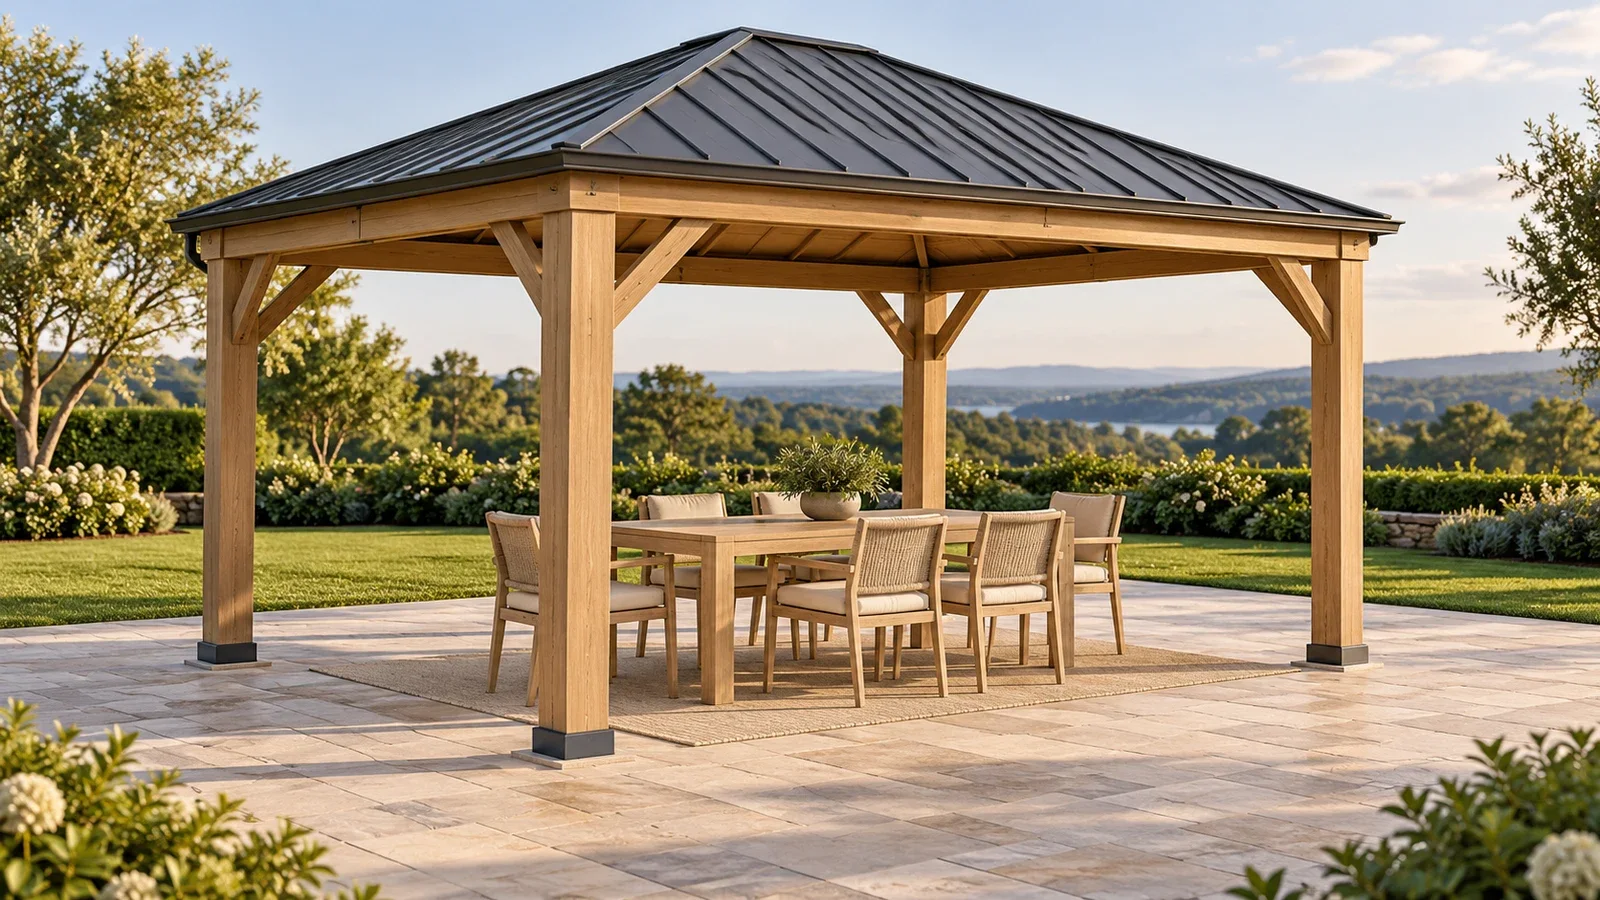
Choose a gazebo by the space your furniture needs when people are using it, then compare that layout with the clear dimensions between the posts. The size on the box often describes the roof, which can extend beyond the usable seating area. For dining, measure the table plus space to pull out chairs and pass behind them. For lounging, include the sofa, chairs, tables and an open route through the arrangement. Check that the whole structure also fits the site before ordering.
Read three different sets of gazebo dimensions
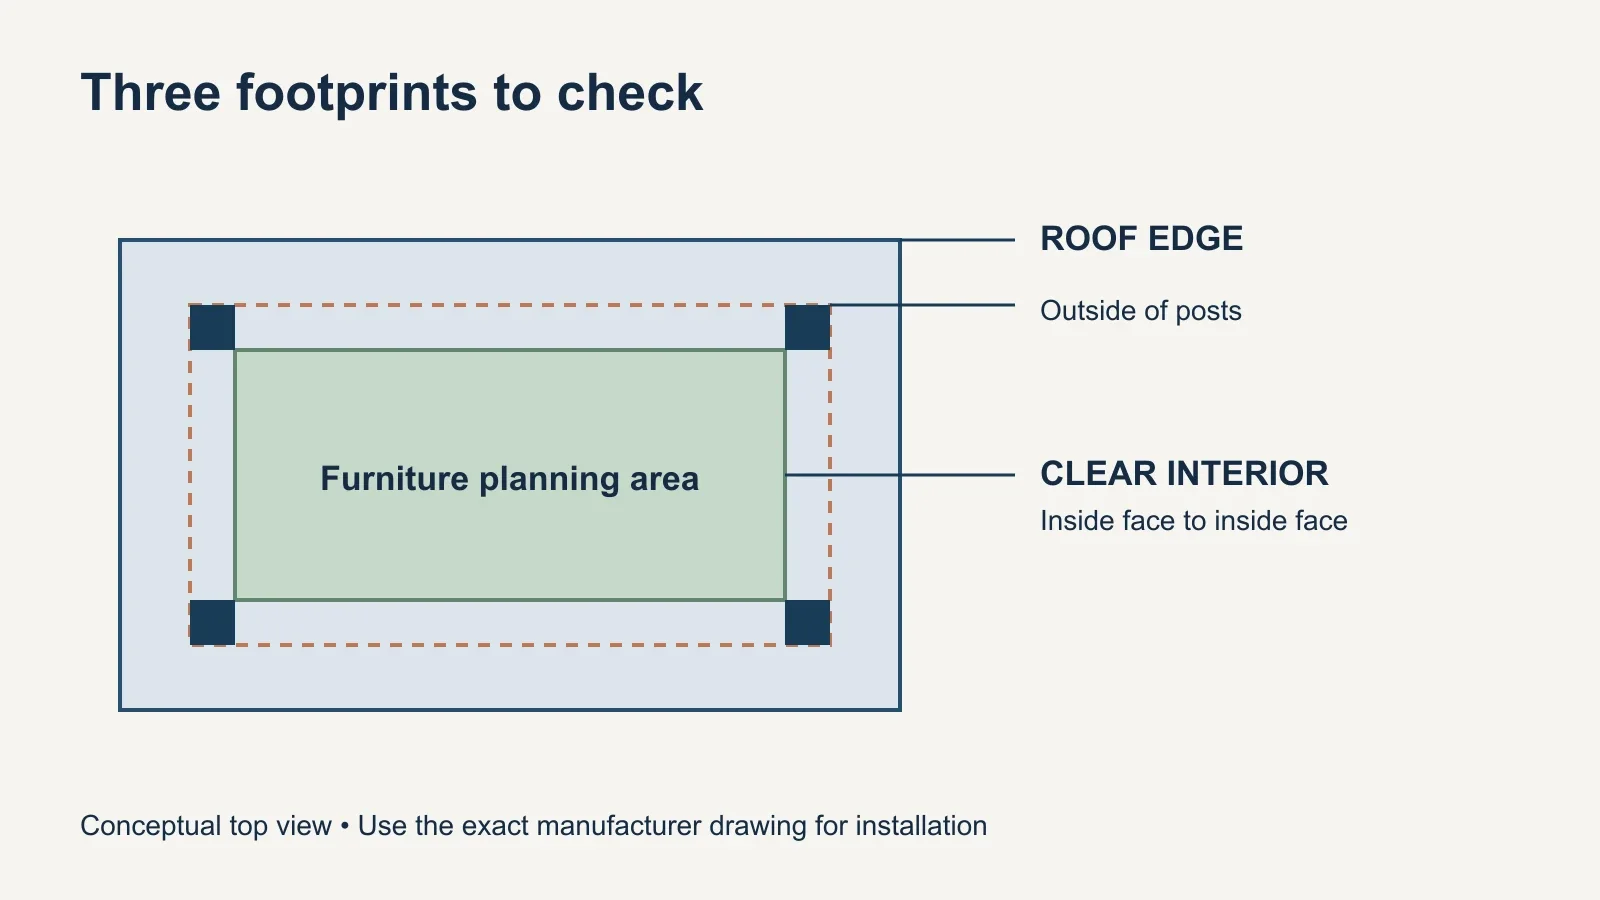
The roof footprint tells you how far the structure projects overhead. The outside post dimensions describe where the frame sits. The inside post dimensions help you assess the unobstructed area for furniture. These measurements serve different purposes and should appear separately on your sketch. Do not size a foundation or place anchors using an approximate furniture plan.
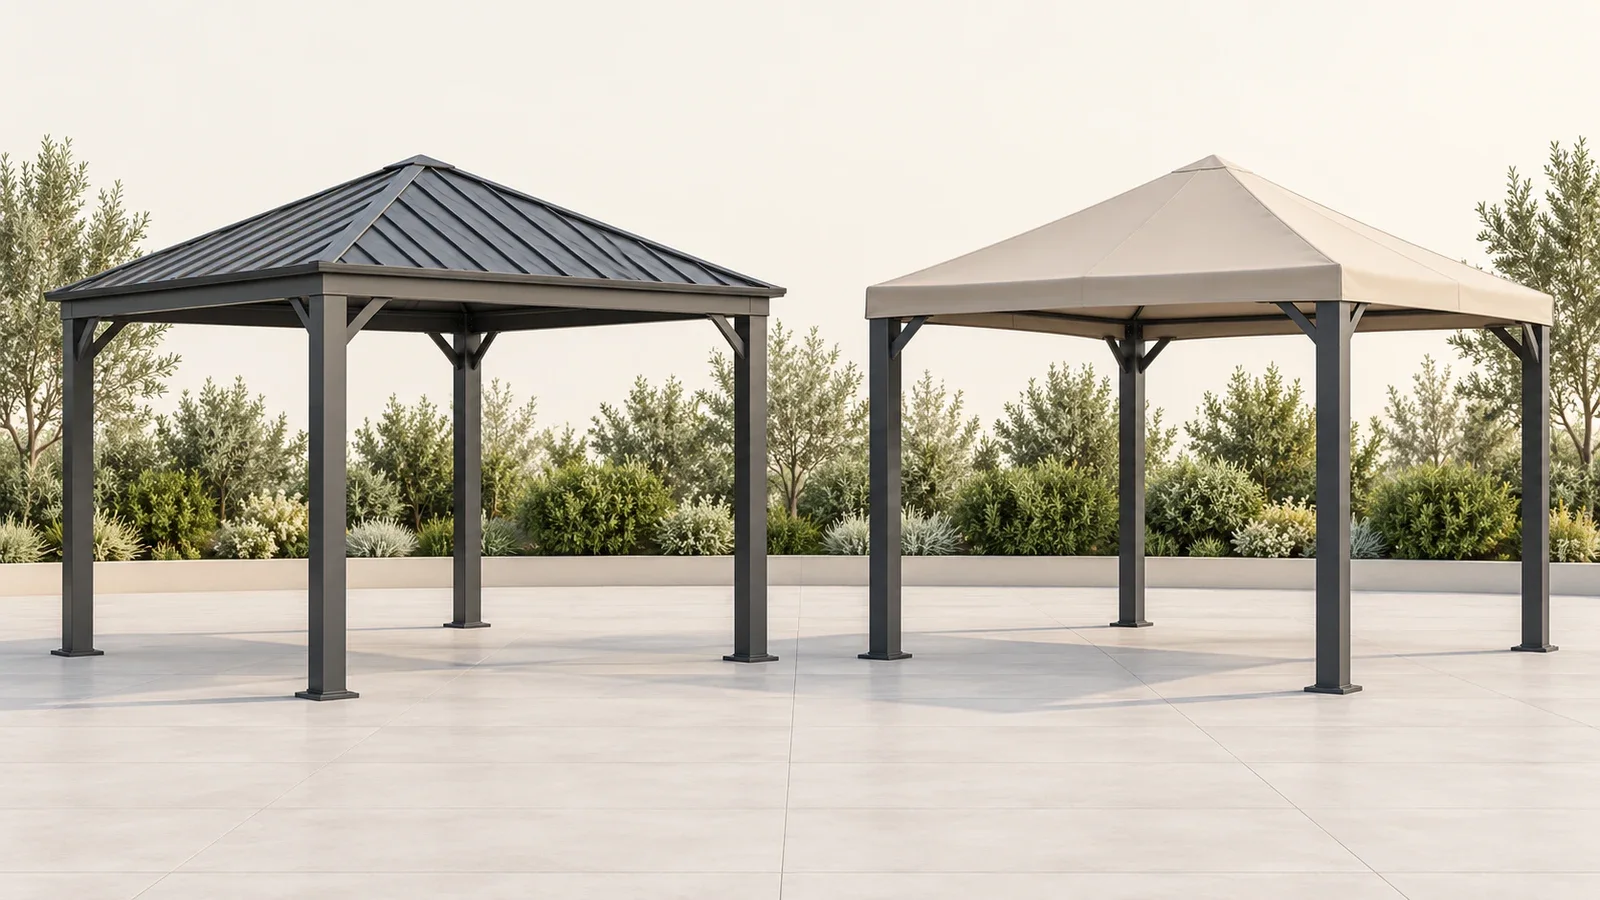
For example, Yardistry’s U.S. page for its 12 x 14 gazebo, model YM12983, lists a roof approximately 12.1 by 14.1 feet and an inside-post area approximately 9.8 by 11.5 feet. That is a substantial difference for a dining layout. These rounded listing figures were checked in October 2026; use the exact current drawing for installation measurements.
A larger product label follows the same principle. SUNJOY’s Summit 13x15, model A102012600, lists interior post-to-post dimensions of 13.1 by 11.2 feet, while its roof is 14.8 by 12.9 feet. The examples are not a recommendation for either model. They show why comparing only the numbers in product names can mislead you.
Calculate dining space around the table you will use
Start with the tabletop’s full length and width, including any extension leaf you expect to use. Then decide how much room you need from each table edge to the surrounding obstruction. That allowance must account for a chair being occupied or pulled back, plus circulation wherever someone needs to pass. Measure your actual chairs; a narrow armless seat and a deep swivel chair do not use the same space.
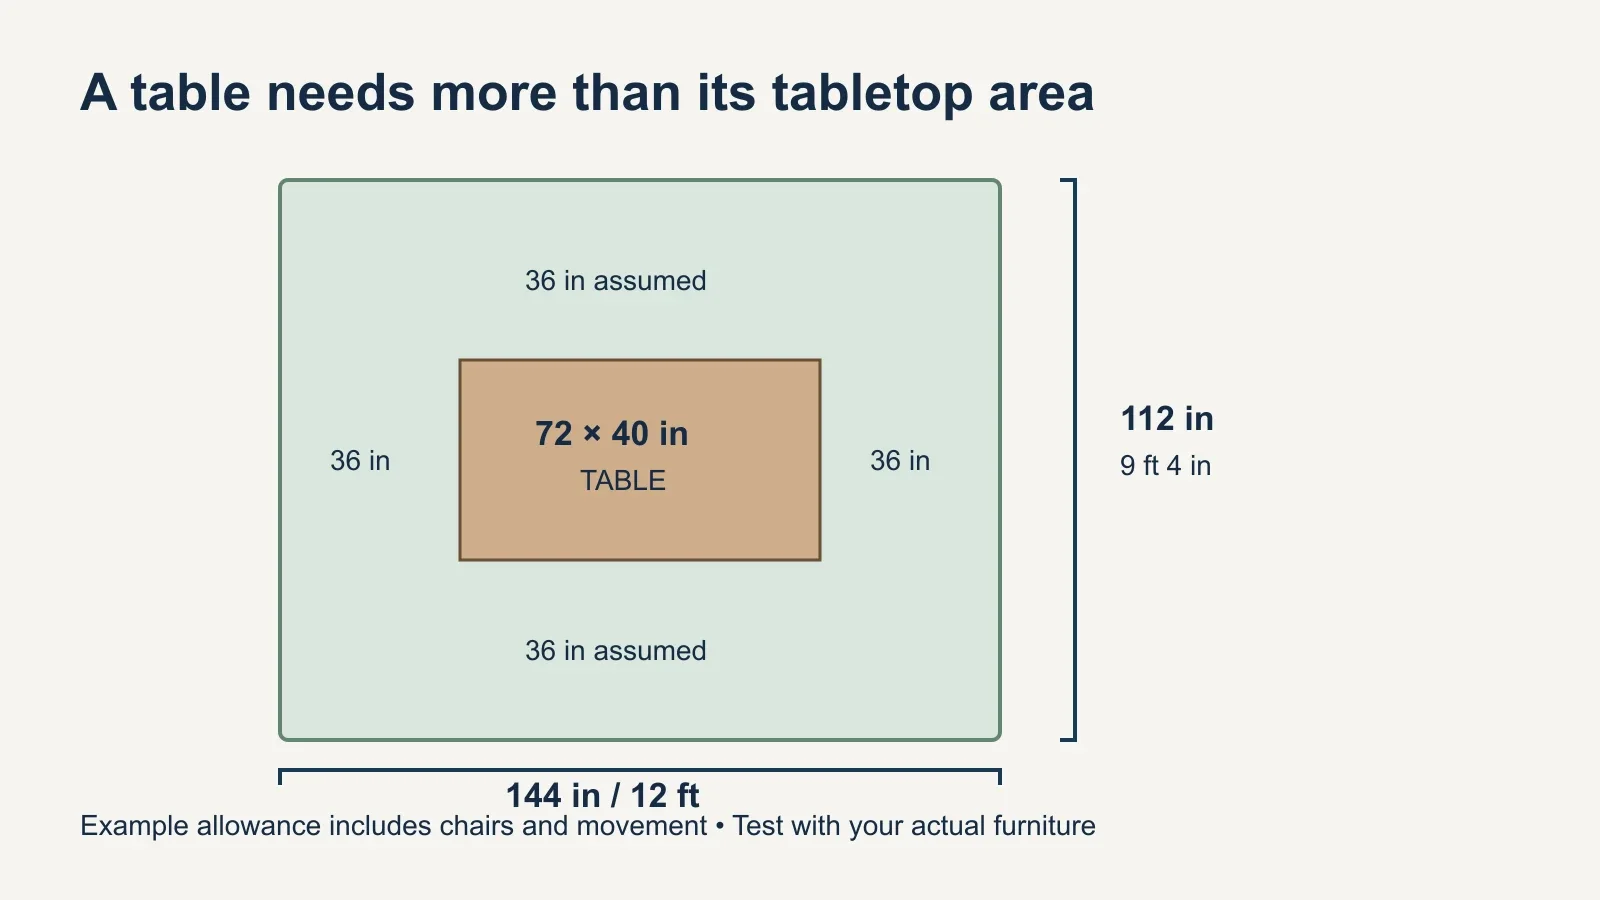
Here is a planning calculation, not a building-code clearance: a 72-by-40-inch table with an assumed 36 inches beyond every edge needs a 144-by-112-inch envelope. That is 12 feet by 9 feet 4 inches. The 36-inch assumption includes the chair zone; it does not promise a separate clear walkway behind an occupied chair. Test it with your furniture and increase it wherever movement feels tight.
| Table footprint | Calculation in inches | Resulting envelope |
|---|---|---|
| 48 × 48 in | (48 + 72) × (48 + 72) | 10 ft × 10 ft |
| 72 × 40 in | (72 + 72) × (40 + 72) | 12 ft × 9 ft 4 in |
| 84 × 42 in | (84 + 72) × (42 + 72) | 13 ft × 9 ft 6 in |
Compare both dimensions, not just square footage. A long, narrow area and a square area can have the same area but accommodate different furniture. Rotate the proposed table on your sketch and test each orientation. Pay attention to the route people will actually take from the house, rather than assuming all four sides need identical circulation.
Using the rounded Yardistry example above, the 12-foot length of the middle dining envelope would exceed the 11.5-foot clear interior length. A table may physically sit between the posts while the planned chair and movement zone does not fit. That is the distinction a seat-count claim on a listing can miss.
Plan lounge seating with the chairs pulled forward
For a lounge arrangement, record the outside dimensions of each piece, including wide arms and an ottoman. A sectional’s overall length can hide a deep chaise that blocks the entrance. A recliner needs its extended footprint, and a swivel chair needs room through its movement. Mark those operating areas rather than only tracing the feet.
Position the largest piece first, then add the coffee table and secondary chairs. Preserve a route into the seating group that does not require stepping over an ottoman or moving a chair every time. Where furniture has moving parts or specified spacing requirements, follow those instructions as well as testing everyday comfort.
Dining and lounging together require two usable zones and a connection between them. Putting both sets on a scaled drawing is more useful than upgrading one nominal size and hoping it works. If the larger structure exceeds the site’s limits, choose smaller furniture or one main use. A compact arrangement that people can move through is more practical than a crowded multipurpose space.
Check the roof, openings and surroundings
The roof must fit even if every post lands on the patio. Compare the outside roof edges with nearby walls, eaves, branches and other obstructions. Use the manufacturer’s required clearances and confirm any applicable property or local restrictions for the exact location. The smaller inside-post area is not a substitute for the footprint used in a site review.
Look at entry height and corner braces too. An interior rectangle may be large enough at ground level while upper framing interferes with a tall cabinet or the intended entrance. Curtains and screens can also change how you enter and how much room furniture has near the perimeter. Check the supplied system in both its open and closed positions.
Roof coverage is not the same as weatherproof living space. Low-angle sun and wind-driven rain can reach furniture beneath an open-sided gazebo. Observe the proposed spot during the hours you intend to use it. Do not enlarge the furniture layout into the overhang area just because a roof shadow happens to cover that spot at midday.
Mock up the usable space before committing
- Obtain the exact model’s roof, post and clear interior dimensions.
- Mark the inside faces of the posts with removable tape or loose markers.
- Place the furniture or mark its full-size footprint inside that boundary.
- Pull chairs back, open the table leaf and extend any recliners.
- Walk the intended entrance and serving route with the furniture in use.
- Check the separate roof outline and installation requirements against the site.
Use a mock-up to discover conflicts, then change one thing at a time: table orientation, chair type, furniture count or gazebo size. Keep the final sketch and measurements so you can compare another model on the same basis. Where a household member needs a specific accessible route or turning space, plan around those actual needs rather than treating the illustrative dining allowances as an accessibility standard.
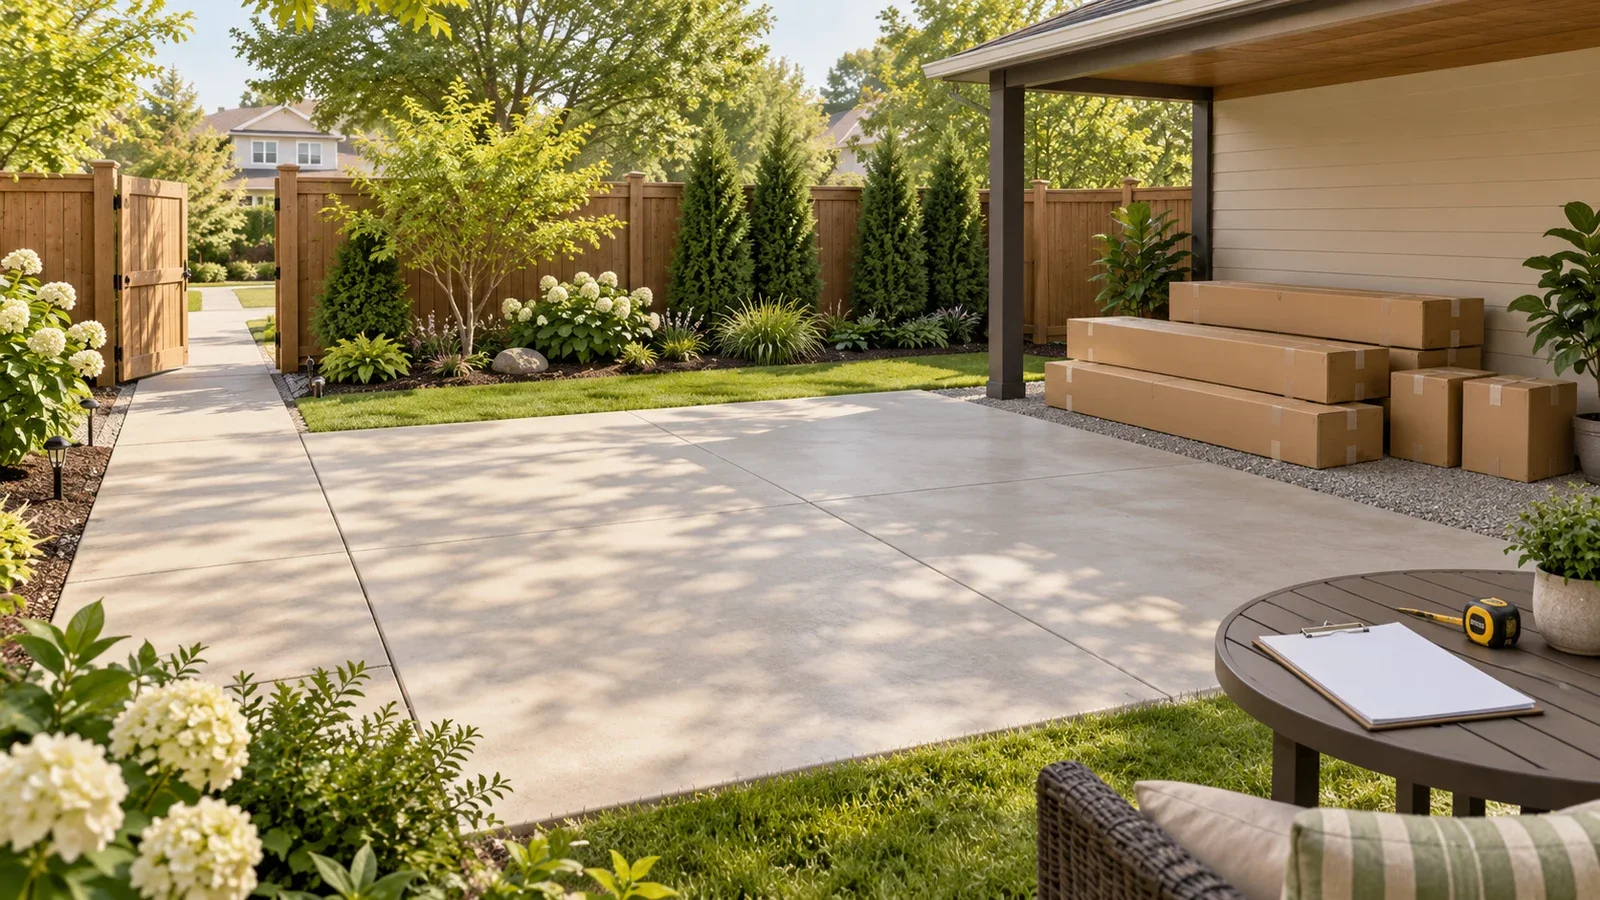
Also reserve temporary working space beyond the finished seating plan. Long components, roof sections and delivery boxes need a place during assembly. Our yard preparation checklist covers access and staging separately from the gazebo’s finished footprint.
Confirm the site and assembly scope
A comfortable furniture layout does not confirm that a patio, deck or base can support and secure the selected gazebo. Resolve the base and attachment requirements for that model before installation. The guide to gazebo anchoring explains why setting a structure in the right position is only part of preparing it for use.
For gazebo assembly with UPTask, share the exact kit, product dimensions, roof type and photos of the proposed location. The service assembles a customer-supplied kit; foundation work, ground preparation and anchoring are not automatically included. Confirm the project scope before the appointment, then add the furniture once assembly and required attachment work are complete.