How Long Does It Take to Assemble a Gazebo? 10×10 to 12×20
A gazebo can be a full-day assembly or a project spread across several days. The exact kit, roof sequence, helpers and prepared site matter more than size alone.
Table of contents
What a gazebo assembly estimate should includePlan sizes from 10×10 through 12×20Separate elapsed time from total labor hoursWhy the roof and helpers affect the scheduleKeep site work and avoidable delays off build dayGet a realistic appointment window
Gazebo assembly can take six or more hours with a team, while some wooden kits deserve several days on a DIY calendar. Those are different kinds of estimates, not a universal range for every gazebo. SOJAG’s general installation FAQ describes about six-plus hours with two or three people in good weather. For its 10-by-10-foot Barrington, Backyard Discovery’s manufacturer response recommends setting aside at least three days and declines to give a fixed assembly time.
Both examples were checked September 30, 2026. Neither promises how long your installer will take. For a 10×10 through 12×20 kit, get the schedule from the exact model, planned crew and agreed scope. Treat a promise based only on the footprint as an incomplete estimate.
What a gazebo assembly estimate should include
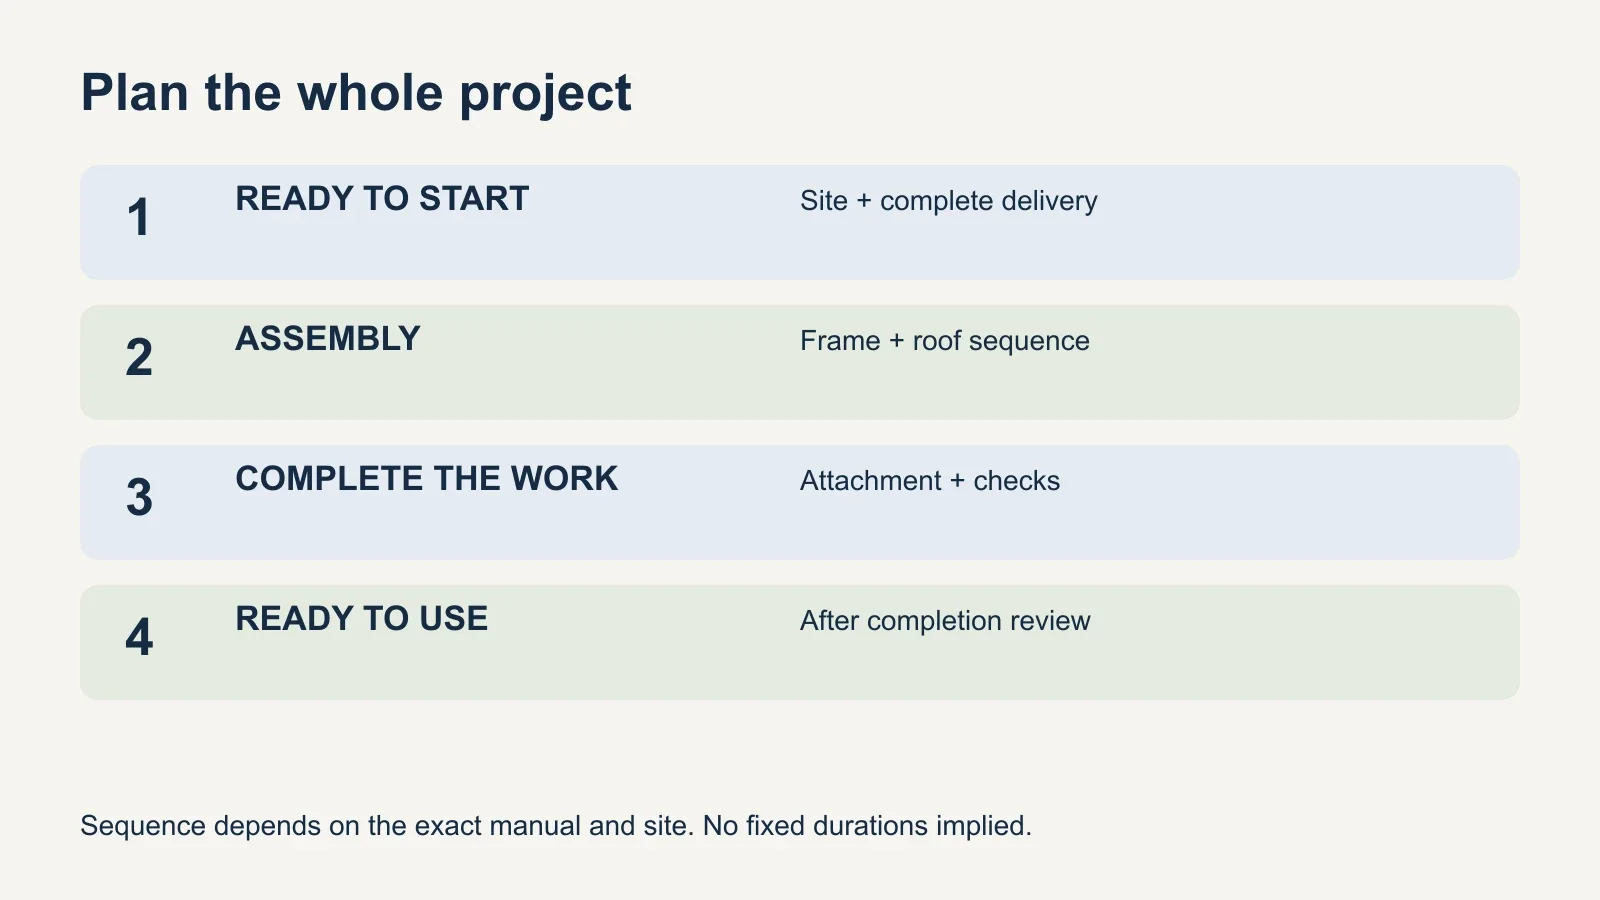
Ask when the clock starts and what counts as finished. Unpacking cartons, checking parts, carrying components to the patio, assembling the frame and roof, completing specified attachment and clearing packaging are distinct tasks. A quoted build duration may assume that some of them are already done. Delivery lead time and waiting for an appointment are separate again.
A useful estimate identifies the model, number of assemblers, ready-site assumptions and work outside the visit. “One day” is meaningful only if both sides understand those conditions. If an installer expects you to inventory the kit first, agree on that before opening every carton. Keep small fittings organized and retain product identification.
Plan sizes from 10×10 through 12×20
Use size to start the conversation, then use the manual to refine it. A compact wooden gazebo with several roof sections can be a substantial project. A larger kit may have a different assembly sequence rather than simply more of the same work. The following table is a planning checklist, not an unsupported hour-by-size chart.
| Nominal size | Check in the exact kit | Scheduling implication |
|---|---|---|
| 10×10 | Frame design and roof-lifting steps | Small footprint does not guarantee a short build. |
| 10×12 or 12×12 | Roof panels, fasteners and helper requirements | Confirm a team-based estimate, not a solo guess. |
| 12×14 | Model version, roof sections and actual dimensions | Similar product names may describe different builds. |
| 12×16 | Staging area and installation sequence | Allow room for work beside the finished footprint. |
| 12×20 | Complete parts list and planned lifting crew | Get a model-specific schedule before arranging an event. |
For perspective, the 10×10 Barrington manufacturer guidance above allows multiple calendar days even though it sits at the small end of this table. Do not apply that recommendation to every 10×10 product, or use SOJAG’s general six-plus-hour guidance as a guaranteed duration for a different brand’s 12×20 gazebo.
Separate elapsed time from total labor hours
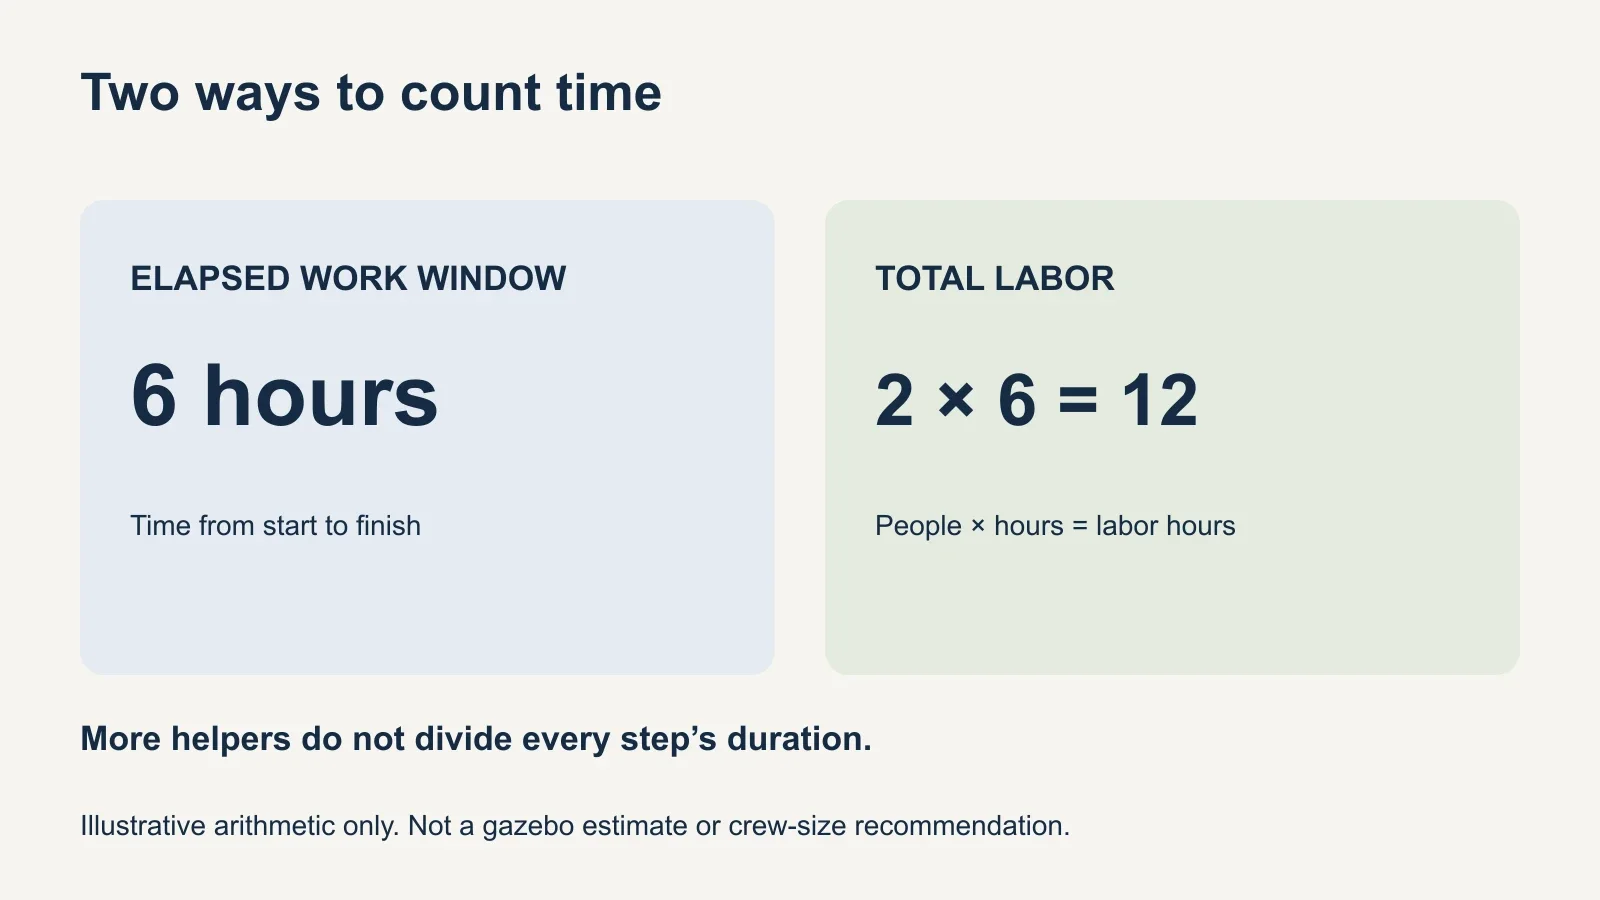
Elapsed time is how long the work occupies the calendar. Labor hours add together each person’s working time. As an illustrative calculation, two people working six hours contribute twelve labor hours. That does not mean one person can safely finish the same kit in twelve hours, or four people can finish it in three.
Some steps need people working together at the same moment. Other tasks depend on earlier work being completed and checked. Adding a helper can make a required lift possible without cutting the whole schedule in half. Ask whether an hourly quote charges by person or by crew; that is a pricing question separate from the duration of the visit.
Why the roof and helpers affect the schedule
Read the whole manual before choosing an assembly day. Yardistry’s YM11756 10×10 Meridian instructions say the structure is ideally assembled and installed by four people and should not be installed alone. Its individual steps use different helper symbols. That is a model-specific requirement; a general two-person estimate from another brand does not replace it.
The same Yardistry manual calls for care when staging metal roof pieces and removing their protective covering directly before installation. The broader planning lesson is to reserve time for handling and preparation specified by the manufacturer. Do not strip every protective film or preassemble major sections just because it seems like a shortcut.
Discuss how the team will handle the roof before work begins. The answer should cover the actual sections, suitable equipment, working room and available people. An evening helper who arrives after the rest of the crew leaves does not solve a daytime lifting requirement. Keep the appointment flexible enough to follow the sequence without rushing the final checks.
Keep site work and avoidable delays off build day
A prepared location is a scheduling dependency. Establish the base and anchoring plan before assembly, including any required property or local approvals. New concrete, repairs to a deck or changes to the intended location can create their own timetable. Ask the responsible installer when the base is ready; do not borrow a generic curing interval from an unrelated project.
- Confirm all cartons and separately shipped components have arrived.
- Check for missing or damaged parts using the manufacturer’s list.
- Share the delivery-to-work-area route, including steps and tight gates.
- Clear the agreed staging area as well as the final footprint.
- Confirm helpers, equipment and a suitable weather window.
- Agree on attachment, cleanup and any return visit before work starts.
Backyard Discovery’s supported-assembly page makes manuals and packaging details available before the build. Use that information to prepare, not customer testimonials as a scheduling guarantee. If parts are missing or weather makes the planned work unsuitable, resolve the change with the provider. A deadline for a party is not a reason to improvise a structural step.
Get a realistic appointment window
Send the exact product name and model number, manual, delivered-box status and photos of the installation area. Ask for an expected work window, what could extend it and whether a second visit is possible. Also establish who will decide the structure is complete and what happens if work must pause. Avoid scheduling furniture placement or a gathering immediately against an unconfirmed finish time.
For the budget side, the gazebo assembly cost guide explains UPTask’s size and roof selections. Those prices do not establish a fixed number of work hours. If the project includes patio furniture assembly, discuss its timing separately so the furniture does not occupy needed staging space.
Review gazebo assembly with UPTask with your model and site details ready. Confirm the scope and appointment window for that kit before putting a completion date on your calendar.