Can You Mount a TV on Plaster Walls? Plaster vs Drywall Explained
Plaster walls can be suitable for a TV, but the finish alone does not establish support. Identify the wall assembly, assess its condition and confirm the mount.
Table of contents
Plaster and drywall describe different wall finishesWhich wall assembly changes the mounting plan?Why finding studs can be harder through plasterCheck the plaster’s condition before choosing hardwareMatch the mount to the wall, not just the televisionPrepare useful information for the installation visit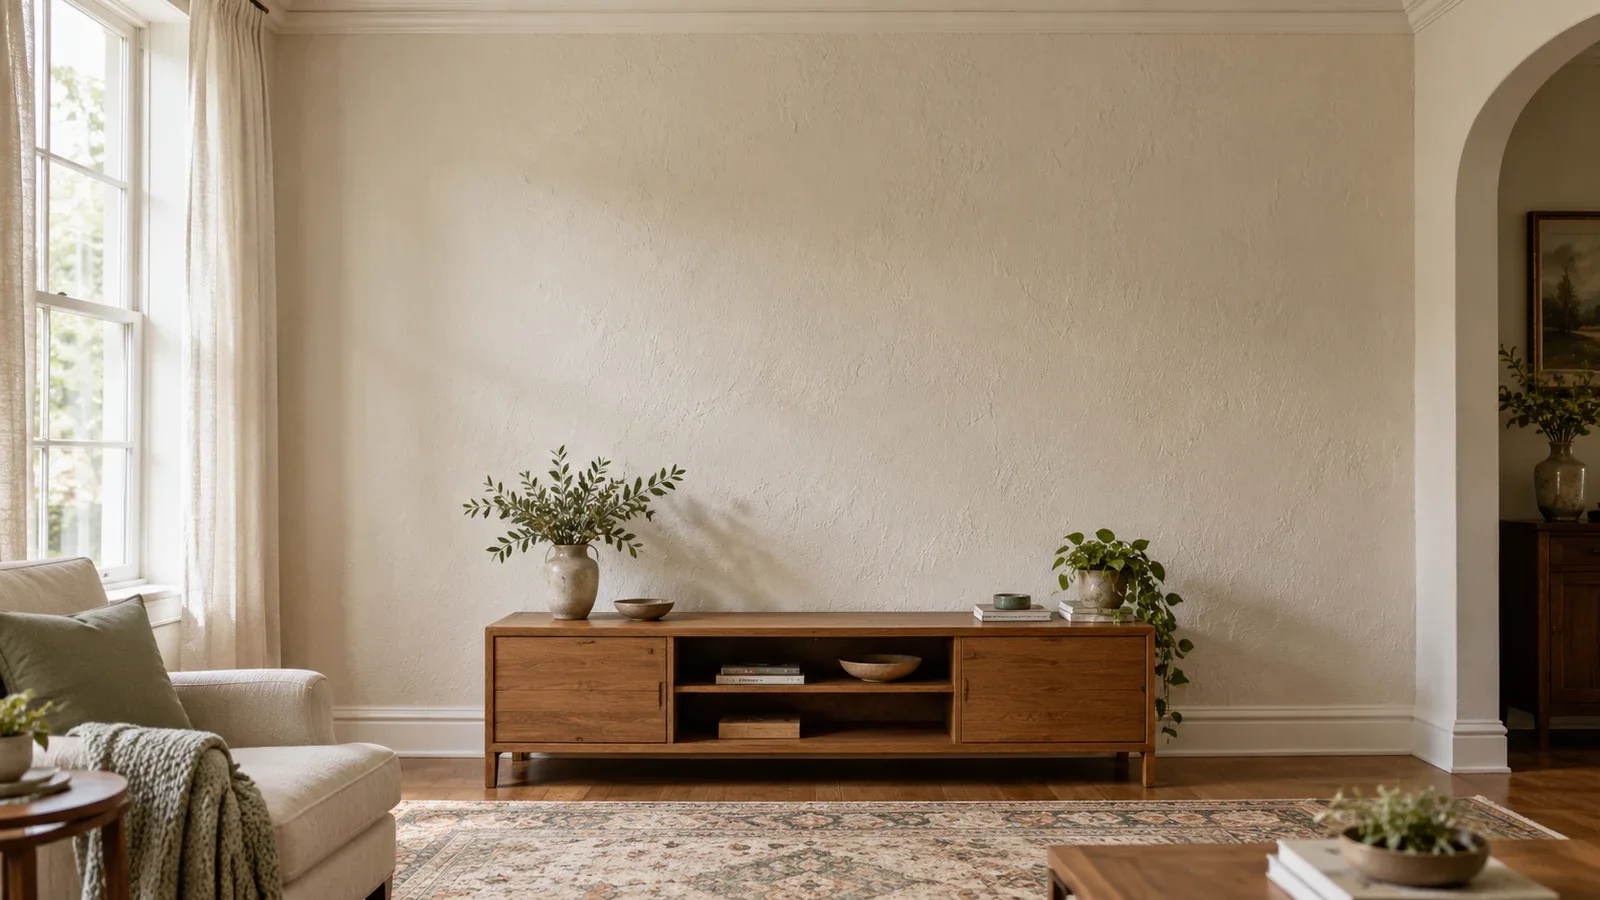
Yes, a TV can be mounted on a suitable plaster wall, but “plaster” alone does not tell you how to attach it. The installer must identify the supporting construction, check the wall’s condition and confirm a mounting system for that assembly. Plaster over wood lath, plaster over masonry and a thin plaster finish over board are different situations. A drywall-only mounting method should not be assumed suitable for all three.
Plaster and drywall describe different wall finishes
Drywall uses manufactured gypsum panels. Traditional plaster is applied wet over a supporting base, which can include wood lath, metal lath or masonry. Veneer plaster is another category: for example, USG makes plaster finishes intended for a gypsum base or specified basecoats. A smooth painted surface can conceal any of these arrangements.
Wood lath consists of narrow strips that support the plaster between the main framing members. It is not the same thing as a wall stud. Metal lath is a plaster-supporting mesh rather than proof of metal-stud framing. Those distinctions matter when someone describes the wall as “wood behind plaster” or reports that a detector finds metal everywhere.
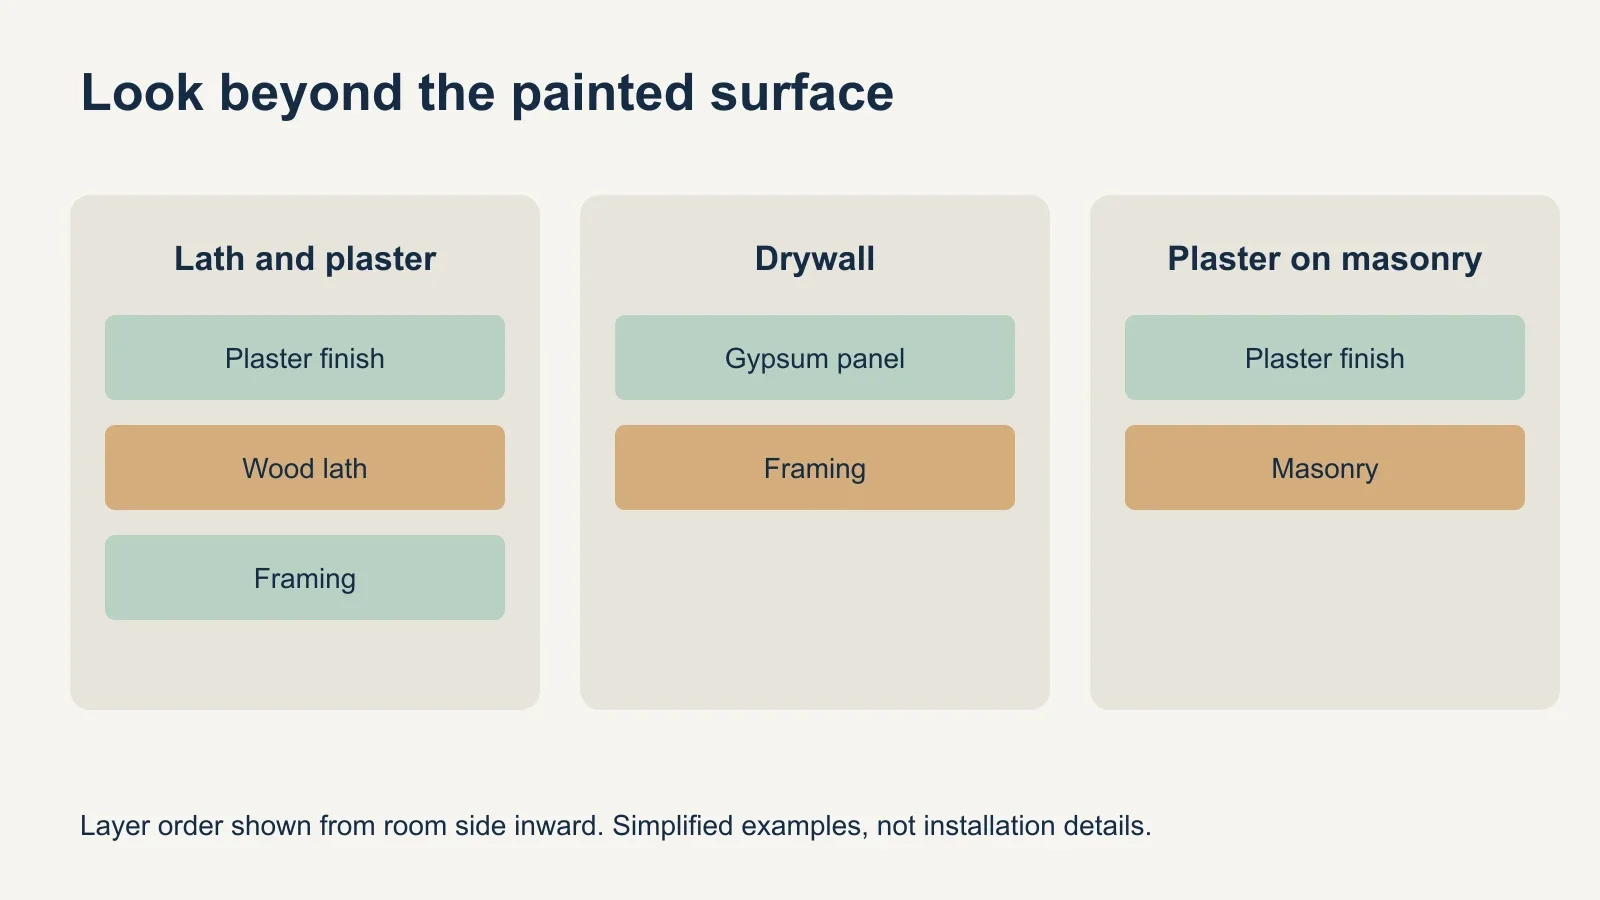
Which wall assembly changes the mounting plan?
| Possible assembly | What remains to verify | Planning consequence |
|---|---|---|
| Plaster over lath and framing | Lath type, sound framing and total finish thickness | Choose a method approved for that complete assembly. |
| Drywall over framing | Panel and framing details required by the mount | A drywall rating has product-specific conditions. |
| Plaster over masonry | Masonry type, condition and any gap behind the finish | Do not apply a wood-stud attachment plan. |
| Veneer plaster over board | Board type, layers and supporting construction | A thin plaster surface does not identify the support. |
The useful question is not simply whether plaster is “stronger” than drywall. Surface hardness and resistance to dents are different from the capacity of a TV mounting arrangement. A hard finish still needs a compatible load path into the wall assembly. The television’s diagonal screen measurement cannot determine that path.
For an installer, knowing the wall’s history can reduce uncertainty. Mention a remodel, a repaired area, a wall added over an older wall or a former opening. Photos taken during renovation may show useful details. They support assessment, but they do not replace verification of the location where the bracket will actually go.
Why finding studs can be harder through plaster
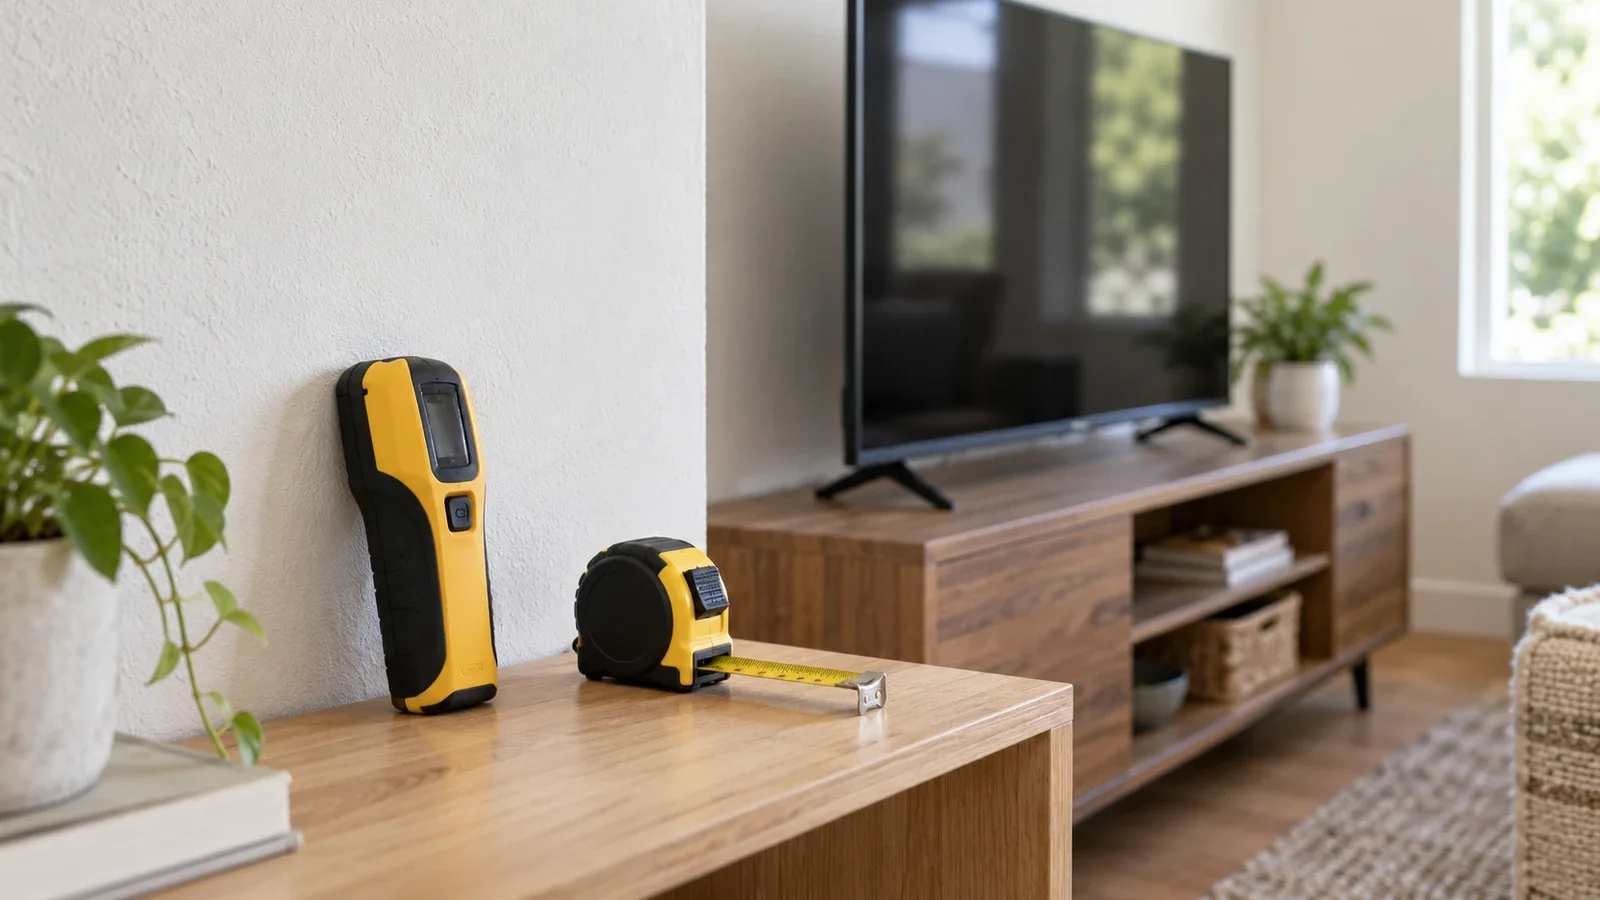
Zircon explains that irregular plaster behind the lath can confuse density-based stud sensing. The device may register a thick patch of plaster as though it were framing. A smooth face on the room side does not guarantee uniform material behind it.
Metal scanning can help an installer trace the pattern of fasteners attaching wood lath to studs. Zircon also notes that metal mesh can interfere with that approach. A metal signal is therefore a clue to interpret, not an instruction to drill or a confirmation that the detected object is a suitable anchor point.
Avoid using the nearest outlet or a guessed repeating spacing as the only basis for locating support. The professional needs to establish the actual attachment points and check for concealed services. If the construction remains unclear, a different assessment method or location may be needed before the mounting work can proceed.
Check the plaster’s condition before choosing hardware
The National Park Service describes several causes of plaster cracking and separation, including moisture and structural movement. Some plaster becomes detached from its backing. The practical implication for TV planning is to flag visible damage for assessment instead of covering it with a bracket and assuming the hidden condition is sound.
- Bulging or visibly loose plaster near the proposed bracket.
- Cracks that have changed or returned after repair.
- Moisture staining, dampness or a known leak.
- Old mounting holes, patched sections or uneven layers.
- Decorative plasterwork that could be damaged by attachment.
These observations are reasons to investigate, not a remote diagnosis of the wall. A small surface crack and an actively separating area may need very different responses. Let the appropriate professional decide whether repair is required and when the area can support the intended mounting arrangement.
In a pre-1978 home, also address possible lead-based paint before drilling or disturbing finishes. EPA notes that this work can create hazardous dust where lead paint is present and recommends lead-safe certified contractors for renovation work in older homes. Tell the installer the home’s age and any known testing results before the visit.
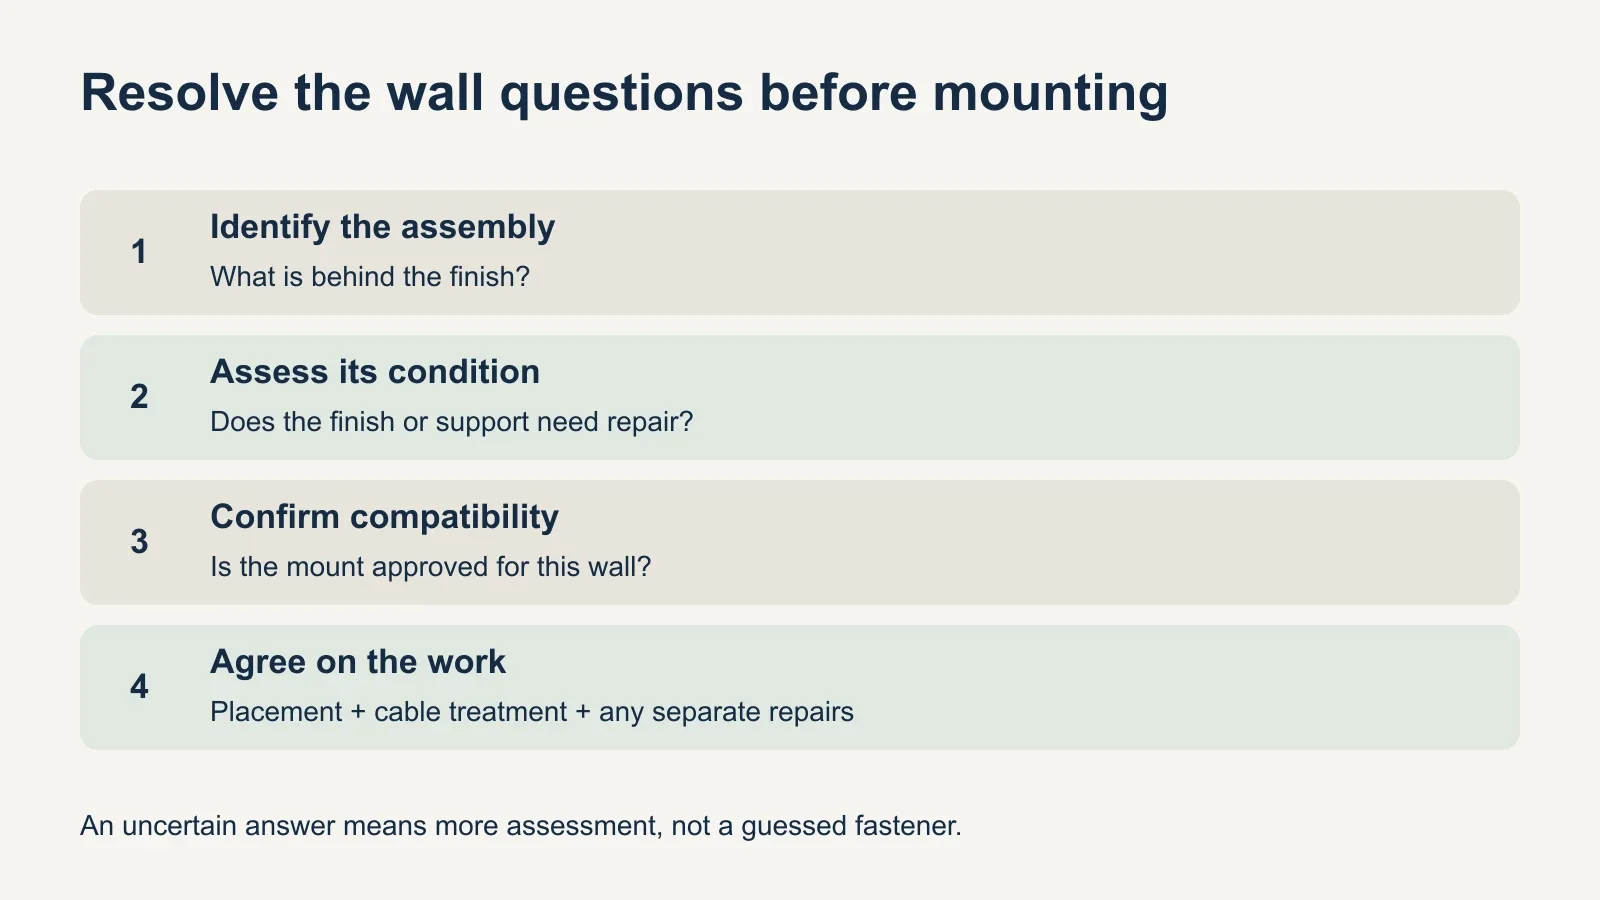
Match the mount to the wall, not just the television
A mount must fit the television’s mounting-hole pattern and weight, but those checks do not establish wall compatibility. Read the permitted wall constructions and any restrictions on covering thickness. If the instructions do not address your plaster assembly, obtain guidance from the manufacturer before selecting hardware.
Do not treat “no stud,” “drywall” or “universal” on a product listing as approval for lath-and-plaster walls. Likewise, replacing a specified fastener with a longer one is not a complete solution to an extra layer. The bracket, attachment method and actual supporting material need to be considered together.
Explain whether the TV will stay close to the wall or move on an articulating arm. Include that movement in the compatibility review from the start. If the preferred setup requires reinforcement, define it as separate work with its own assessment and finish restoration rather than an assumed extra step during a basic mounting visit.
Prepare useful information for the installation visit
- Collect the TV and bracket model numbers and their manuals.
- Photograph the whole wall, the intended screen area and any damaged sections.
- Share what you know about the wall layers and previous renovations.
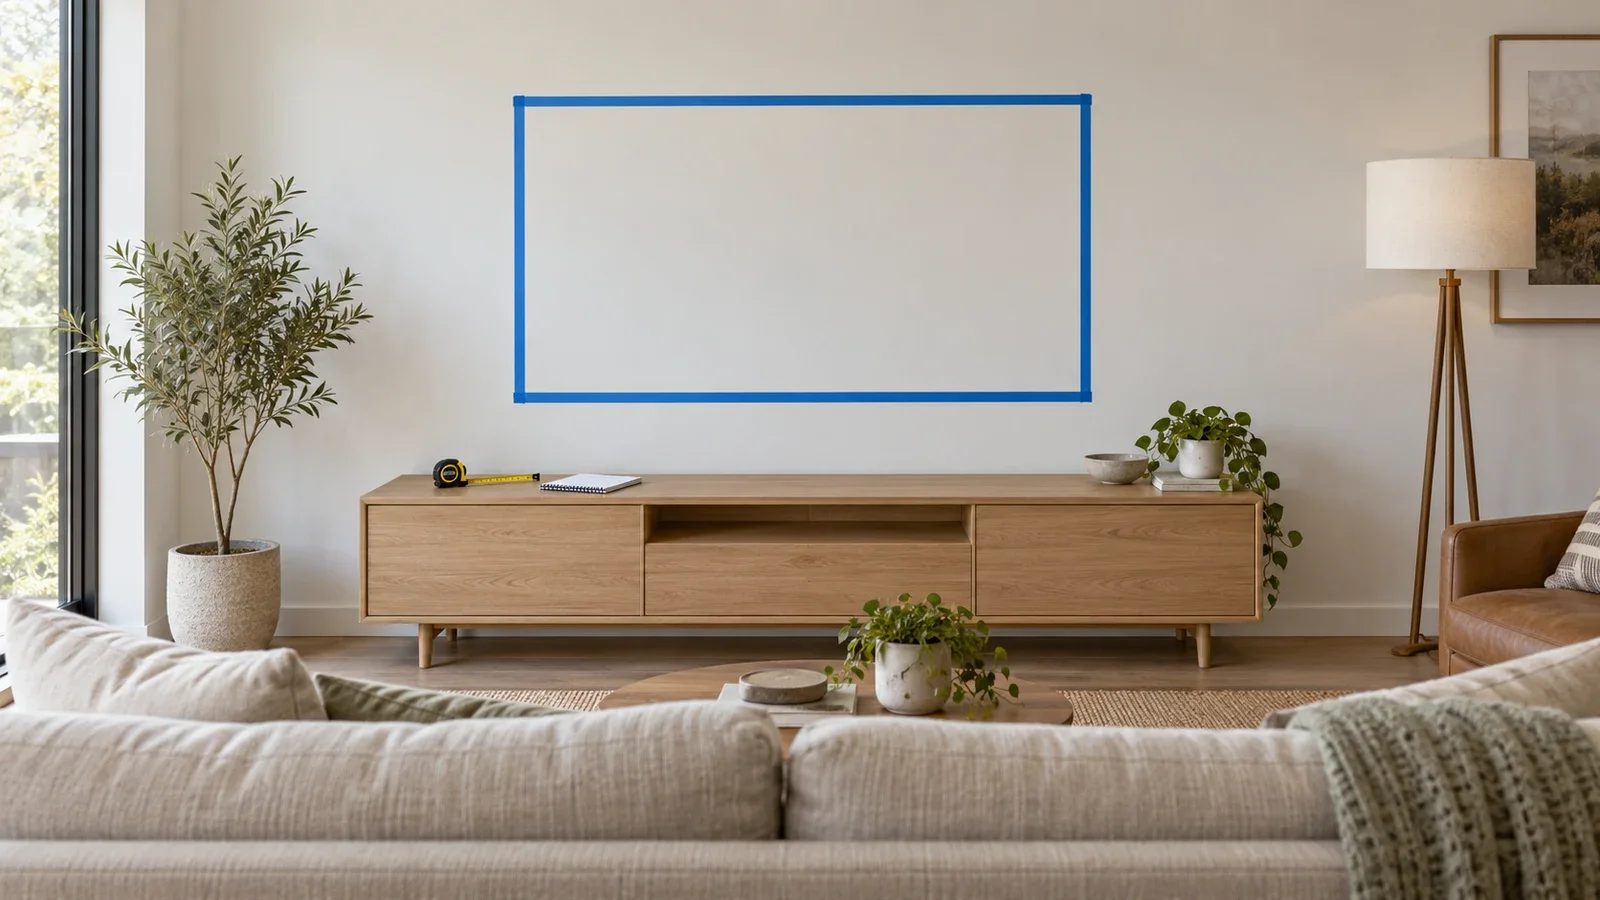
- Mark the preferred viewing position without drilling exploratory holes.
- Identify outlets, connected devices and the cable appearance you want.
- Confirm access, any property permissions and whether assessment must come first.
Surface cable covers and in-wall routing are different requests. A route behind plaster may involve more than the visible mounting area, and a new electrical outlet requires separate assessment. Discuss the desired result before work begins so that the agreed scope covers both the screen and the connections.
There may be more than one acceptable outcome: the preferred wall with a compatible system, another suitable location, or a TV stand when preserving the finish is the priority. Compare those options after the wall is assessed. Plaster does not automatically prevent mounting, and it should not be treated as ordinary drywall without verification.
Review UPTask’s TV mounting service with your equipment details and wall photos. Flag plaster, prior repairs and any uncertainties when discussing the configuration so the proposed installation can be checked against the actual wall.