How High Should You Mount a TV? Height Chart for 55″, 65″, 75″ & 85″ TVs
Start with your viewing position, then calculate where the screen edges will land. This height chart uses a stated 42-inch center as an example, not a rule for every room.
Table of contents
Measure from the floor to the screen centerHeight chart for 55-, 65-, 75- and 85-inch screensReplace the chart estimate with your TV’s measurementsResolve furniture conflicts before raising the screenTranslate the chosen position into a bracket layoutGive the installer a clear placement brief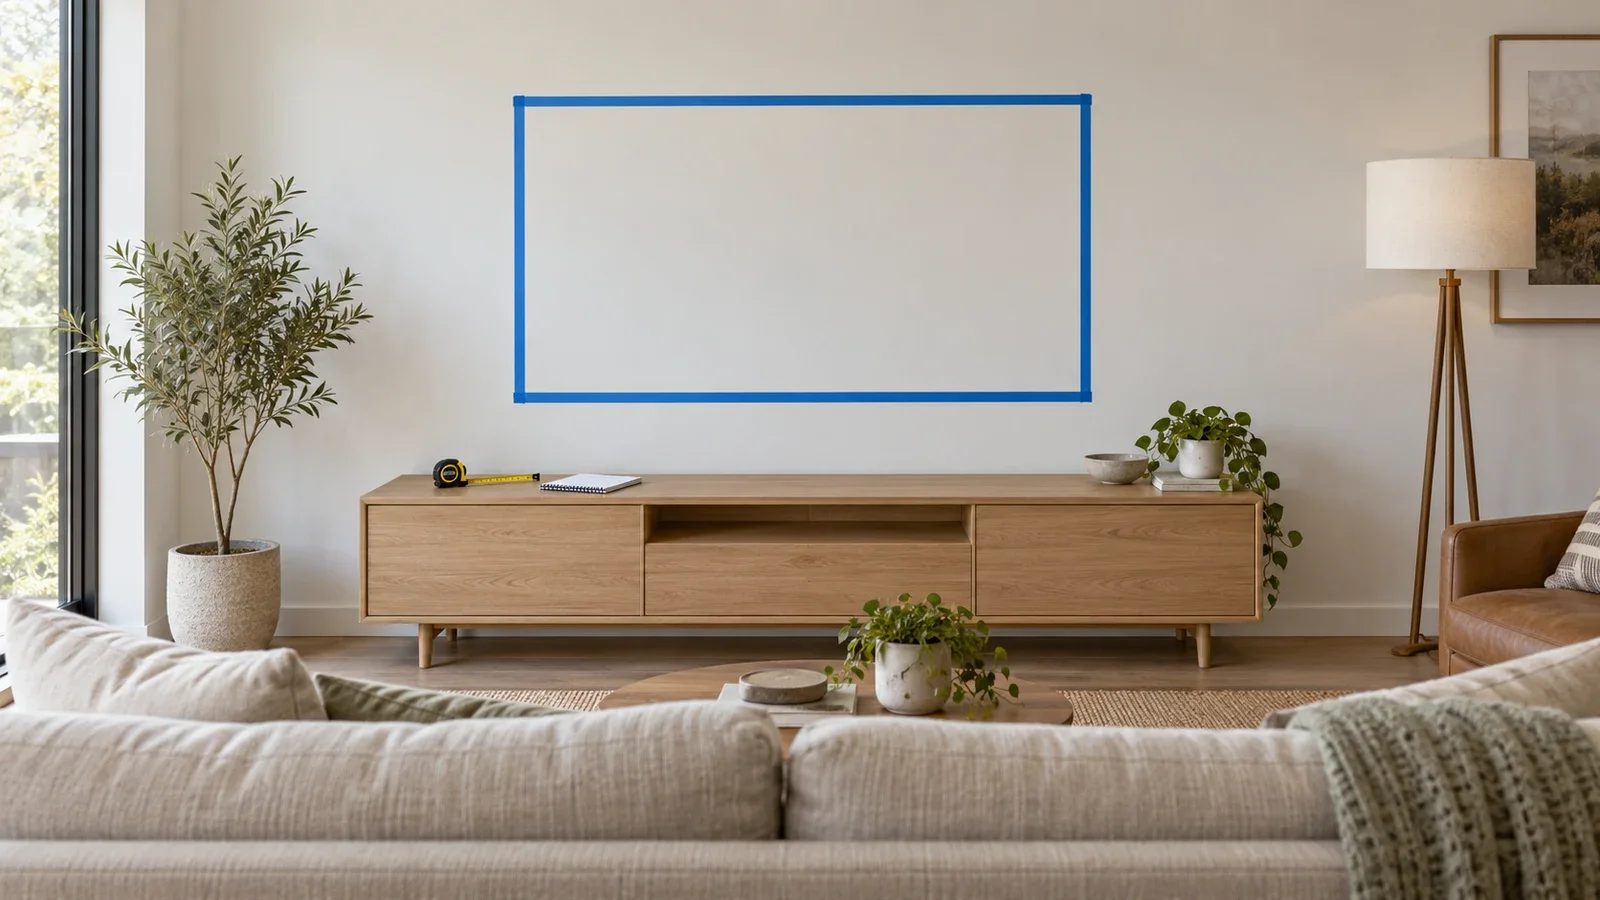
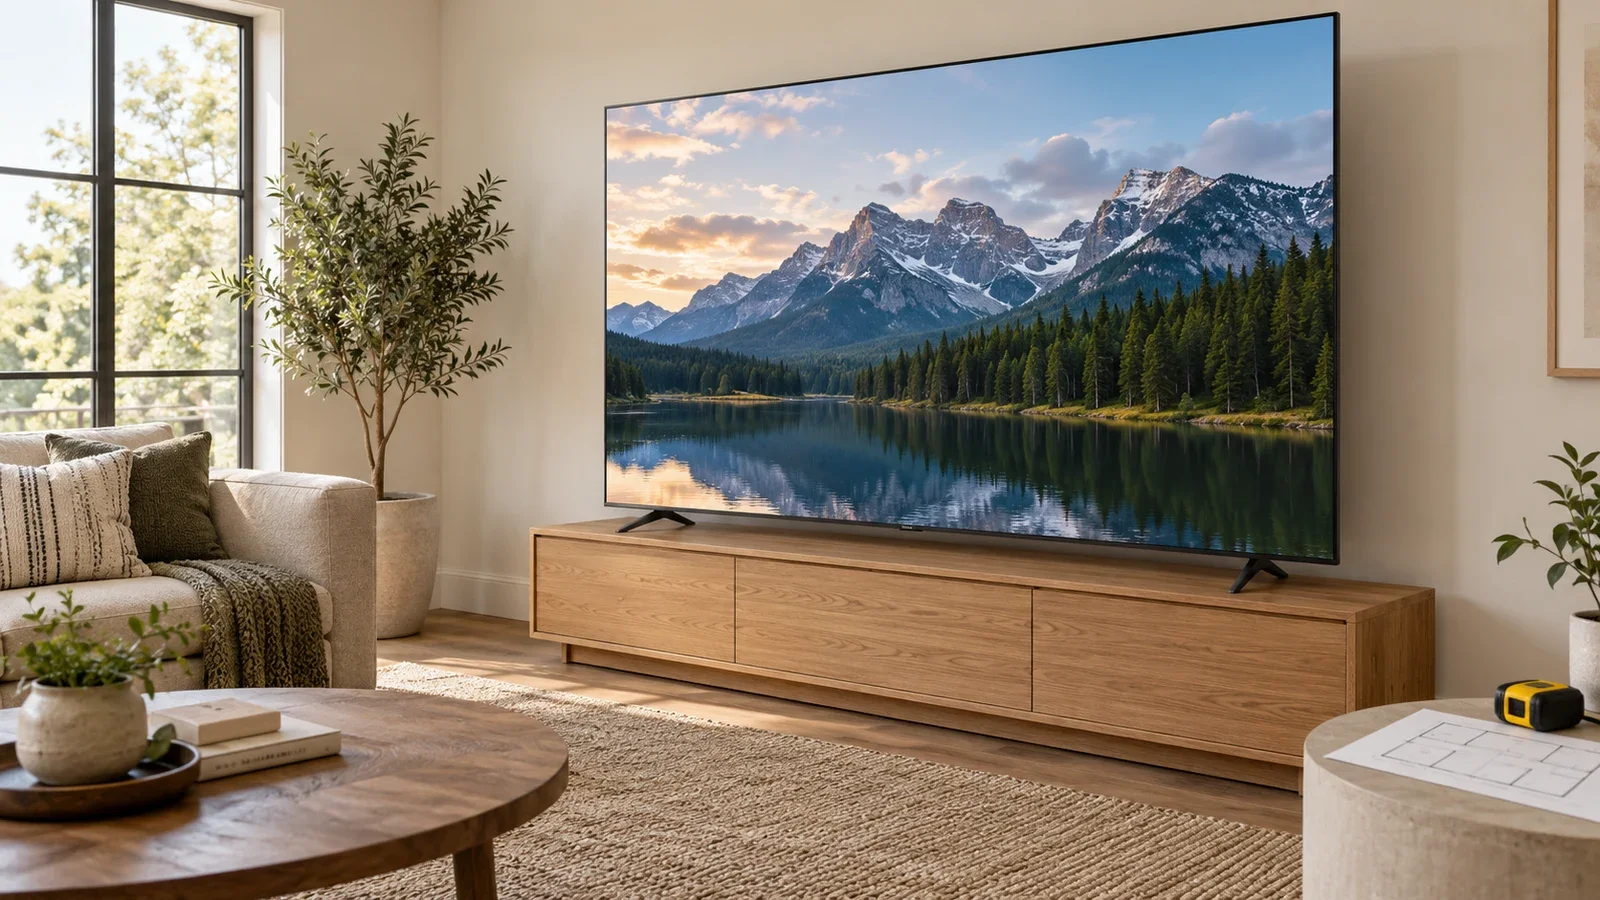
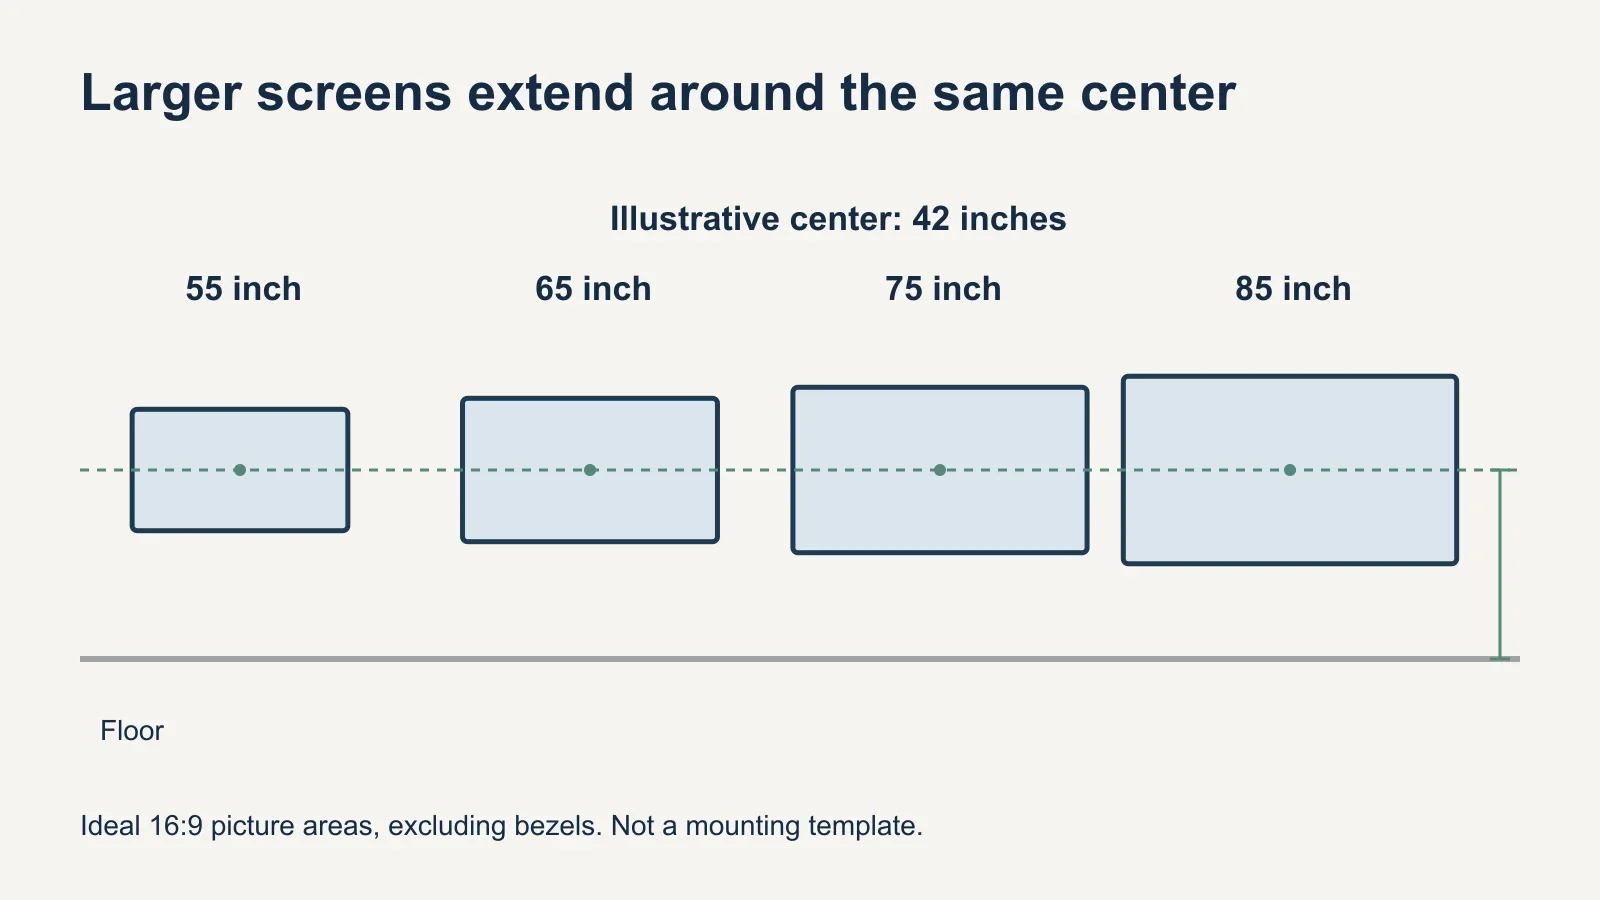
Start with the center of the screen near your eye level in your normal viewing position. For a living-room sofa, 42 inches from the floor to the screen center is a common starting reference, not a required height. Measure your own seating position before using it. A larger TV does not automatically need a higher center; it extends farther above and below the center you choose.
Measure from the floor to the screen center
Sony’s general placement guidance makes seating arrangement and personal preference part of the height decision. Samsung likewise recommends measuring eye level from the usual seat. Sit naturally with the cushions compressed as they are during viewing, rather than standing beside the sofa or measuring to the top of its back.
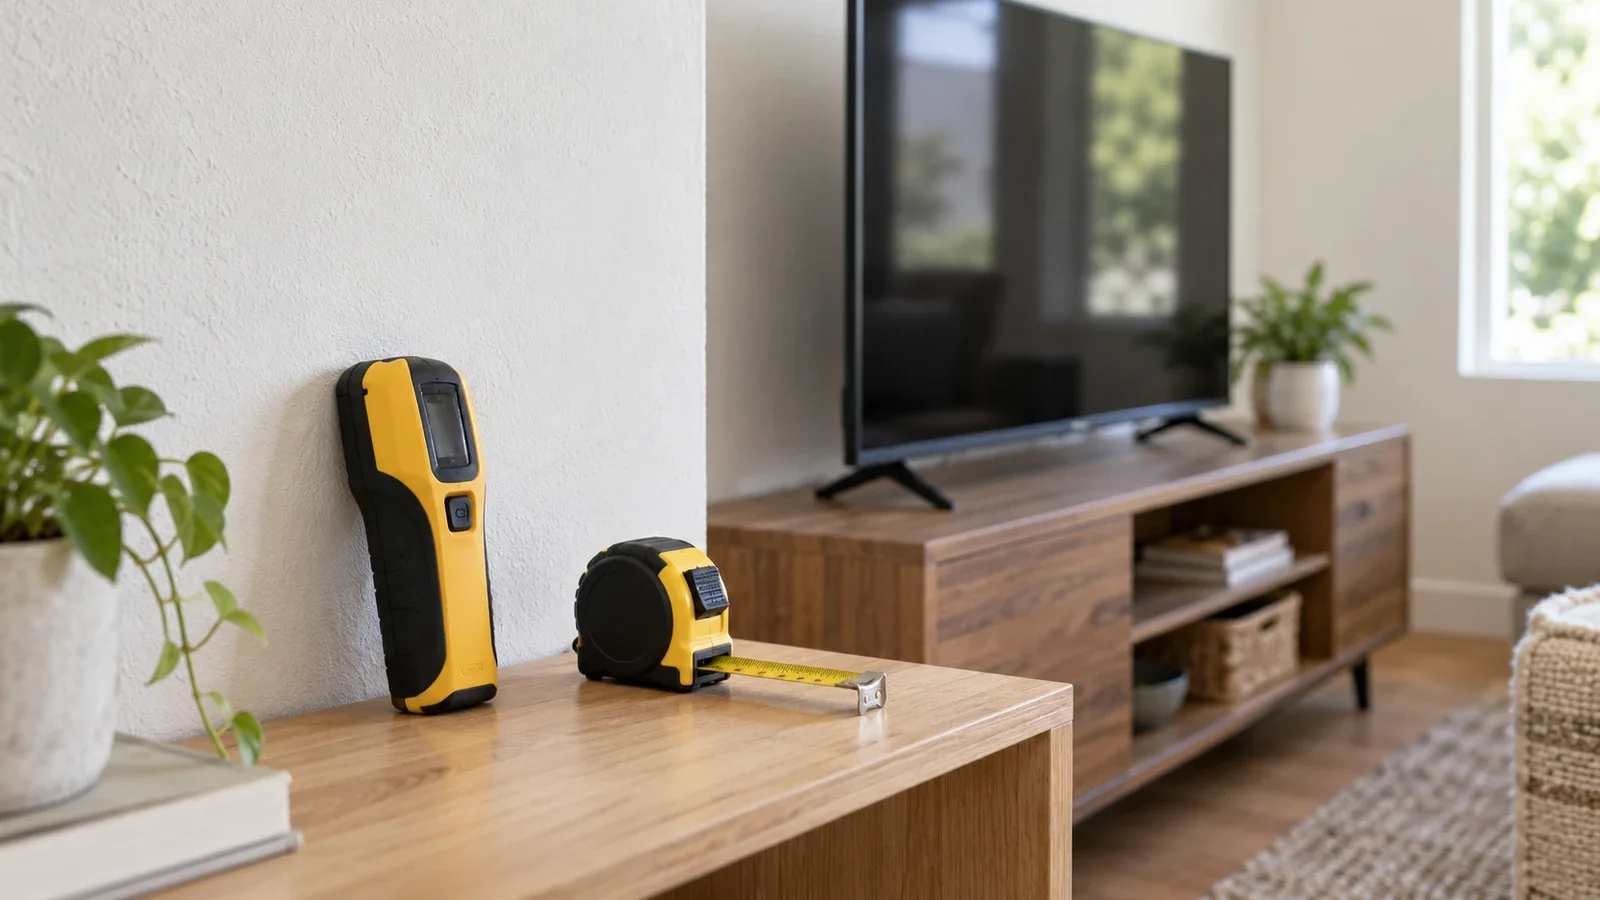
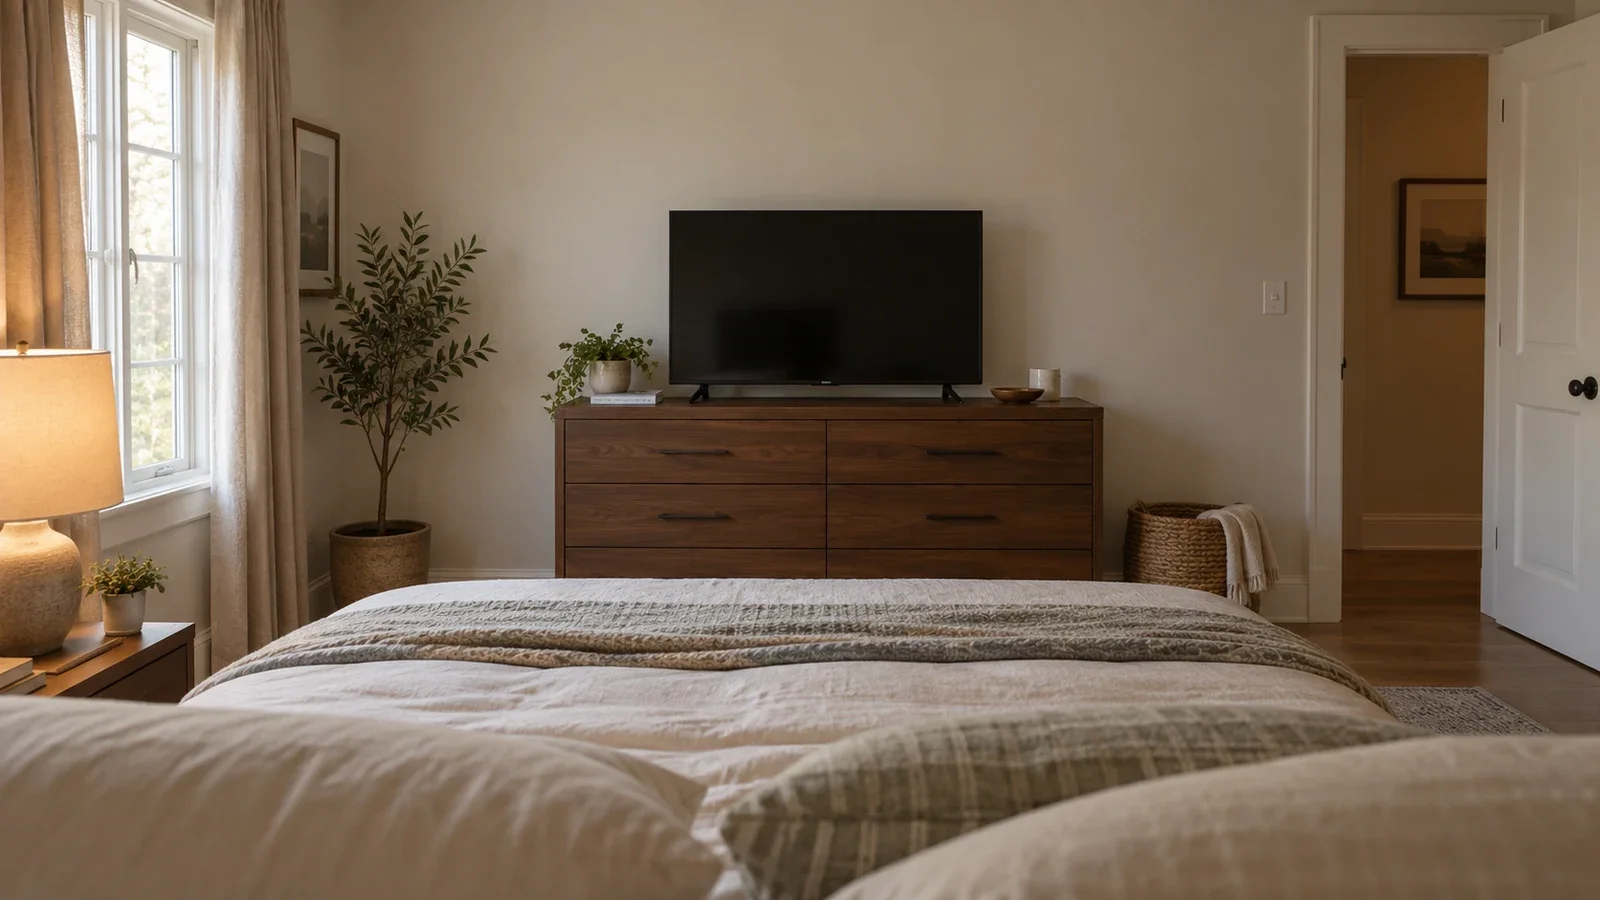
Have someone help record the floor-to-eye measurement, then mark a candidate screen center using a removable method appropriate for the wall finish. Check it from the seats used most often. A reclined posture, elevated seating or a bedroom setup can call for a different position; the living-room reference should not override that test.
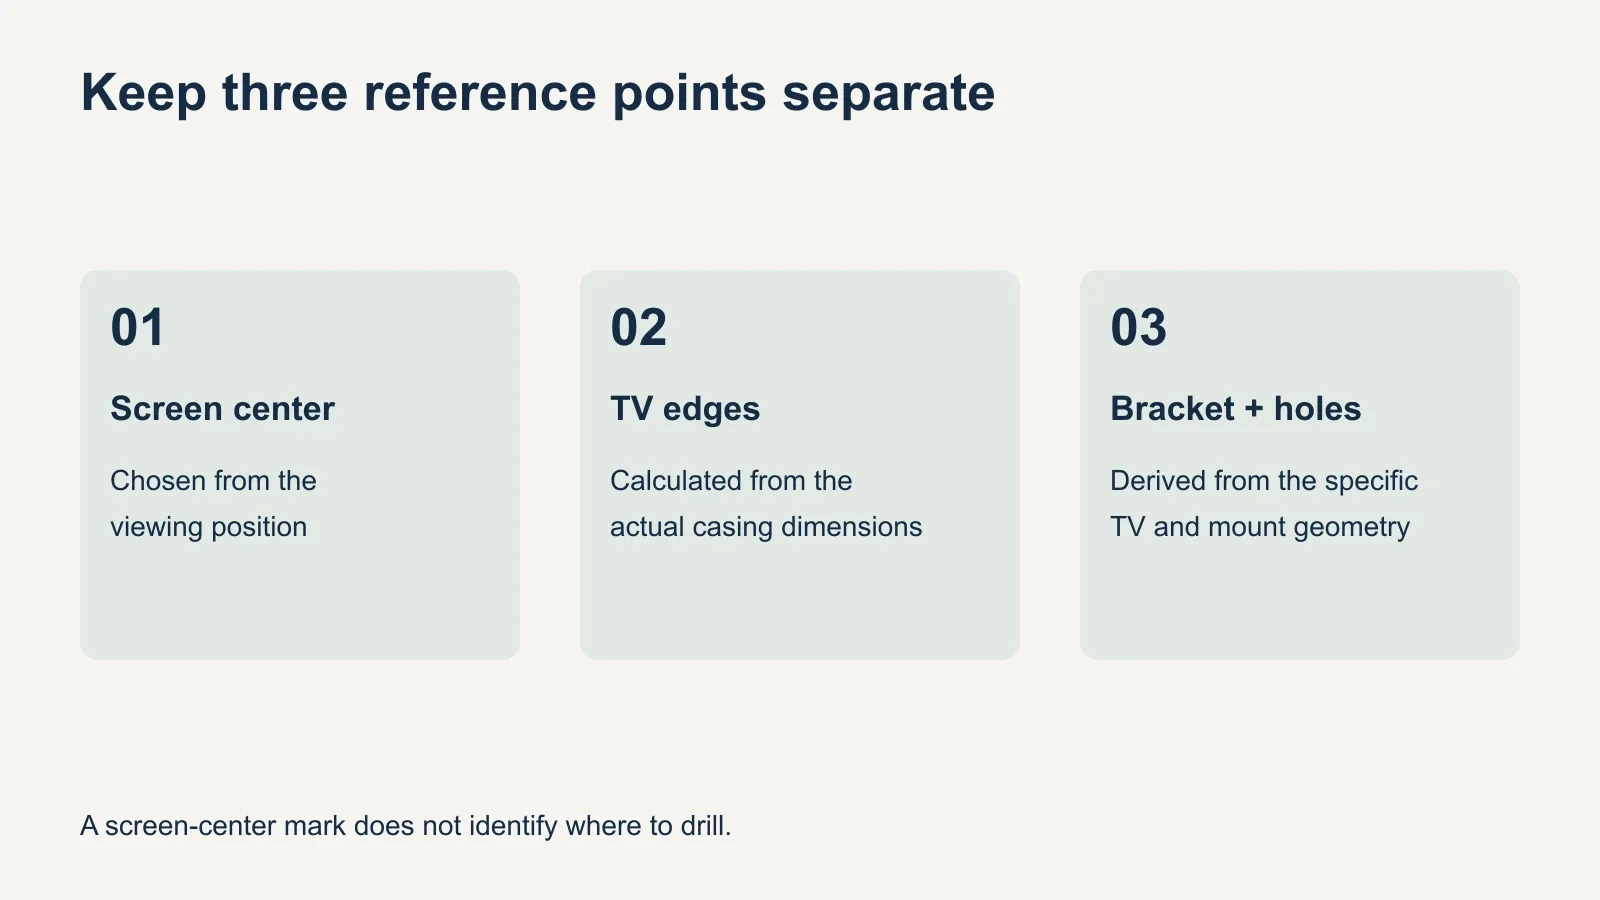
Be explicit about the reference point. “Mount it at 42 inches” could mean the bottom edge, screen center or wall plate. Those produce very different results. For an installation discussion, describe the intended screen-center height and the actual TV model, then let the bracket layout be calculated separately.
Height chart for 55-, 65-, 75- and 85-inch screens
The chart below uses an assumed center height of 42 inches and an ideal rectangular 16:9 picture area. All dimensions are in inches and rounded to one decimal place. It is a geometry example, not a table of manufacturer-recommended mounting heights or the outside dimensions of every television.
| Screen diagonal | Picture height | Bottom above floor | Top above floor |
|---|---|---|---|
| 55 in | 27.0 in | 28.5 in | 55.5 in |
| 65 in | 31.9 in | 26.1 in | 57.9 in |
| 75 in | 36.8 in | 23.6 in | 60.4 in |
| 85 in | 41.7 in | 21.2 in | 62.8 in |
The estimated picture height is the diagonal multiplied by 9, divided by the square root of 337. Subtract half that height from the selected center to find the picture’s bottom edge; add half to find its top. The constant comes from the 16:9 proportions: 16 squared plus 9 squared equals 337.
Notice what changes: at the same center height, an 85-inch picture reaches lower than a 55-inch picture. Keeping the bottom edge at the same height instead would push the larger screen’s center upward. Neither choice is dictated by diagonal size alone; compare the actual layout with the viewing position.
Replace the chart estimate with your TV’s measurements
For final placement, use the exact model’s dimensions without its tabletop stand. The outer casing includes the bezel, which the ideal picture-area calculation omits. Marketing size labels may also round the actual diagonal. Measure the screen center relative to the casing if the border is noticeably asymmetric.
For a rectangular TV with a centered picture, the layout calculation is simple: bottom height = selected center height − half the outside TV height. The corresponding top height is the selected center plus half the outside height. Keep all measurements in the same units and use the floor at the installation location as the reference.
As a hypothetical example, suppose your chosen center is 44 inches and the actual cabinet height is 37.8 inches, with the picture centered in it. Half the cabinet height is 18.9 inches. The bottom would sit 25.1 inches above the floor and the top at 62.9 inches. These are calculated example values, not specifications for a particular 75-inch TV.
Resolve furniture conflicts before raising the screen
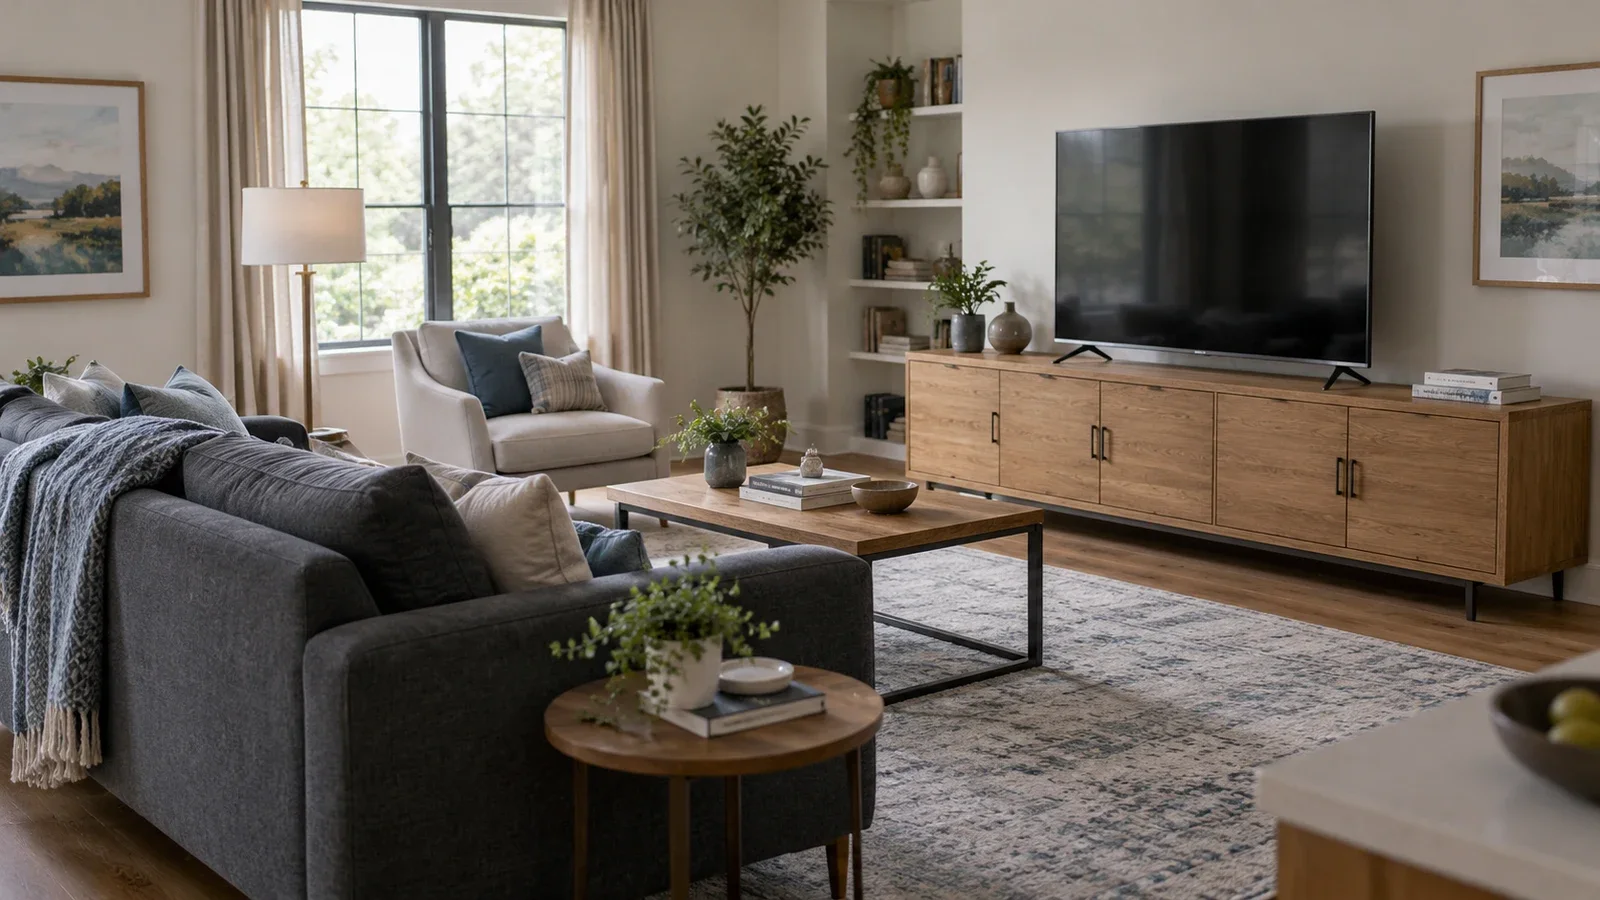
Place the console, soundbar and other items into the plan before installation. In the hypothetical example above, a cabinet higher than 25.1 inches would overlap the TV’s proposed bottom edge. You would need to change something: furniture height, the TV location, the selected screen height or the overall arrangement.
There is no single decorative gap that replaces the equipment instructions. Follow the TV’s ventilation requirements and the soundbar’s placement guidance, then check that the screen and remote sensor remain unobstructed. Leave the connection access needed for your setup. A tidy-looking elevation drawing is insufficient if the equipment cannot operate or be reached.
Try the revised outline from the viewing seat before accepting a higher center. A tilting bracket changes the panel’s angle, but it does not bring the screen down. If the wall is above a fireplace, evaluate the separate heat, clearance and support questions in the above-fireplace TV guide.
Translate the chosen position into a bracket layout
The TV’s rear hole pattern, the attached rails and the mount’s wall plate determine how the screen will hang relative to the wall fasteners. SANUS HeightFinder explicitly distinguishes centered from offset TV mounting holes, illustrating why screen size alone cannot locate the bracket. Use the equipment’s template and measurements for that final step.
Check wall suitability as a separate part of the installation. A preferred height does not prove that suitable framing or another approved supporting assembly exists at the necessary attachment points. The correct plan needs both the desired screen position and a compatible wall mounting method.
- Confirm the TV’s exact model and dimensions without the stand.
- Choose and label the screen-center height from the actual viewing position.
- Check the resulting top and bottom edges against furniture and equipment clearances.
- Verify the wall, mount and TV compatibility.
- Derive the attachment locations from the actual bracket and TV geometry.
- Review the marked screen outline before drilling.
Give the installer a clear placement brief
Share the model numbers, intended center height, main viewing seat and any furniture or soundbar constraints. Note whether the TV will remain fixed or move, because its edges and cables need clearance through the intended range. A photo of the room with the proposed outline is more informative than “standard height.”
Use the chart to understand the layout, then use real measurements to finalize it. When arranging UPTask TV mounting, confirm the finished screen position and any additional work before the installation starts.