Can You Install a Gazebo on Pavers? Anchoring & Foundation Options
A paver patio can surround a gazebo, but the paving alone may not provide its required anchorage. Start with what lies beneath each proposed post.
Table of contents
Find out how the patio was builtCompare the foundation options at the post locationsUse the post drawing before moving any paversPlan paving repairs and drainage with the foundation workAvoid shortcuts that leave the main question unansweredConfirm the handoff between foundation work and assembly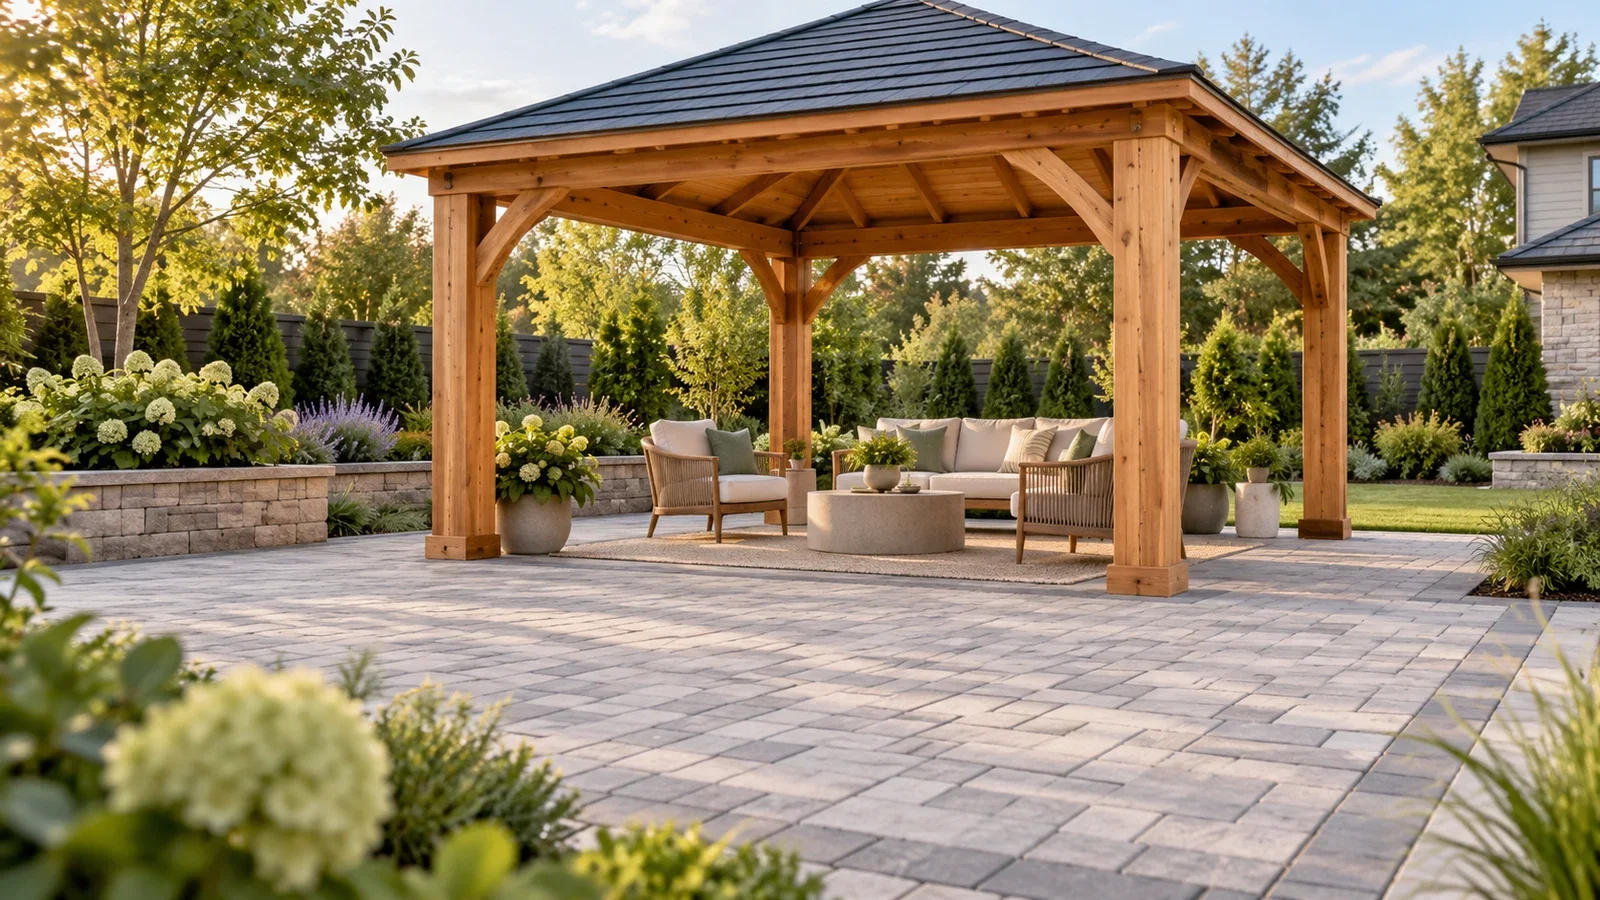
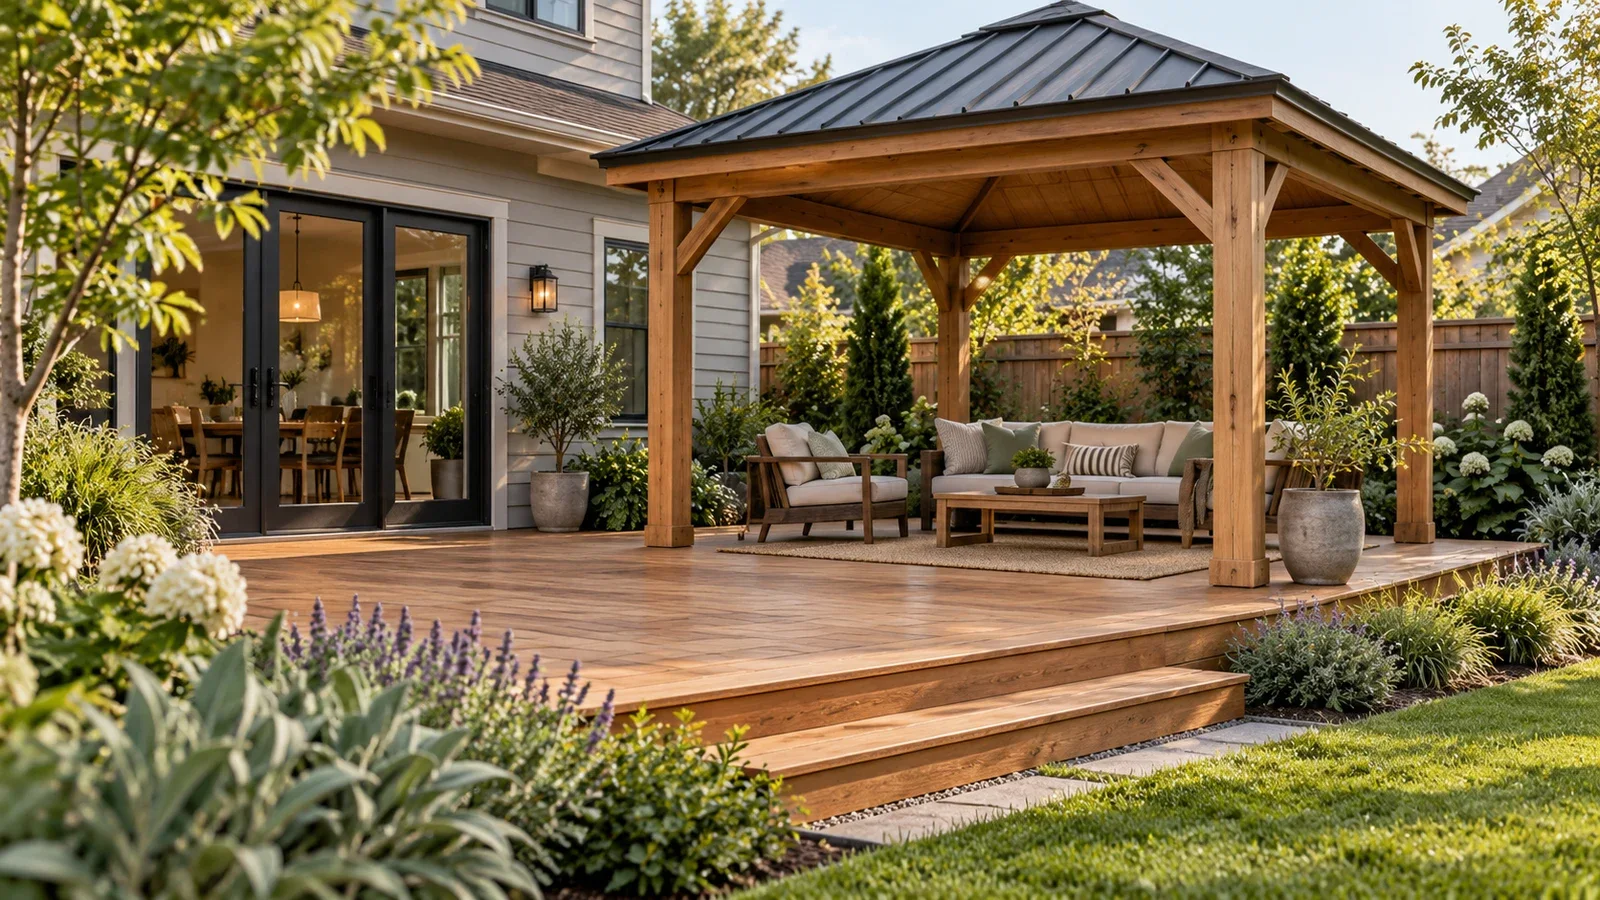
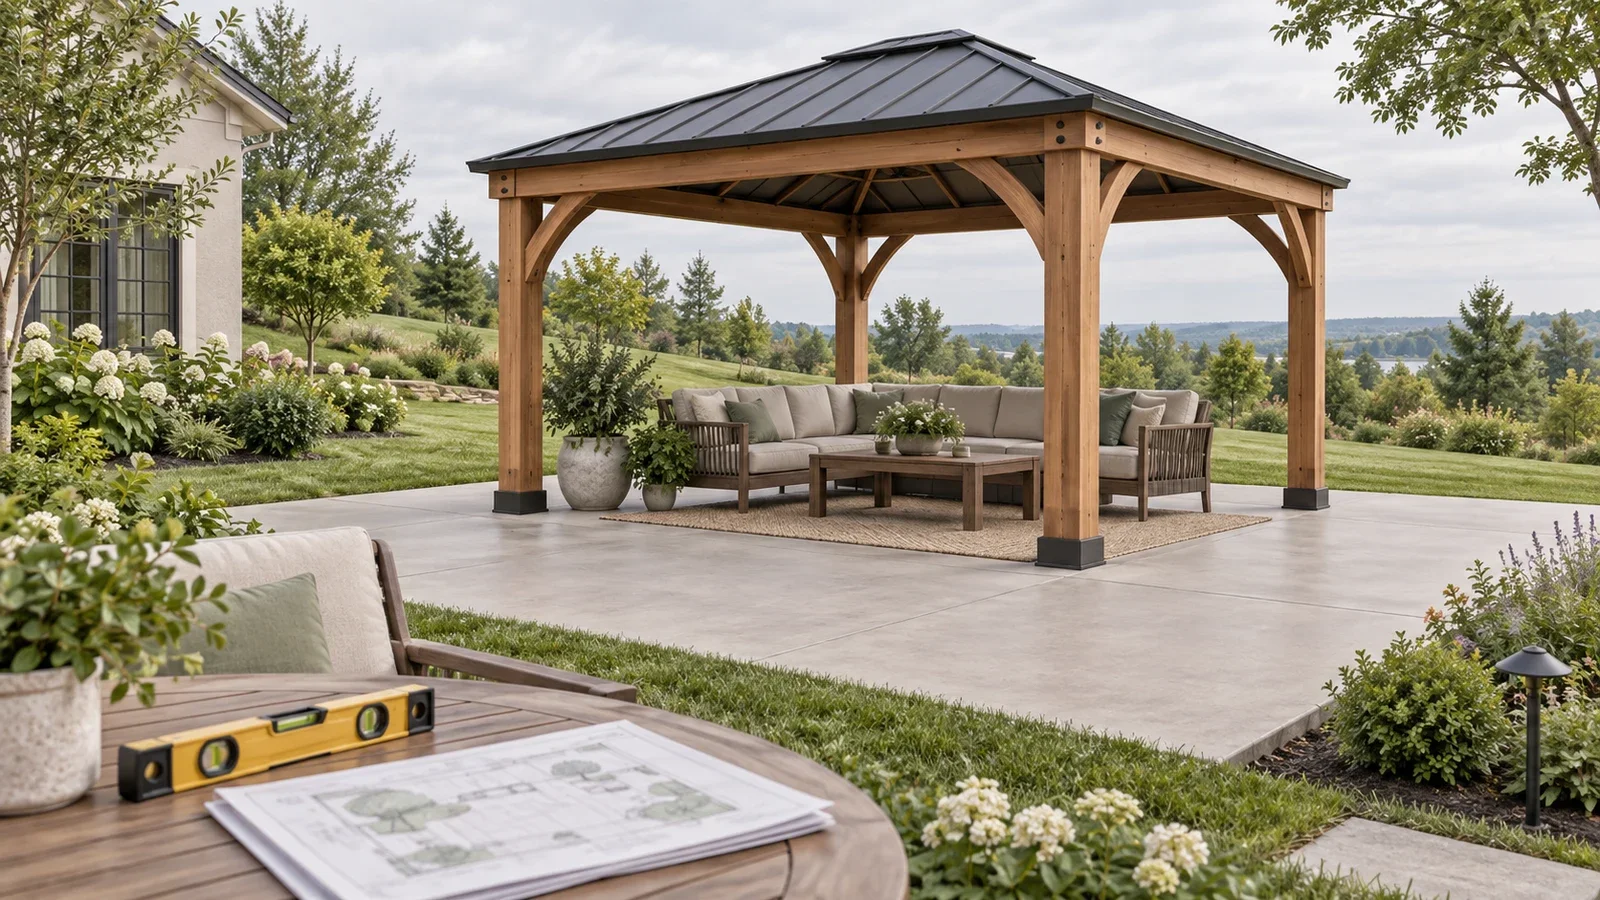
Yes, a gazebo can be planned on a paver patio, provided its foundation and anchoring meet the exact kit’s requirements. Do not assume fastening a post to a loose paving stone secures the structure to the ground. SOJAG’s gazebo FAQ specifically calls for a concrete pillar beneath pavers that can be lifted easily by hand. Other models need their own installation plan.
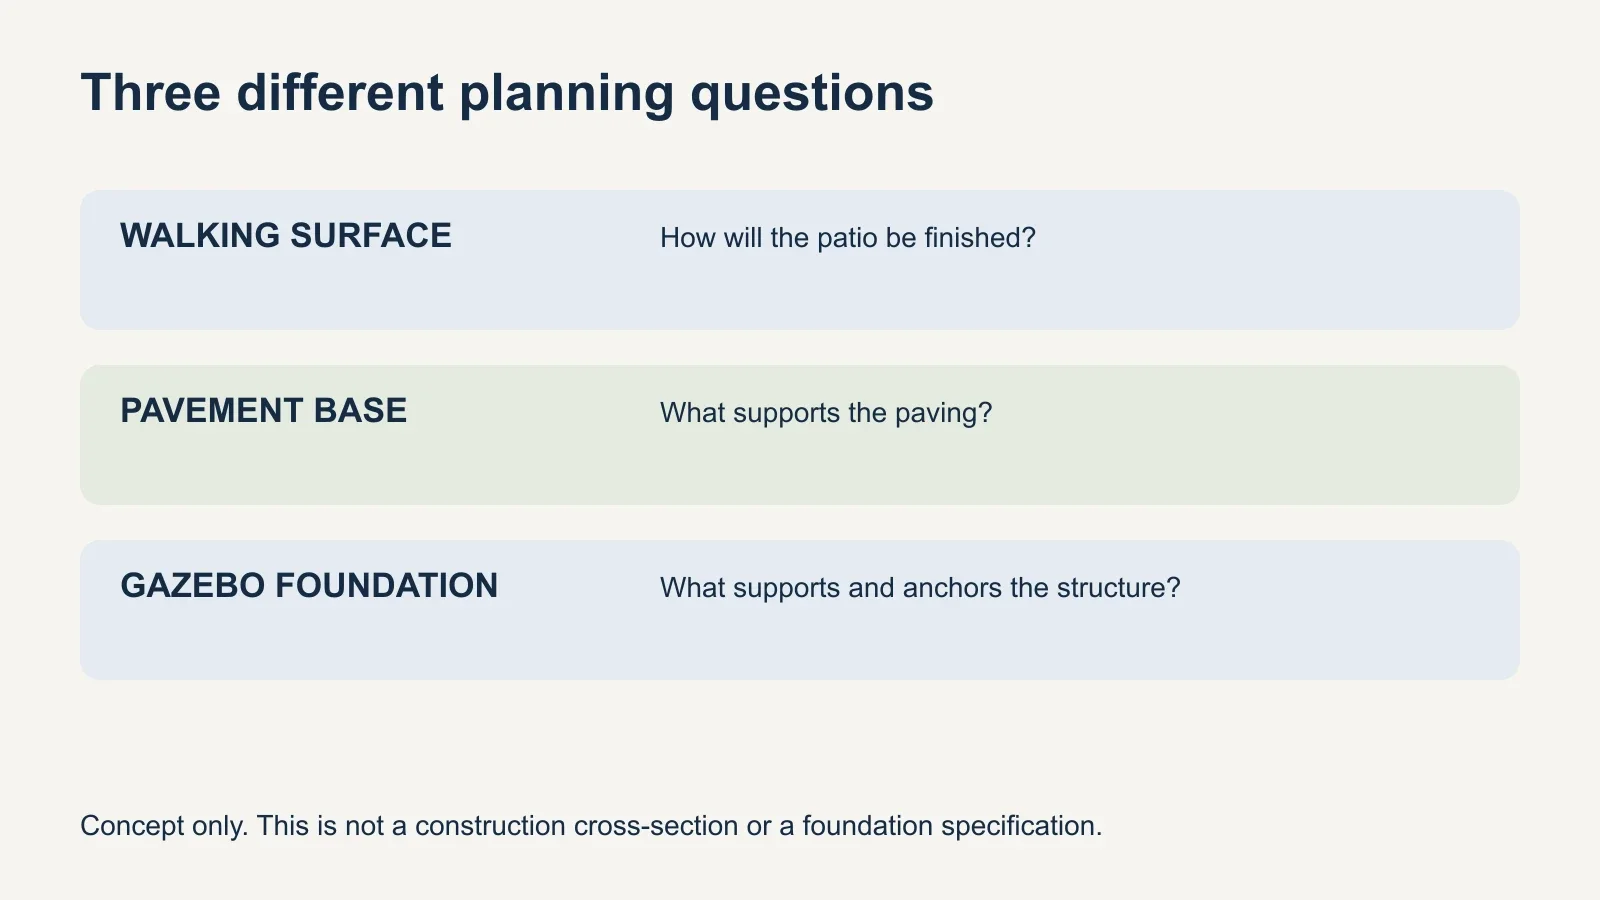
The useful distinction is between the surface you walk on and the foundation that supports and anchors the gazebo. You may be able to keep most of an existing patio, but the post locations can still require work. This guide helps you compare options before you order concrete, cut paving or book assembly.
Find out how the patio was built
Ask whether the paving sits on a granular base, a concrete slab or another system. “Concrete pavers” describes the paving units; it does not establish that there is a continuous concrete slab underneath. Existing construction records, the original contractor and an appropriate site assessment can help identify the actual build-up.
The Concrete Masonry & Hardscapes Association explains that the base below pavers affects movement, stability and drainage. Those pavement considerations matter, but a patio base designed for normal use is not automatically a gazebo foundation. Keep the assessment of the paving separate from the assessment of the structure’s support and attachment.
- Photograph the full patio and each proposed post area.
- Record any known base construction and previous repairs.
- Flag rocking units, settlement or persistent puddles.
- Provide the gazebo model number and its foundation drawing.
Compare the foundation options at the post locations
| Possible approach | What it could preserve | What must be resolved |
|---|---|---|
| Separate concrete footings or piers | Much of the existing paving between posts. | Exact support and anchor locations, dimensions, elevations and local site conditions. |
| Attachment to suitable concrete beneath paving | An existing slab, if it is verified suitable. | Slab condition and specifications, plus a connection detail that accounts for the paving layers. |
| A new concrete base with paving around it | The surrounding patio design. | The new base design, drainage, finished heights and transitions. |
| A different gazebo location | The original patio with fewer modifications. | A suitable foundation and anchoring plan at the alternative location. |
These are planning routes, not interchangeable construction details. The appropriate choice depends on the manual, the site and the existing patio. For a project using separate concrete supports, coordinate where the brackets and anchor holes will fall—not only the center of each wooden or metal post.
If a slab is present beneath the paving, ask the responsible professional how the gazebo will bear on and connect to it. Do not choose a longer anchor simply to reach through an unknown stack of materials. The connection has to account for the actual assembly, including any space or finish layer between the post base and structural concrete.
Use the post drawing before moving any pavers
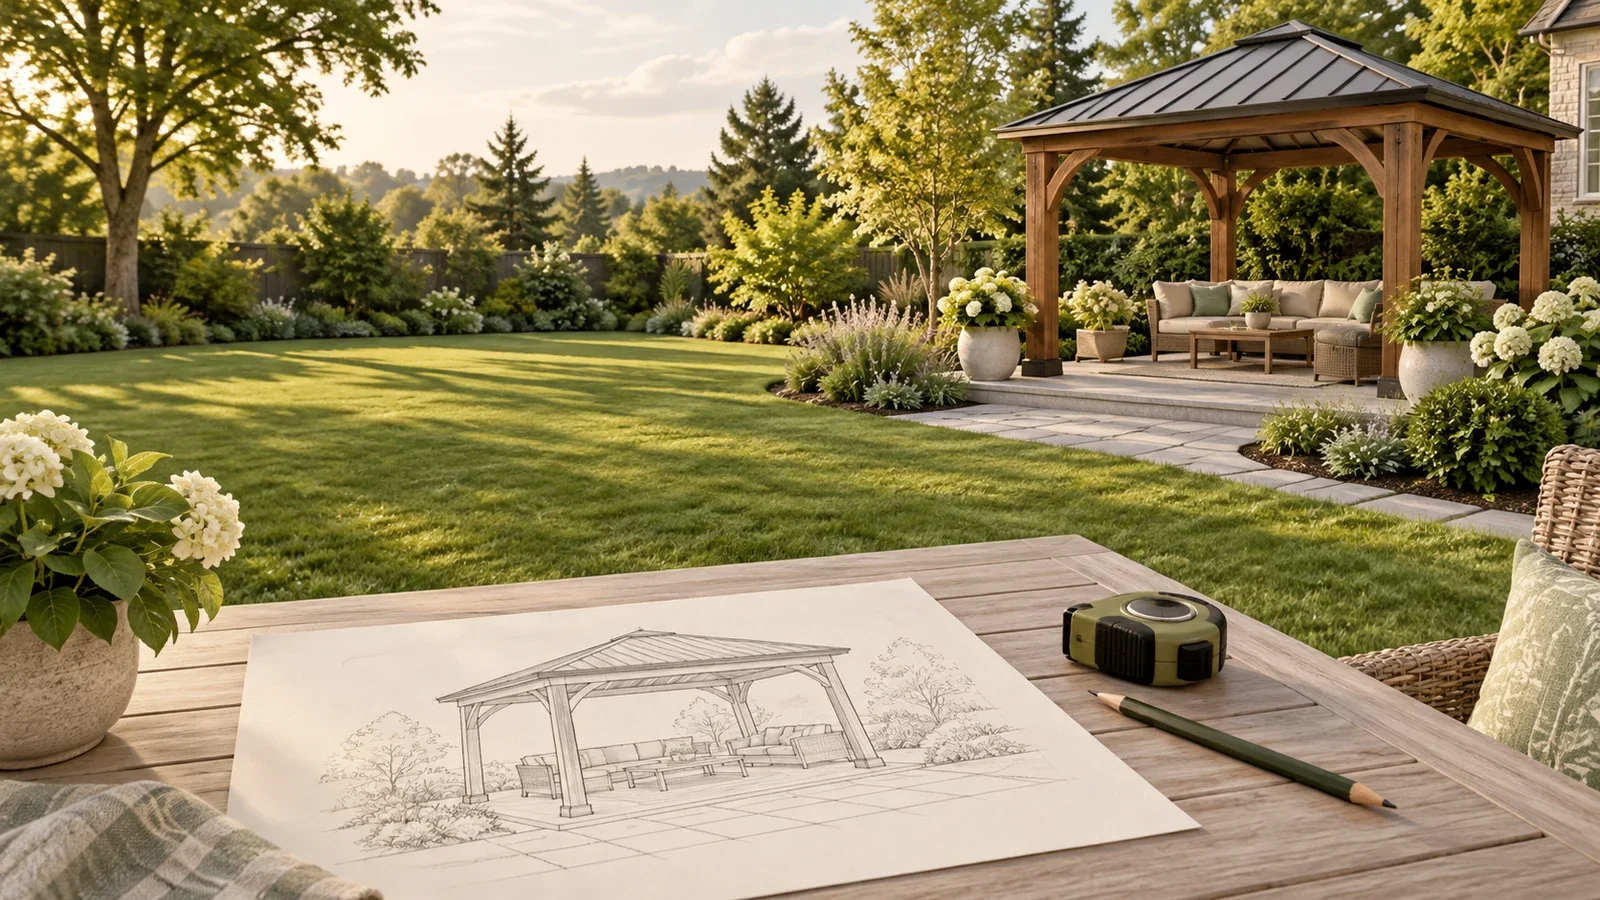
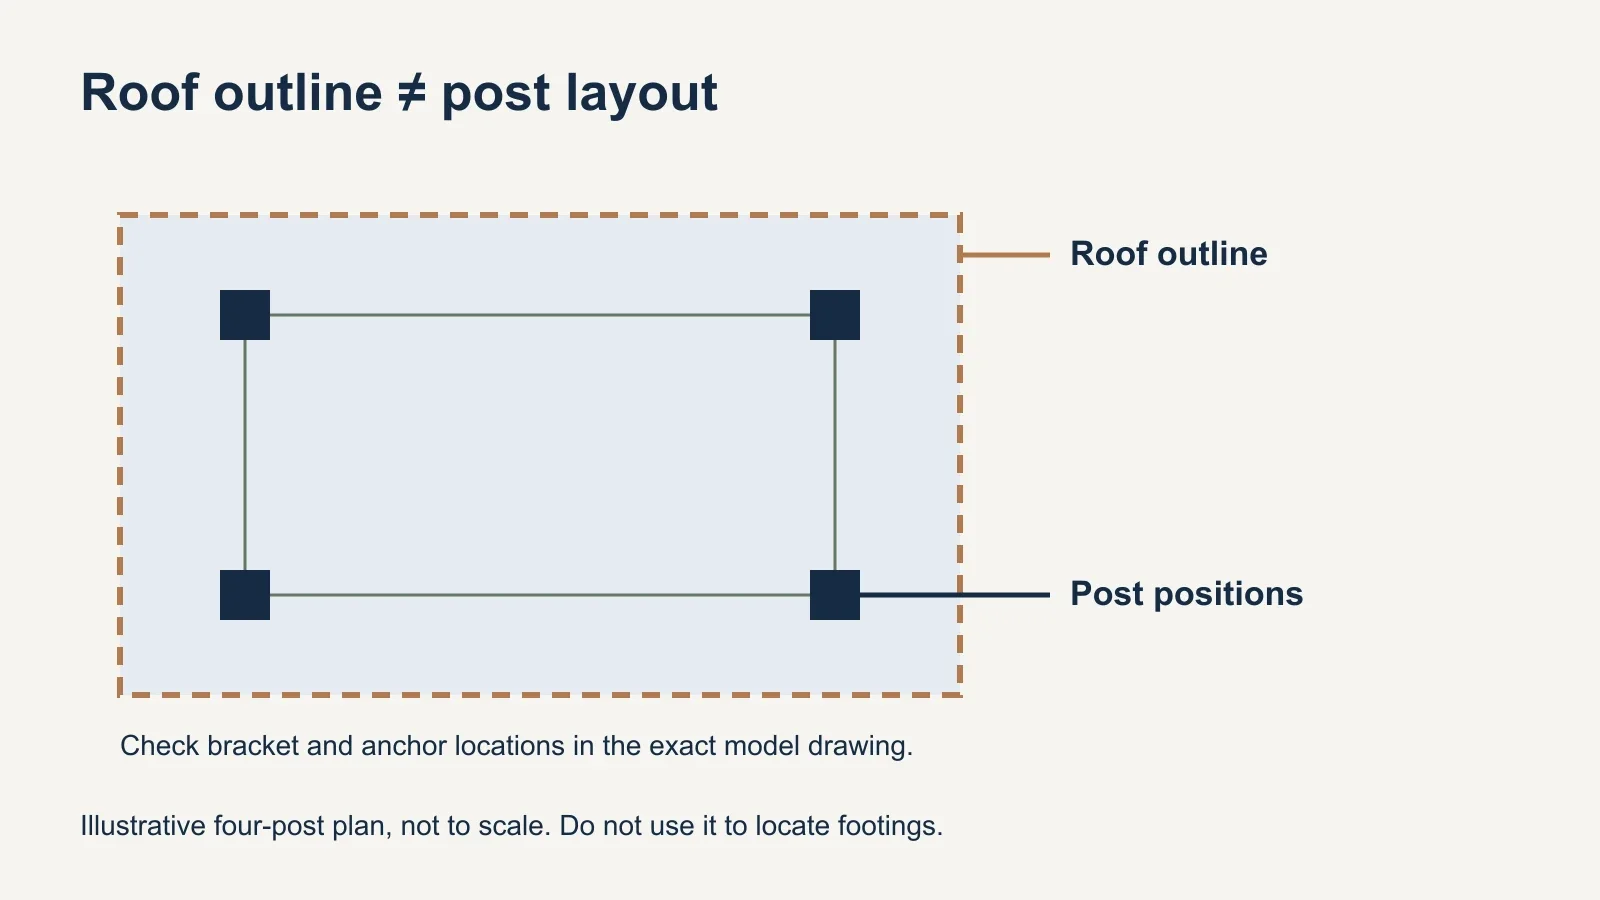
A kit’s advertised size is not enough to locate foundations. Obtain the model’s drawing showing post positions and mounting details. Confirm whether the measurements are inside-to-inside, outside-to-outside or center-to-center; confusing them can put a support in the wrong place even when the overall patio looks large enough.
Also check the roof outline. A gazebo can have posts within the patio while its roof extends beyond the paving toward a fence, planting bed or nearby building. Plan the structure’s orientation, the space around it and the foundation positions together. Preserve access to drains, irrigation controls and other features that need ongoing attention.
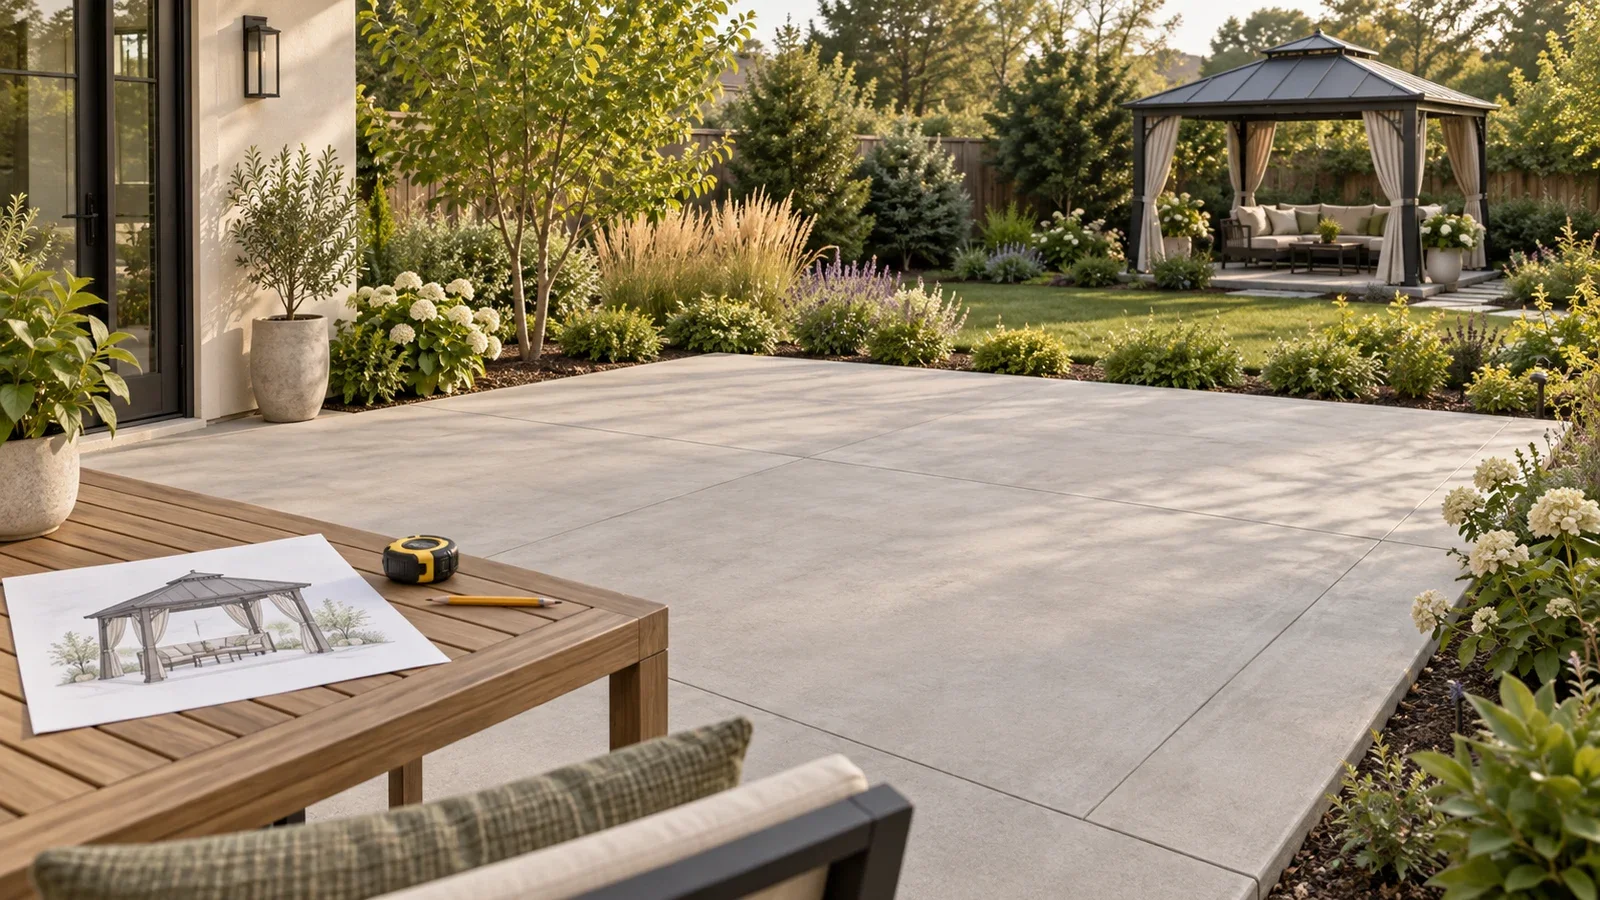
For illustration, a square patio pattern can make four proposed post positions look symmetrical without matching the kit’s mounting pattern. Treat the paver grid as a visual reference, not a substitute for the dimensioned drawing. Have the agreed locations checked before opening the pavement or placing concrete.
Plan paving repairs and drainage with the foundation work
Discuss who will remove, protect and reinstate the affected paving. The work may involve more than replacing the units directly under a post. Ask what access the foundation crew needs, whether matching replacement units are available, and how the surrounding surface will be finished once the supports are ready.
Existing low spots or moving pavers deserve attention before the gazebo makes access harder. A decorative repair at the top may not address the cause below. Have the paving contractor evaluate the affected area and explain what needs correcting, rather than using the new structure to conceal a known patio problem.
Drainage must also remain part of the paving design. Do not request that the whole patio be made perfectly horizontal just because the gazebo instructions call for level support. Ask how the required gazebo elevations will work with the patio’s drainage plan. The supporting points and the surrounding walking surface need coordinated details.
Avoid shortcuts that leave the main question unanswered
Adding heavier pavers, filling planters or tightening brackets to a movable stone does not by itself establish a manufacturer-approved anchoring system. If drilling or opening the patio is prohibited, ask the gazebo manufacturer about supported alternatives before purchasing the kit. Do not adapt temporary canopy advice to a permanent hardtop structure.
Similarly, a neighbor’s successful installation is not proof that the same hardware or footing dimensions suit your site. Their model, paving construction and ground conditions may differ. Our gazebo anchoring guide explains how to separate anchoring requirements from the appearance and weight of the gazebo.
Confirm the handoff between foundation work and assembly
- Agree on the final model and orientation.
- Have the foundation and attachment approach confirmed.
- Assign excavation, paving repair and drainage work.
- Confirm the required hardware and who supplies it.
- Verify that supports and surrounding surfaces are ready.
- Schedule assembly against that readiness, not the kit’s delivery date alone.
Ask for a clear scope from each provider. Paving repairs and foundation construction are different tasks from assembling a supplied gazebo kit. Record who confirms the base is ready, who performs the permanent attachment and what happens if a site issue is found before work begins.
For gazebo assembly with UPTask, share the manual, patio photos and any foundation information you have. Confirm the separate site and anchoring needs before selecting the visit. That makes it possible to plan around the patio you actually have.