How Long Does It Take to Assemble an IKEA PAX Wardrobe?
Plan beyond the empty frame: understand published timing estimates and the steps needed to finish your complete PAX configuration.
Table of contents
Use published times as a starting pointIdentify the PAX frame version before planningCount the work inside the wardrobeBuild a schedule for the whole visitPrepare the room before assembly dayAgree what finished means
A published April 2026 guide from Flat Rate Assembly estimates two to three hours for a first-time DIY two-door PAX and four to five hours for a four-door PAX. Its professional estimates are shorter. These are one NYC provider’s benchmarks, not universal PAX completion times. Your frame version, interiors, doors, wall installation, and room preparation determine how useful those numbers are for your own day.
Use published times as a starting point
The table compares the same provider’s published categories. It does not identify every frame generation, interior layout, or installation condition behind those estimates. A “four-door PAX” description is therefore too broad for a firm appointment promise. Ask the assembler to review the exact shopping list rather than choosing the shortest number in a search result.
| Published category | First-time DIY | Professional |
|---|---|---|
| Two-door PAX | 2–3 hours | 60–75 minutes |
| Four-door PAX | 4–5 hours | 90–120 minutes |
Do not multiply a two-door estimate to predict every larger system. More sections can involve repeated frame work, but a corner layout, sliding doors, or many drawers adds a different mix of tasks. Preparation may be shared across several frames, while each additional drawer still needs its own fitting and checks. The total is a project estimate, not simply minutes per door.
For a first DIY build, keep the rest of the day flexible until you have reviewed the instructions and component list. A larger or unfamiliar configuration may not fit the available session. If clothes must be put away by a specific evening, agree a realistic completion plan first and keep temporary storage available until the installation is finished.
Identify the PAX frame version before planning
Current U.S. foldable PAX frames open like a book and are mounted upright in their intended position using the supplied wall rail. IKEA describes fewer assembly steps and fittings for this design. That changes the process compared with older frames, so a video or timing report for a different version may not describe the product in your cartons.
The shorter frame-building process does not remove the rest of the job. The rail location, wall fastening, interior layout, doors, and final adjustments still need attention. Use the article number to match the manufacturer’s instructions, and tell your assembler whether the wardrobe is new, previously assembled, or a mix of components from different purchases.
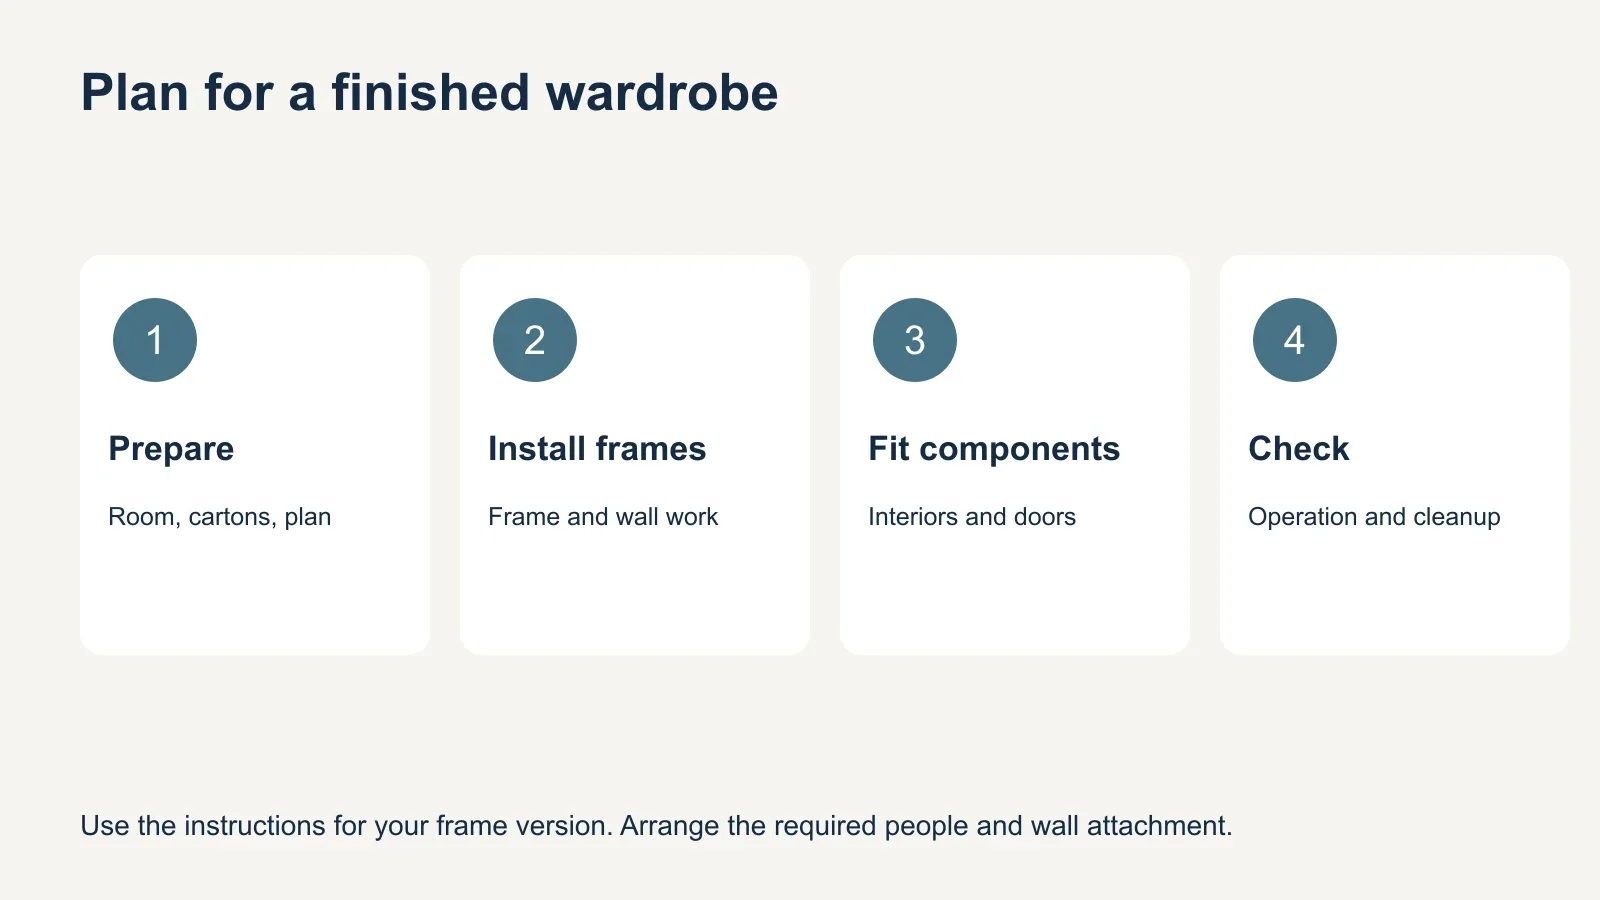
IKEA recommends at least two people for PAX assembly to reduce the risk of injury and product damage. Arrange the required help before starting. Two people also do not automatically halve the total time: some steps are sequential, and the team still has to coordinate handling. Confirm the team arrangement when requesting an appointment estimate.
Count the work inside the wardrobe
Two PAX layouts with the same outside dimensions can have very different interiors. A few hanging rails and shelves involve a different set of steps from drawers, baskets, and pull-out fittings. Make a quantity list for every frame. “Three sections” is useful, but “three sections with eight drawers and two pull-out baskets” is more useful for scheduling.
Decide shelf, rail, and drawer positions before assembly, using the compatible layout for your doors and fittings. Changing the arrangement after runners and shelves are installed can require work to be repeated. Keep the final plan available on the day rather than asking the assembler to work from several conflicting screenshots.
Doors add another stage. Hinged and sliding systems use different hardware and adjustment procedures, and both need the correct clearances. Include door models and quantities in the time estimate. An open wardrobe estimate should not silently become a fully enclosed installation once the visit starts.
Build a schedule for the whole visit
Separate the time budget into preparation, frame and wall work, interiors and doors, and final checks. Include carrying or old-furniture removal only when those tasks are part of the agreed visit. This makes it easier to see whether an estimate ends with standing frames or with a wardrobe ready for its intended use.
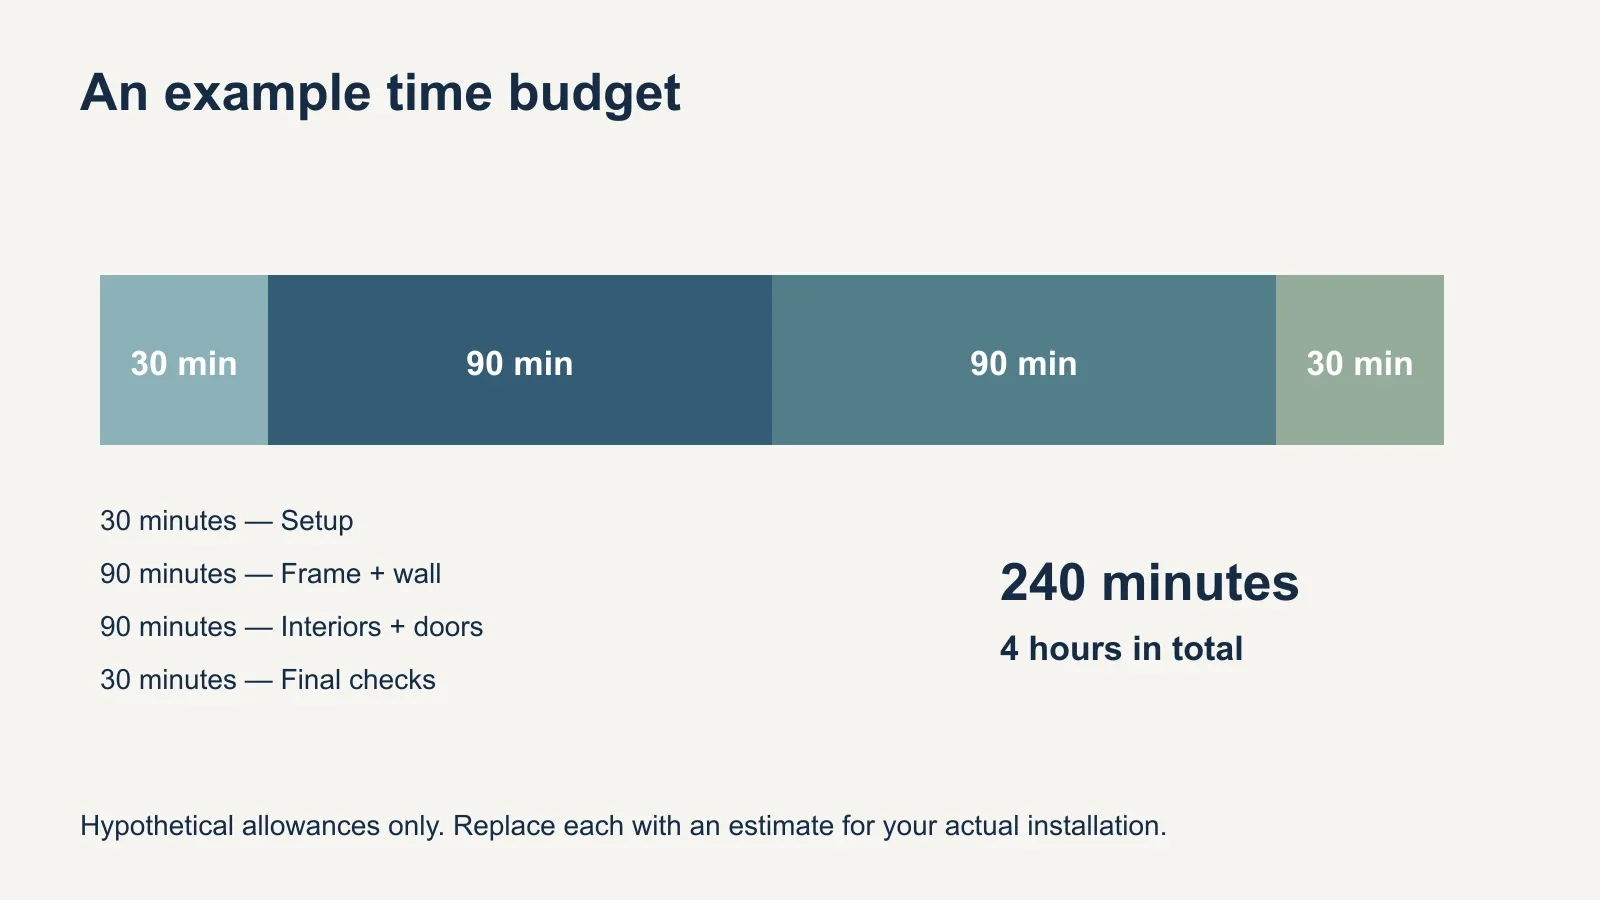
Here is a hypothetical scheduling exercise, not a measured PAX average: 30 minutes for setup, 90 minutes for frame and wall work, 90 minutes for interiors and doors, and 30 minutes for checks and agreed cleanup. Those allowances total 240 minutes, or four hours. Replace each allowance with the estimate for your actual configuration.
A missing component can stop the project rather than add a predictable number of minutes. Likewise, a wall attachment problem may need a solution before the frame can be installed. Identify those dependencies before booking around a hard deadline. An empty arrival window in your calendar is not the same as a confirmed completion time.
If you are comparing prices as well as timing, keep elapsed hours separate from labor-hours. Two workers present for three hours represent six labor-hours, but the visit lasts three hours. The furniture assembly cost guide explains why team size and included work matter when comparing an hourly estimate with a fixed configuration price.
Prepare the room before assembly day
- Confirm that all cartons and the correct instructions have arrived.
- Choose the final layout and label the component list by frame.
- Measure the room and check the assembly clearances in the matching manual.
- Identify baseboards, outlets, and wall conditions at the intended location.
- Agree carrying, old-furniture work, and packaging handling in advance.
- Keep the work area clear and arrange the people required by the instructions.
Preparation should not create rework. Keep small fittings with the correct item and avoid opening every hardware bag into one container. Ask the assembler whether cartons should stay sealed or be staged in a particular way. Do not begin modifying trim or wardrobe panels simply to make the appointment seem easier.
UPTask’s wardrobe assembly service distinguishes frames and interior fittings, with preparation services selected separately. Describe the full configuration and the room when discussing duration. That lets the time estimate cover the work you actually need, including any agreed handling beyond assembling the supplied pieces.
Agree what finished means
At handover, the selected components should be installed, moving fittings should operate as intended, and the manufacturer’s required wall attachment should be complete. Check doors and drawers before loading the wardrobe. A fast build that still needs an unresolved installation step is not the same result as a finished, usable system.
- Does the estimate include every frame, door, drawer, and pull-out fitting?
- Does the team have the correct instructions for this PAX version?
- What room preparation must be finished before arrival?
- Which conditions could prevent completion during the visit?
- What checks and cleanup are included at the end?
For a Bay Area project, review UPTask’s furniture assembly options and share the final PAX list before fixing your schedule. Use published times to frame the conversation, then plan around the estimate for your installation. The most useful deadline is the one attached to a complete and agreed scope.