IKEA PAX Ceiling Height Requirements: Will It Fit During Assembly?
Check the frame version, assembly method, and door requirements before deciding whether a PAX wardrobe fits under your ceiling.
Table of contents
Match the measurements to your exact frameSeparate standing height from assembly clearanceMeasure the lowest usable space, not one spotCheck sliding doors as a separate requirementWhat to do when the measurement is too closeGive your assembler a complete fit check
For the current U.S. tall PAX frame example checked here, IKEA specifies 93¼ inches minimum ceiling height for upright assembly and 94½ inches with sliding doors. The shorter frame example needs 79½ inches and 80¾ inches, respectively. Those are model-specific requirements, not a rule for every PAX ever sold. Match your article number, measure the installation area, and check the frame and door instructions before ordering or assembly.
Match the measurements to your exact frame
PAX has been sold in different versions. Current U.S. foldable frames are designed for upright wall-rail installation; older instructions may describe a different assembly route. Start with the article number on your order or carton, not a general search for “tall PAX.” Keep the corresponding frame instructions and the instructions for any doors together.
Product labels can also use a nominal frame size that differs from another measurement shown on the same page. The tall example below is labeled 92⅞ inches in its size name, while its Measurements section lists a height of 93⅛ inches. Use the explicit installation requirement to assess assembly clearance rather than subtracting only the number in the product title.
| Frame example | Minimum for upright assembly | Minimum with sliding doors |
|---|---|---|
| Short frame, article 905.881.66 | 79½ in. | 80¾ in. |
| Tall frame, article 705.881.67 | 93¼ in. | 94½ in. |
These examples identify the exact products checked; the table is not a substitute for the instructions supplied with a different frame or door system. Confirm your own combination before treating a measurement as sufficient. For an older or secondhand wardrobe, obtain the matching manual before disassembly or relocation.
Separate standing height from assembly clearance
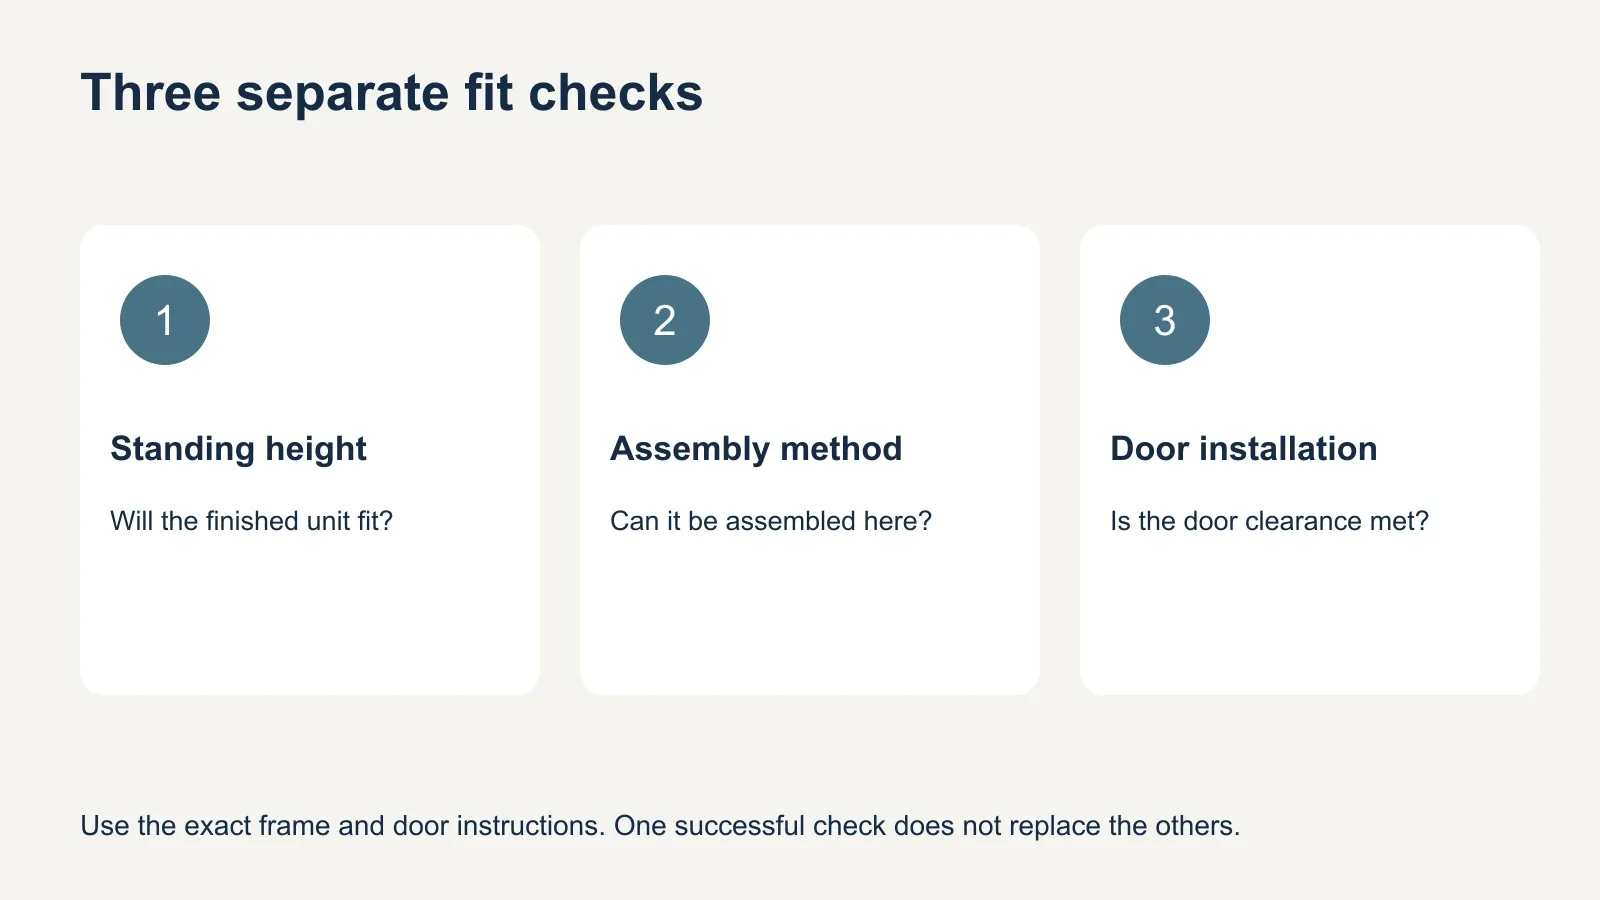
Three different questions matter: will the finished wardrobe stand in the space, can the frame be assembled there, and can the selected doors be installed and operate correctly? Passing the first check does not automatically pass the others. Plan around the most demanding requirement that applies to your complete configuration.
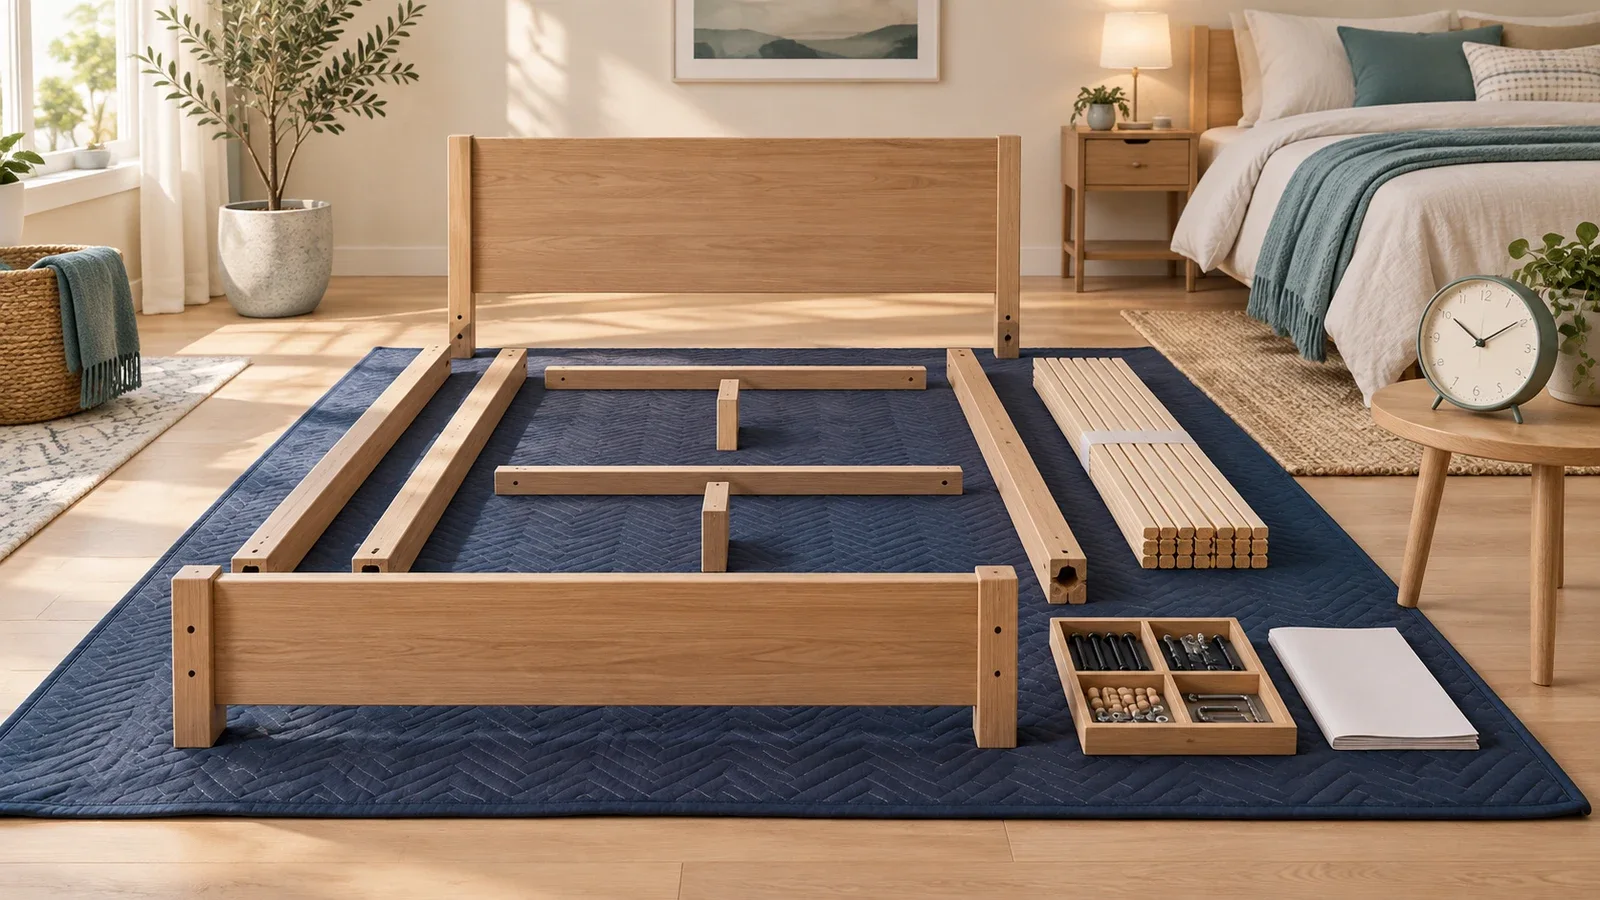
A rigid rectangular frame being tilted from horizontal to vertical needs more room at part of that movement than it does when standing straight. Current foldable upright frames avoid that particular floor-to-standing assembly route. Do not apply an old tilting calculation to a new frame as though it were the prescribed method, or assume a new method is approved for an old frame.
IKEA’s older instruction AA-1301941-11 illustrates separate floor-assembly and upright routes for different ceiling conditions. That is a useful reminder that the method matters, but its figures belong to that instruction and product. Follow the applicable sequence instead of choosing the method that appears quickest in an unrelated video.
Measure the lowest usable space, not one spot
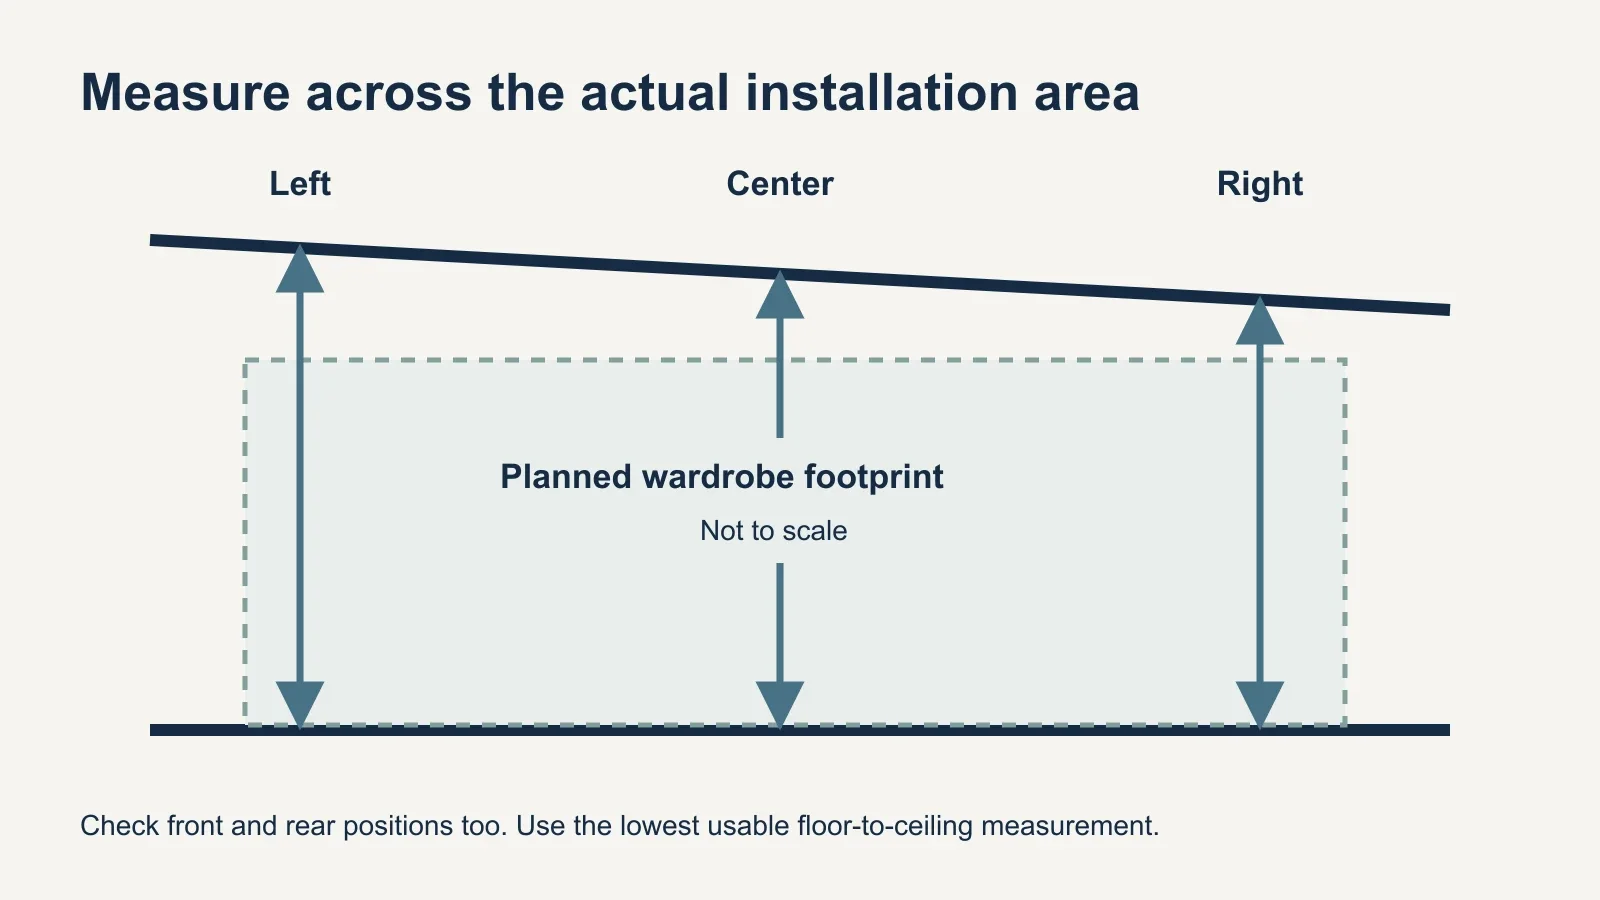
Measure from the finished floor where the wardrobe will stand. Check the left, center, and right of the intended run, as well as the front and rear of its footprint. Record the smallest usable floor-to-ceiling dimension. A reading in the middle of the room can miss a soffit, sloping ceiling, or local change above the wardrobe position.
- Mark the intended wardrobe footprint and full width.
- Measure floor-to-ceiling height at several points within it.
- Record beams, soffits, ceiling trim, and other obstructions.
- Check the space needed by the assembly method and selected doors.
- Include any planned platform or flooring change in the calculation.
- Compare the lowest usable measurement with the matching instructions.
Keep the tape vertical and recheck a close result rather than rounding upward. If the floor needs leveling or the design includes a raised base, the final height budget changes. A platform that improves the appearance may reduce overhead space enough to affect assembly or door installation. Resolve the complete design before buying the tall frame.
Check sliding doors as a separate requirement
The checked tall frame example needs 94½ inches for sliding doors, which is higher than its 93¼-inch upright-assembly minimum. A 94-inch room therefore clears the stated upright minimum for that example but falls short of the sliding-door requirement. That comparison does not establish that the whole installation works; other clearances and the exact components still need checking.
A nominal eight-foot ceiling measures 96 inches. Against the checked tall sliding-door minimum, that leaves a calculated 1½ inches: 96 − 94½ = 1½. If you add a hypothetical two-inch platform, only 94 inches remains, so that setup no longer meets the same minimum. This is a planning example, not a recommendation to build a platform.
Hinged doors require their own checks, especially beside a return wall or projecting trim. Ceiling clearance alone does not establish that a door can swing or that a drawer can open past a hinge. Review the complete arrangement instead of deciding on a door system only after the frames have been installed.
What to do when the measurement is too close
If the measured space is below a required minimum, pause the installation plan. Compare a shorter compatible frame, a different location, or a revised door configuration, and check each option against its own instructions. Do not force a tall frame upright, omit required hardware, or cut structural panels as an improvised way to gain clearance.
If the result is exactly at the listed minimum, verify the measurement and the complete assembly conditions carefully. Small floor or ceiling variations can make one end of the run tighter than the other. Ask the installer to review the room measurements and product information before confirming that the intended sequence can be carried out there.
Room changes also affect scope and budget. Removing ceiling trim, altering a base, or adding custom finishing is separate from simply assembling supplied furniture. The furniture assembly cost guide helps distinguish a standard build from additional work when you request an estimate.
Give your assembler a complete fit check
- Product: frame article numbers, quantities, dimensions, and door models.
- Measurements: the lowest usable height and any variation along the run.
- Room photos: ceiling, floor, wall, baseboards, and nearby obstructions.
- Design changes: platforms, flooring, trim, or other planned alterations.
For a Bay Area installation, share these details through UPTask’s wardrobe assembly service before fixing the appointment scope. If the design changes, repeat the clearance check. The broader furniture assembly options can help you describe the full project once you know which configuration fits.