IKEA PAX Door Adjustment: How to Fix Uneven Doors and Gaps
Uneven PAX doors can start with the frame, the hinge installation or the final adjustment. Follow a diagnosis-first sequence before turning screws.
Table of contents
Start with the frame, not the visible gapMatch the symptom to the next checkIdentify the hinges and check their installationAdjust one direction at a timeTreat sliding doors and damaged parts separatelyFinish with a full operation check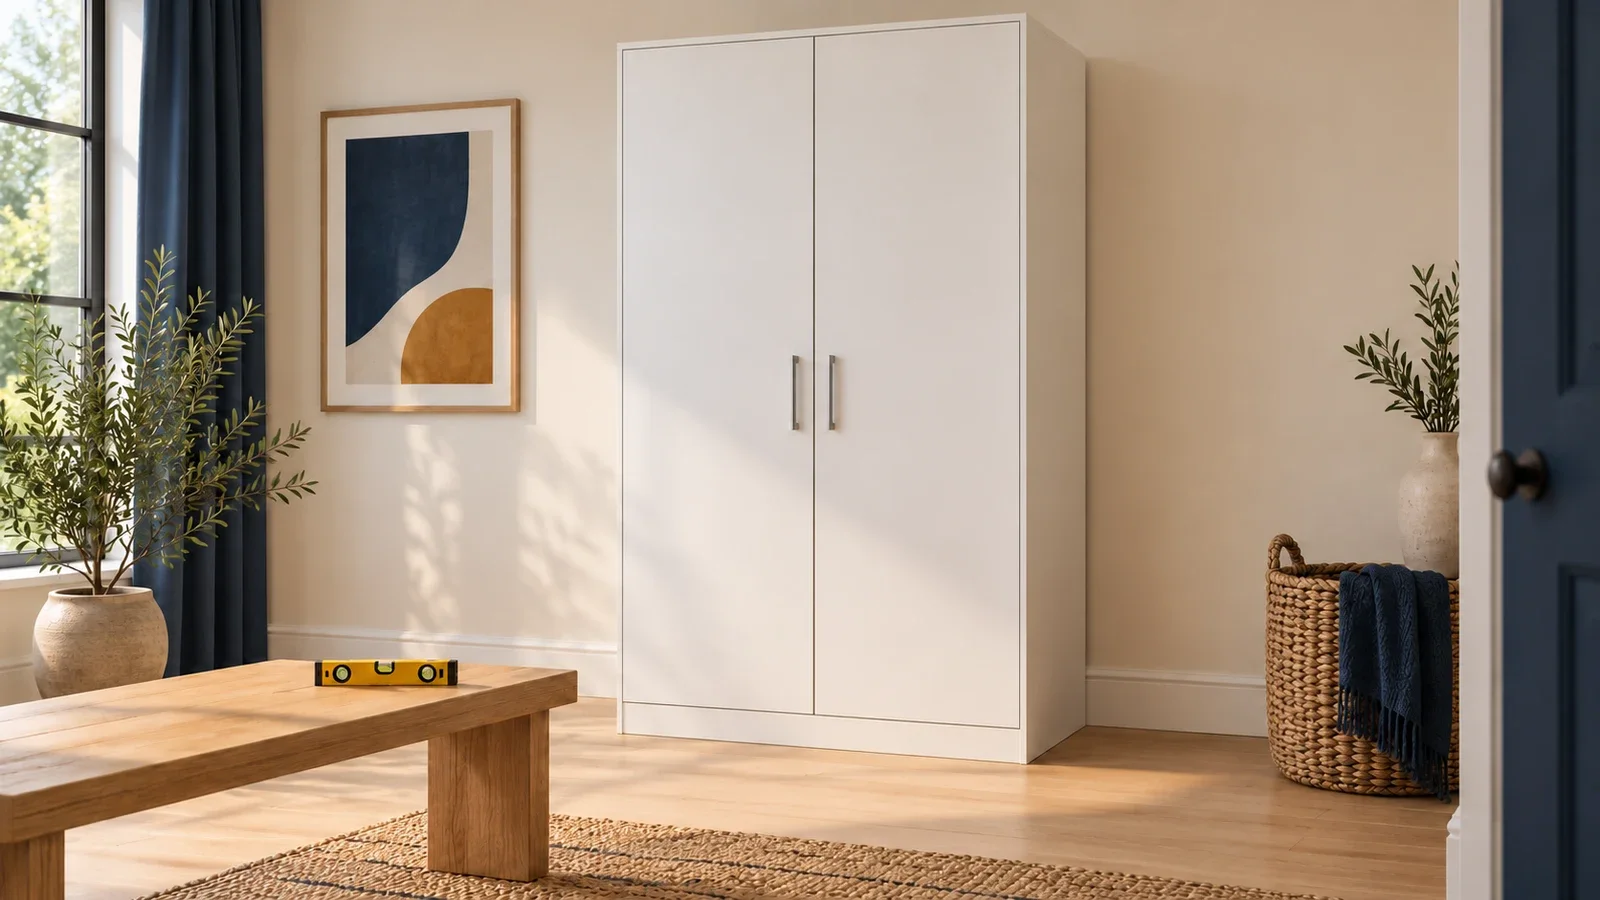
To fix uneven IKEA PAX doors, check the wardrobe frame before adjusting the hinges. A frame that is not level or properly assembled can make the doors appear crooked even when the hinges are installed correctly. For hinged doors, identify your KOMPLEMENT hardware and use its instructions to adjust the appropriate direction in small steps. Sliding doors use a different system and need their own track, roller and alignment checks.
Start with the frame, not the visible gap
Check whether the problem affects one door, a pair on one frame or several frames in a row. If the whole run appears to lean, or the gap changes after the wardrobe is loaded, investigate the underlying assembly and support. Repeated hinge adjustments are unlikely to provide a lasting result while the cabinet itself is changing position.
IKEA’s PAX troubleshooting guidance calls for the frames to be level horizontally and upright vertically before hinge adjustment. Check across the top or another suitable reference surface, then along the sides. Compare adjacent frames as well as each frame individually. A visually straight ceiling or baseboard is not a reliable substitute for a level.
Our guide to PAX on uneven floors explains why the permitted leveling adjustment depends on the frame. Do not loosen wall attachments or force a loaded wardrobe sideways to make the doors line up. If the frame needs correction, arrange a safe, model-specific adjustment of the installation before continuing with the doors.
Match the symptom to the next check
| What you see | Check first | Possible next step |
|---|---|---|
| One door sits higher | Frame level and specified hinge positions | Height adjustment after installation is verified |
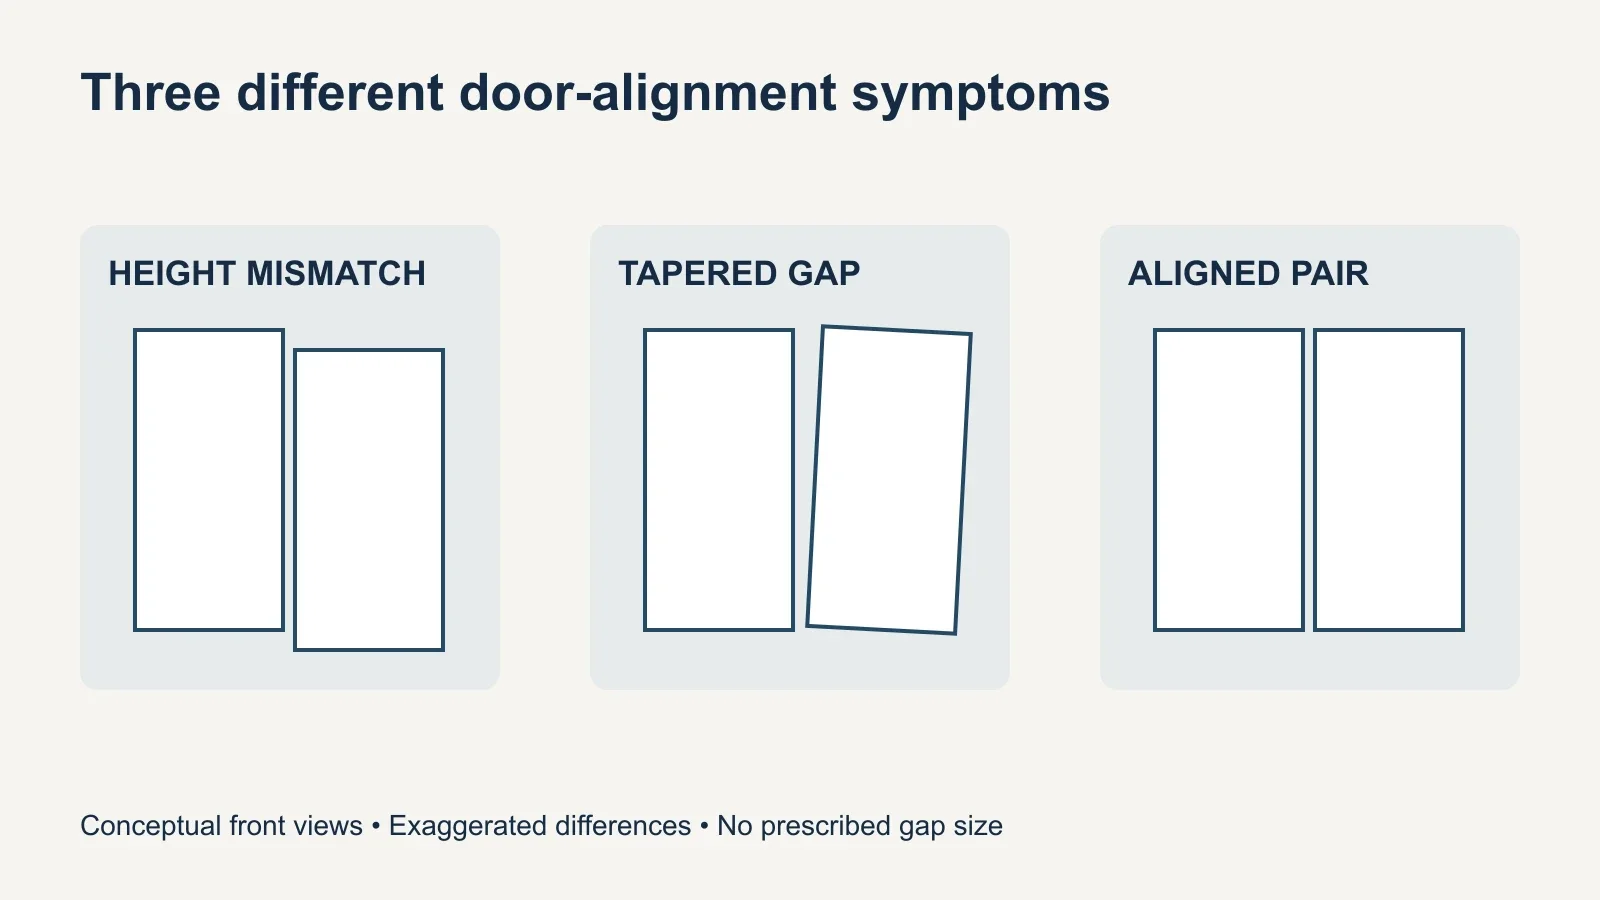
| Center gap widens toward one end | Frame geometry, then door alignment | Controlled lateral adjustment if the frame is correct |
| One front edge projects farther out | Obstructions, hinge seating and door depth | Depth adjustment using the hinge guide |
| Doors rub when closing | Interior interference and lateral alignment | Remove the obstruction or adjust the relevant direction |
| Very large gap at a hinge side | Correct hinge type, orientation and installation | Correct assembly before fine adjustment |
| Sliding door sits crooked | Track, rollers and installation sequence | Use the sliding-door instructions |
A tapered gap is a useful observation, but it is not proof that one particular screw needs turning. Photograph the closed doors straight on and note where the gap is widest. Then open the affected door and compare the hardware with the correct assembly drawing. This keeps the diagnosis tied to the actual installation.
Identify the hinges and check their installation
Find the hinge packaging, article number or matching assembly instructions. PAX door hardware has changed over time, and corner arrangements can differ from an ordinary straight run. Use the instructions for the hardware actually fitted, rather than copying a screw map from a photograph of a different hinge.
Confirm that the hinges are seated and installed in the specified orientation. IKEA identifies incorrect hinge orientation as one possible cause of an unusually large gap. That is an installation issue, not a reason to keep using the full adjustment travel. If correcting it requires releasing the door, support the door and follow the removal and refitting procedure.
Hinges on opposite doors do not always occupy identical-looking positions. IKEA explains that some 201-centimeter PAX configurations have offset hinge positions by design. Do not move a hinge to another hole simply to make it look symmetrical. Match the door and frame instructions, and check that drawers or other interior fittings do not occupy a conflicting position.
Adjust one direction at a time
The useful directions are height, side-to-side position and depth. Height changes how the top and bottom edges align. Lateral movement changes the relationship between neighboring door edges. Depth changes how the door face sits relative to the frame. The exact control and permitted movement depend on the hinge version; the hinge guide is the reference for which screw does what.
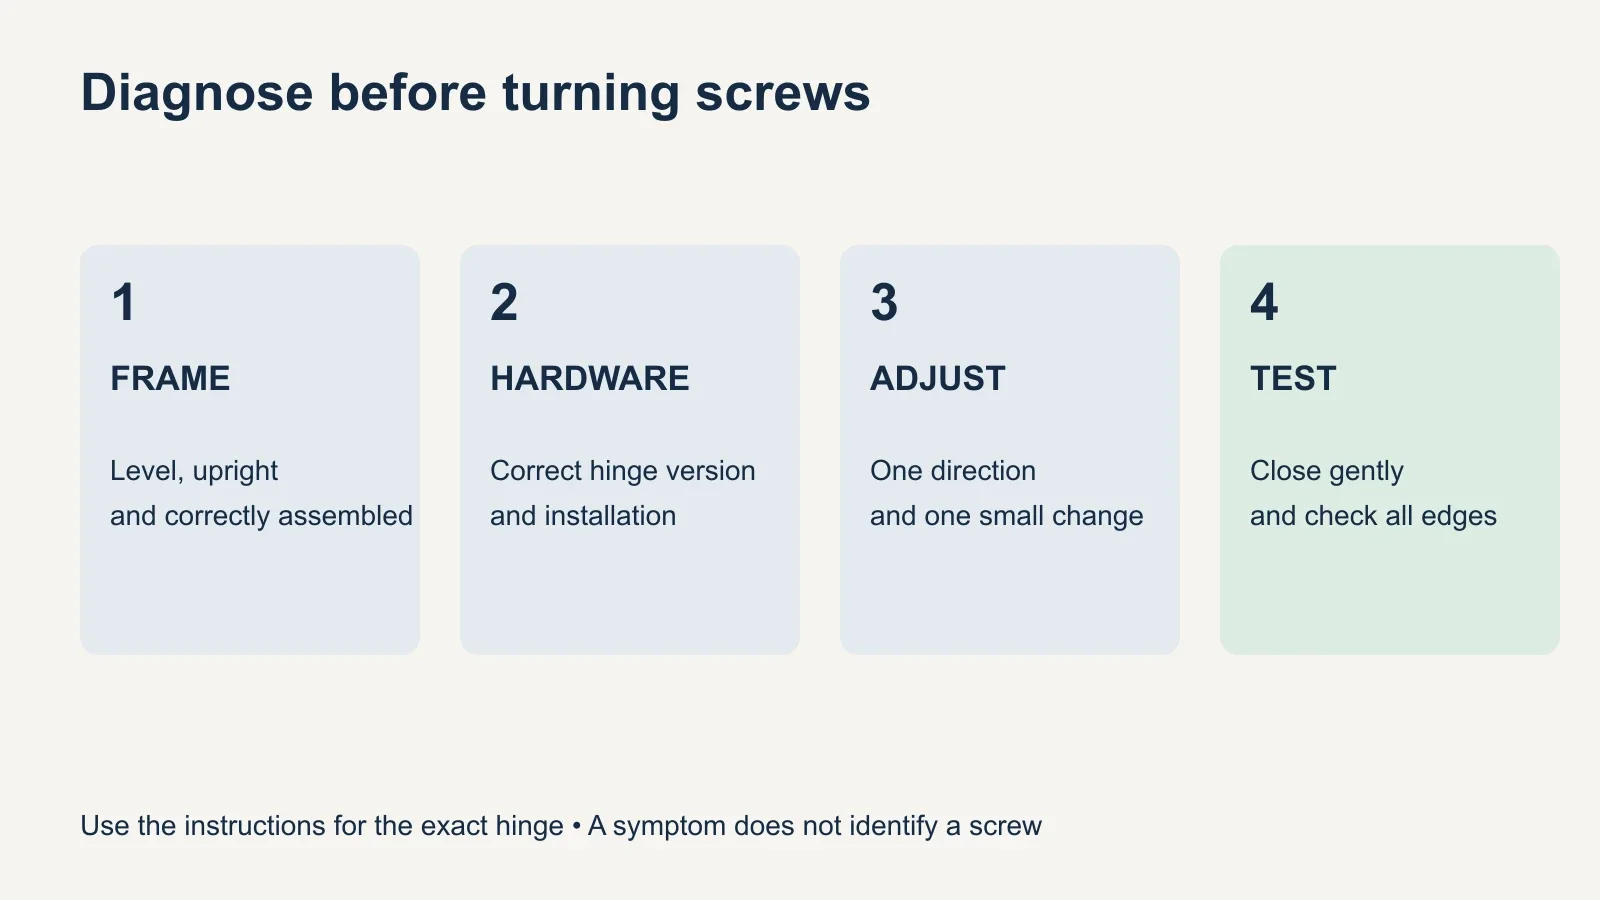
Use a suitable hand screwdriver for controlled changes. Begin with a small adjustment, close the door gently and look at the result before making another. If the intended direction is unclear, stop and recheck the diagram. A power driver can make it harder to notice a small change or avoid overtightening.
- Record the starting gap and identify the affected door and hinges.
- Confirm the frame, hinge orientation and mounting positions before adjustment.
- Choose the direction that addresses the symptom and identify its control in the manual.
- Make a small change, keeping the door supported whenever the instructions require it.
- Close gently, compare the whole door edge and test for rubbing.
- Repeat only as needed, then confirm all required fasteners remain secure.
Avoid trying to remove every visible gap. The doors need operating clearance, and their correct relationship is defined by the product. For a pair of doors, compare the top, middle and bottom rather than judging the handles alone. After each change, also check nearby doors so that correcting one edge does not create another collision.
Treat sliding doors and damaged parts separately
Sliding PAX doors do not use the same adjustment procedure as hinged doors. Inspect the rail installation, roller engagement and the positions specified in the sliding-door manual. IKEA’s guidance notes that incorrect left-right installation can produce a large side gap. Do not apply that explanation to every sliding-door system or swap heavy panels without checking the instructions.
A door that binds, drops unexpectedly or has damaged fittings needs more than cosmetic alignment. Stop using it if a hinge is loose in damaged material, the door is cracked or a retaining part is missing. Identify the replacement part or repair with the manufacturer or an appropriate installer. Tightening harder into a damaged hole is not a dependable fix.
Likewise, do not trim a door, enlarge hinge holes or bend hardware as a first response to rubbing. Those changes can hide the original assembly issue and may make the correct adjustment impossible. Check whether an interior drawer, projecting item, handle or adjacent wall is the actual obstruction before altering the door.
Finish with a full operation check
Open and close each affected door through its intended movement. Check the center gap, neighboring fronts, drawers and soft-closing action. Recheck after the contents are arranged, without exceeding the product’s limits. If the same misalignment returns, investigate support, attachment or damaged hardware instead of repeating the same adjustment indefinitely.
Door alignment does not replace the wardrobe’s required wall attachment. The PAX wall-attachment guide explains that separate requirement. A cabinet can have attractive, even door gaps and still need its installation corrected; appearance is only one part of the final check.
If you need help, start with UPTask’s furniture assembly services and send the team the PAX frame and door details, hinge photos and a straight-on view of the gap. Ask whether inspection and adjustment of your existing wardrobe can be included in the work. That gives the team a clearer problem to assess than “the doors look uneven.”