Should You Disassemble Furniture Before Moving or Move It Assembled?
Some pieces travel better intact; others need removable parts taken off. Base the decision on the construction, the route at both homes and the reassembly plan.
Table of contents
Start with the route at both homesLet the joints and condition determine the optionsCompare the likely approach by furniture typeKeep every removed part traceablePut disassembly and reassembly in the service scopeCheck the rebuilt furniture before use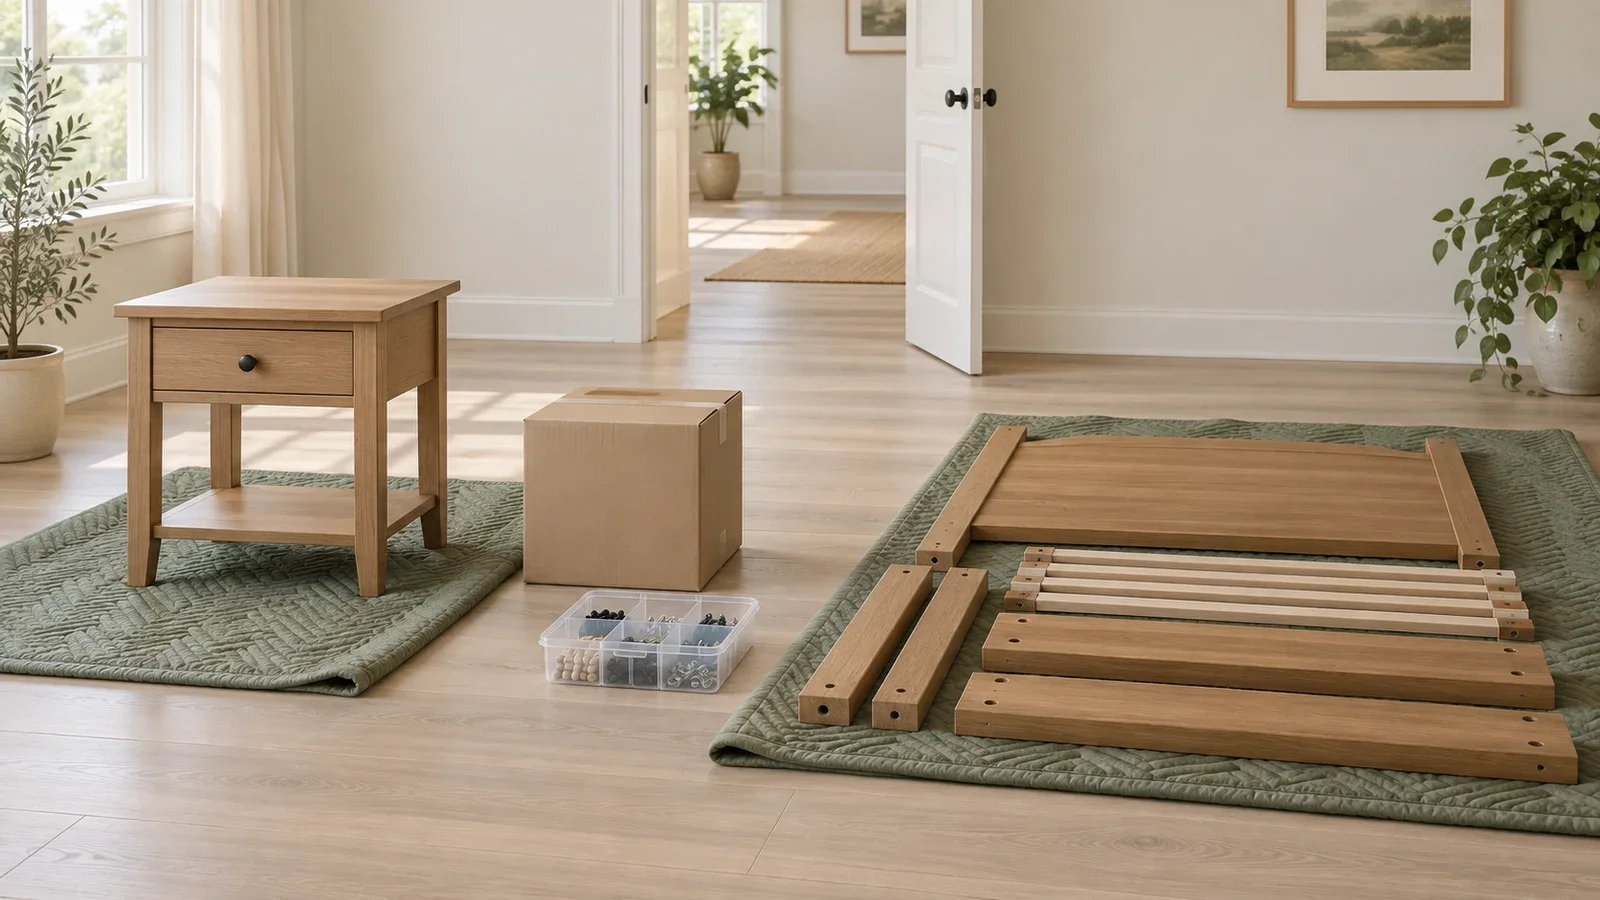
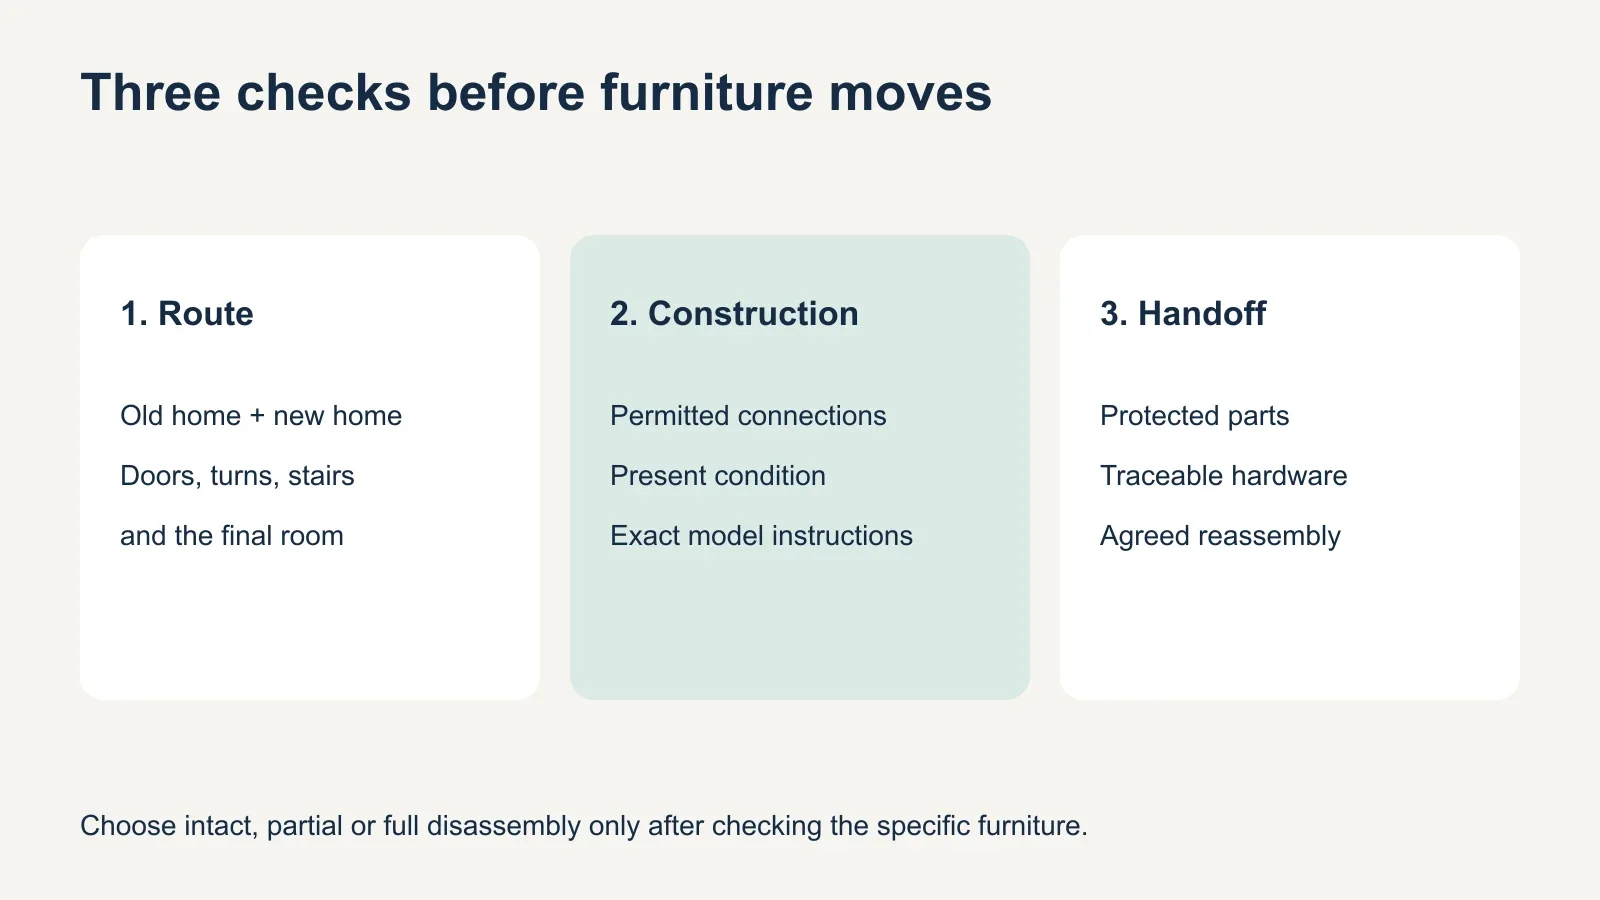
Disassemble furniture before moving when its design allows it and taking it apart solves a real access or handling problem. Move a sound, manageable piece intact when the route permits and dismantling would disturb permanent or weakened joints. Often the useful middle option is partial disassembly: remove specified legs, modules or other detachable components while leaving the main structure together.
Make that choice before moving day. Check the exact model, its condition, the route out of the old home and the route into the new one. Then confirm who will take it apart, protect the pieces and rebuild it. A furniture item that leaves one bedroom successfully still needs a workable plan for the next bedroom.
Start with the route at both homes
Measure the furniture’s overall dimensions, including projecting feet, handles and headboards. Compare them with door openings, stair landings, elevator interiors and the final room. A doorway width alone does not describe a turn into a narrow hall. Ask the mover to assess awkward changes of direction rather than treating one measurement as proof that the piece will fit.
U-Haul’s large-furniture moving guide recommends measuring doorways, clearing the route and removing suitable detachable parts where needed. The practical question is which part causes the obstruction. If a manufacturer-removable table leg is the issue, dismantling the tabletop structure adds work without necessarily improving the move.
For a practical example, imagine a dining table that fits through both front doors but cannot make the turn into the new kitchen with its legs attached. If the manual provides removable leg connections and those connections are sound, taking off the legs may solve the identified problem. If the legs are permanently joined, that same route measurement calls for a different assessment—not an attempt to break the joints. Record the obstacle and the permitted change together so everyone is working from the same plan.
Keep the destination layout in the decision. A wardrobe might pass through a ground-floor door but fail at an upstairs landing. A bed headboard may be wider than the doorway even after the rails are removed. Share those details when the job is assessed; do not assume extra wrapping or an extra helper changes the available opening.
Let the joints and condition determine the options
Find the manufacturer and model number, then review the assembly or disassembly instructions. Look for components specifically intended to separate. A visible screw is not by itself an invitation to dismantle a piece. Glued joints, damaged fasteners, cracked panels and previous repairs can make the original assembly sequence a poor guide to a safe move today.
IKEA’s assembly guidance cautions that its furniture is generally not designed for repeated disassembly after completion. Removing screws driven into the material can weaken their hold when reassembled. It also explains that disturbing a nailed back can leave a cabinet vulnerable to distortion. Treat these as reasons to assess the particular piece, not as a claim that every IKEA item must move intact.
Photograph existing splits, loose joints and missing fittings before a professional assessment. A sound component can sometimes remain assembled while designed connections elsewhere are released. A damaged connection may need an approved replacement part or a repair decision first. Avoid turning a route problem into a structural problem by forcing glued joints or pulling fasteners out of weakened material.
Compare the likely approach by furniture type
| Furniture | Possible approach | What changes the decision |
|---|---|---|
| Bed frame | Separate rails, supports and headboard as the instructions allow | Storage, lift mechanisms, wiring and oversized upholstered parts |
| Dresser | Keep a sound cabinet intact if the mover approves the route and handling | Weak joints, damaged back, removable drawers and wall restraints |
| Wardrobe | Assess detachable sections and the frame before planning transport | Tall panels, door system, back construction and destination access |
| Dining table | Remove designed detachable legs or extensions if useful | Glued joints, stone or glass tops and specialist handling needs |
| Modular sofa | Separate modules through the specified connectors | Fixed upholstery, recliner mechanisms and powered components |
This table is a planning guide, not permission to dismantle a particular model. For a dresser, ask how drawers and loose shelves should be handled and secured during transport. Do not leave heavy contents inside merely because the drawers close. For a bed, keep its center supports and other required fittings in the inventory even if they seem small beside the rails.
A wardrobe deserves particular attention because a large, empty frame can still be difficult to handle. Removing its doors does not necessarily make the remaining cabinet suitable for transport. If the back contributes to the structure, do not remove only that panel to make the piece lighter and assume the frame remains stable. Follow the model’s instructions and the mover’s assessment.
Keep every removed part traceable
Create a separate hardware set for each piece of furniture. If two beds look similar, label them by room and model rather than putting all the bolts in a shared bag. Photograph the original arrangement and retain the manual. These records help the person rebuilding the furniture distinguish intentional disassembly from a missing or damaged part.
- Record the model, final room and existing condition before work starts.
- Agree which components will be removed and how they will be protected.
- Separate hardware by furniture item and, where useful, by assembly stage.
- Label bags and protected components without marking finished surfaces.
- Keep the manual and photos with an accessible moving inventory.
- Check that the matching hardware set arrives with each furniture item.
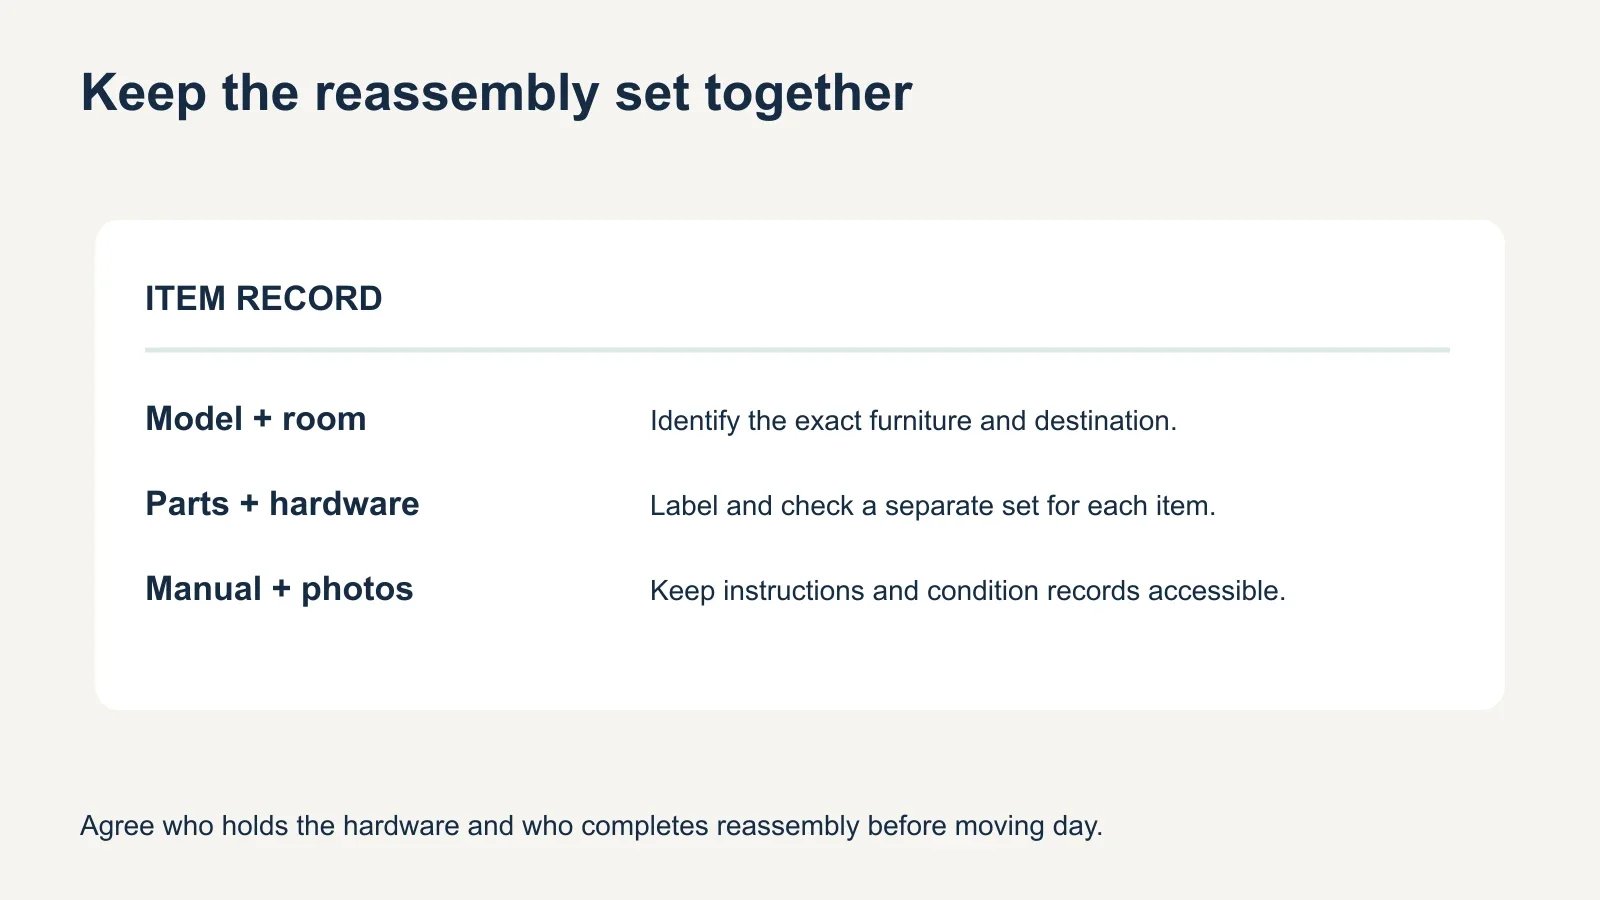
Choose a secure, agreed location for hardware during transit. A bag loose in a drawer can be misplaced when the drawer is removed, and adhesive tape may damage a finish. Coordinate storage with the packing team instead of inventing a fixing method on moving day. Keep small parts away from children throughout packing and unpacking.
Put disassembly and reassembly in the service scope
Ask the mover to identify which furniture it will dismantle and which items it will reassemble. Mayflower, for example, describes delivery-day reassembly for furniture its crew disassembled for the move. That does not establish the scope of every mover or guarantee that a crew will rebuild furniture the customer took apart independently.
- Does the estimate name the items and their current condition?
- Who handles specialty components, glass, mechanisms or electrical connections?
- Will furniture travel to its final room or stop at another location?
- Who keeps the hardware and instructions during transit?
- Does the destination work include the required wall attachment?
- What happens if a panel is damaged or a replacement fitting is needed?
Compare the whole scope before choosing a price. Disassembly, protective packing, transport, reassembly and wall attachment are separate tasks that may be grouped differently. An assembly quote alone is not a moving quote. The furniture assembly cost guide can help frame the assembly portion, but the actual moving estimate needs its own item list and access details.
Check the rebuilt furniture before use
At the destination, compare the delivered parts with the inventory before assembly begins. Report missing or damaged components promptly. Reassembly should follow the manufacturer’s instructions, including required supports, fasteners and restraints. Do not substitute an almost-fitting bolt or skip a damaged support simply to finish the room sooner.
Have required wall attachment assessed for the new location; the wall construction and suitable hardware may differ from the old home. For PAX, the wall-attachment guide explains why placing the wardrobe upright is not the end of installation. Check moving parts after the piece has been properly completed, and resolve loose or misaligned components before normal use.
Schedule essential pieces with delivery timing in mind. If a separate assembler is responsible for the bed, allow for the parts to arrive and be checked before that appointment. Keep the needed room clear and make the hardware accessible. A delivery delay or missing rail can prevent completion even when the assembler has enough time reserved.
If you need help with the assembly portion, send the model, photos, parts inventory and destination details when requesting furniture assembly service. Confirm that the provider accepts the condition and reassembly scope before booking. The useful outcome is a piece that can leave, arrive and be put back into service through a clear, agreed process.