Does IKEA PAX Have to Be Attached to the Wall?
Wall attachment is a required part of installing PAX. Check the frame version, wall conditions and permission to drill before assembly begins.
Table of contents
Current and older frames use different methodsThree connections solve three different problemsA heavy wardrobe is not exempt from anchoringWhat to do if you rent or cannot drill yetThe wall and room still need a fit checkMake wall attachment part of the handoff
Yes. IKEA PAX must be attached to the wall as directed in the instructions for the exact frame. Current U.S. foldable PAX frames use an included wall rail; an older PAX manual also requires the supplied wall-attachment devices. A wardrobe feeling heavy or standing upright does not remove that requirement. If drilling permission, suitable hardware, or the wall condition is unresolved, settle those issues before treating the installation as ready to use.
Current and older frames use different methods
The current U.S. PAX product information identifies the frame as wall-mounted and specifies its included rail. Its assembly warning makes clear that wall mounting is necessary to complete assembly. Plan the wall connection from the beginning rather than assembling the wardrobe first and deciding later whether it seems stable enough.
Older PAX instructions describe wall-attachment devices and separately selected wall screws and plugs. The hardware and sequence can therefore differ from a new foldable frame. Use the article number and matching instruction revision, especially for a secondhand wardrobe or a system assembled from purchases made at different times.
| Situation | What to identify | What does not change |
|---|---|---|
| Current U.S. foldable frame | Exact frame instructions and supplied wall rail | Complete the specified wall mounting |
| Older PAX frame | Matching manual and original attachment devices | Use the required wall attachment |
| Secondhand or incomplete system | Article number, missing hardware and condition | Resolve gaps before installation and use |
An instruction from a similar-looking wardrobe is not enough to identify a missing part. Photograph the product label and the attachment area when asking IKEA for help. If hardware is missing, request the correct replacement rather than improvising a connector whose dimensions happen to fit.
Three connections solve three different problems
Floor support, connections between adjacent frames, and attachment to the wall have separate roles in the installation. Joining two cabinets does not establish a connection to the building. Likewise, leveling a wardrobe changes its alignment but does not perform the job of the required wall hardware.
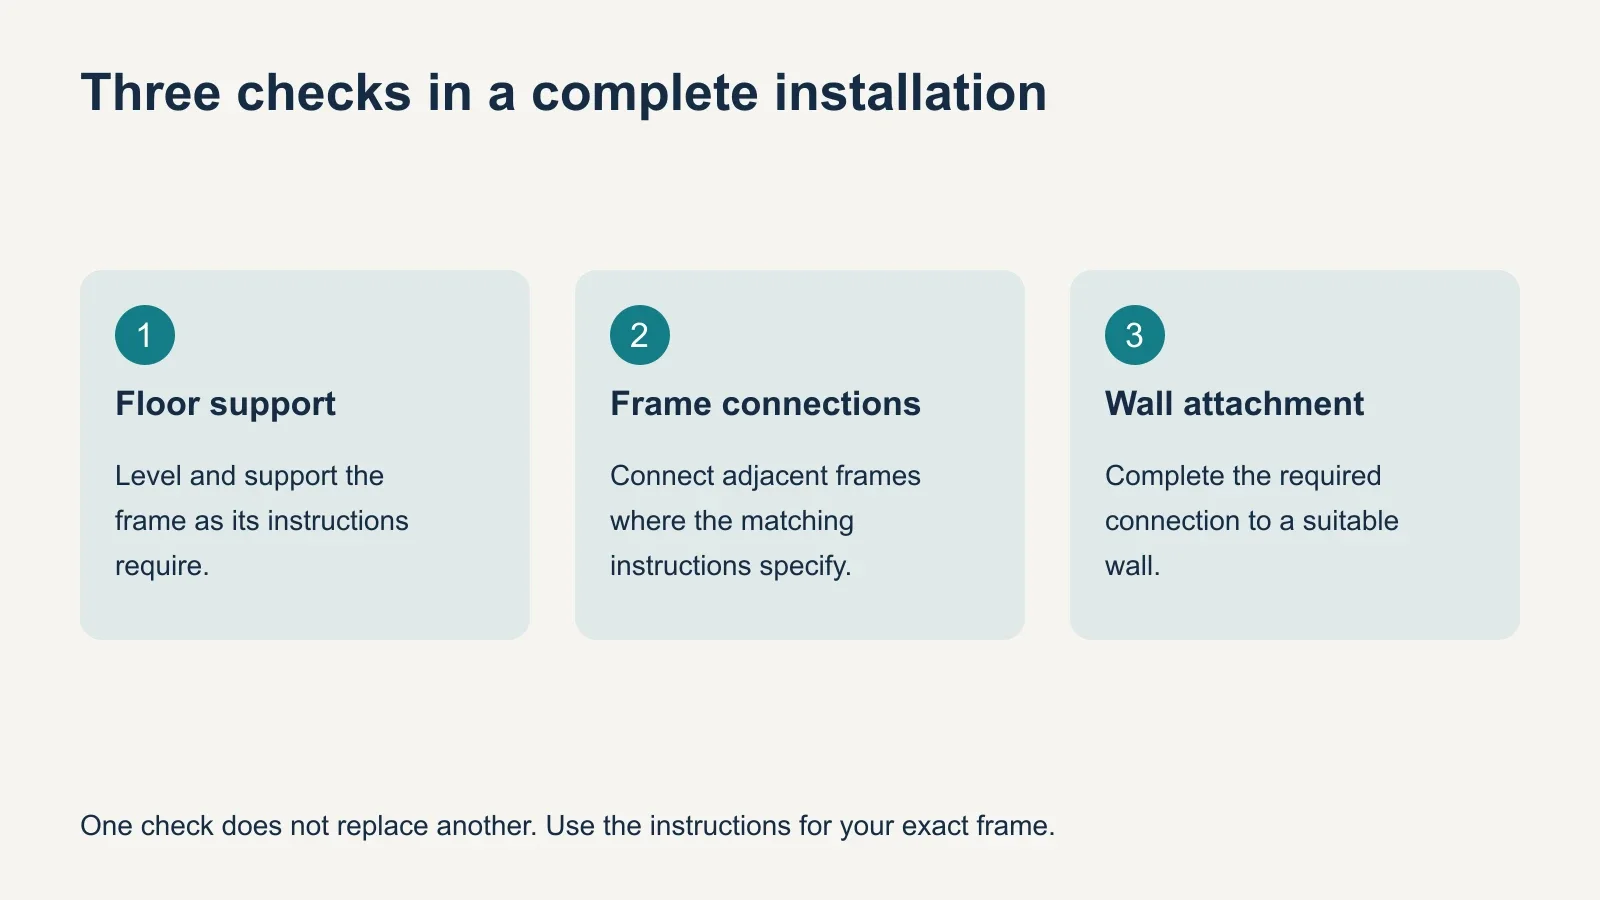
Do not judge completion by the front view alone. Even gaps, straight doors and a finished-looking interior tell you little about the wall connection behind or above the frame. Ask for that step to be included in the installation review before the wardrobe is filled.
The PAX assembly-time guide helps separate building the frames from completing the full configuration. When scheduling a visit, allow for the required mounting and final checks rather than defining the job as only putting panels together.
A heavy wardrobe is not exempt from anchoring
IKEA’s PAX-specific safety guidance explains that an improperly assembled or unsecured tall frame can tip and put both children and adults at risk. There is no exemption in the checked PAX instructions for a wardrobe that is full, has several connected sections, or sits in a room without children.
The U.S. Consumer Product Safety Commission’s Anchor It! guidance likewise calls for following the manufacturer’s furniture-securing instructions. Placing heavier belongings low and avoiding items that tempt children to climb are useful precautions; neither replaces required anchoring. Do not perform a push, pull or climbing test to decide whether an unanchored wardrobe is acceptable.
What to do if you rent or cannot drill yet
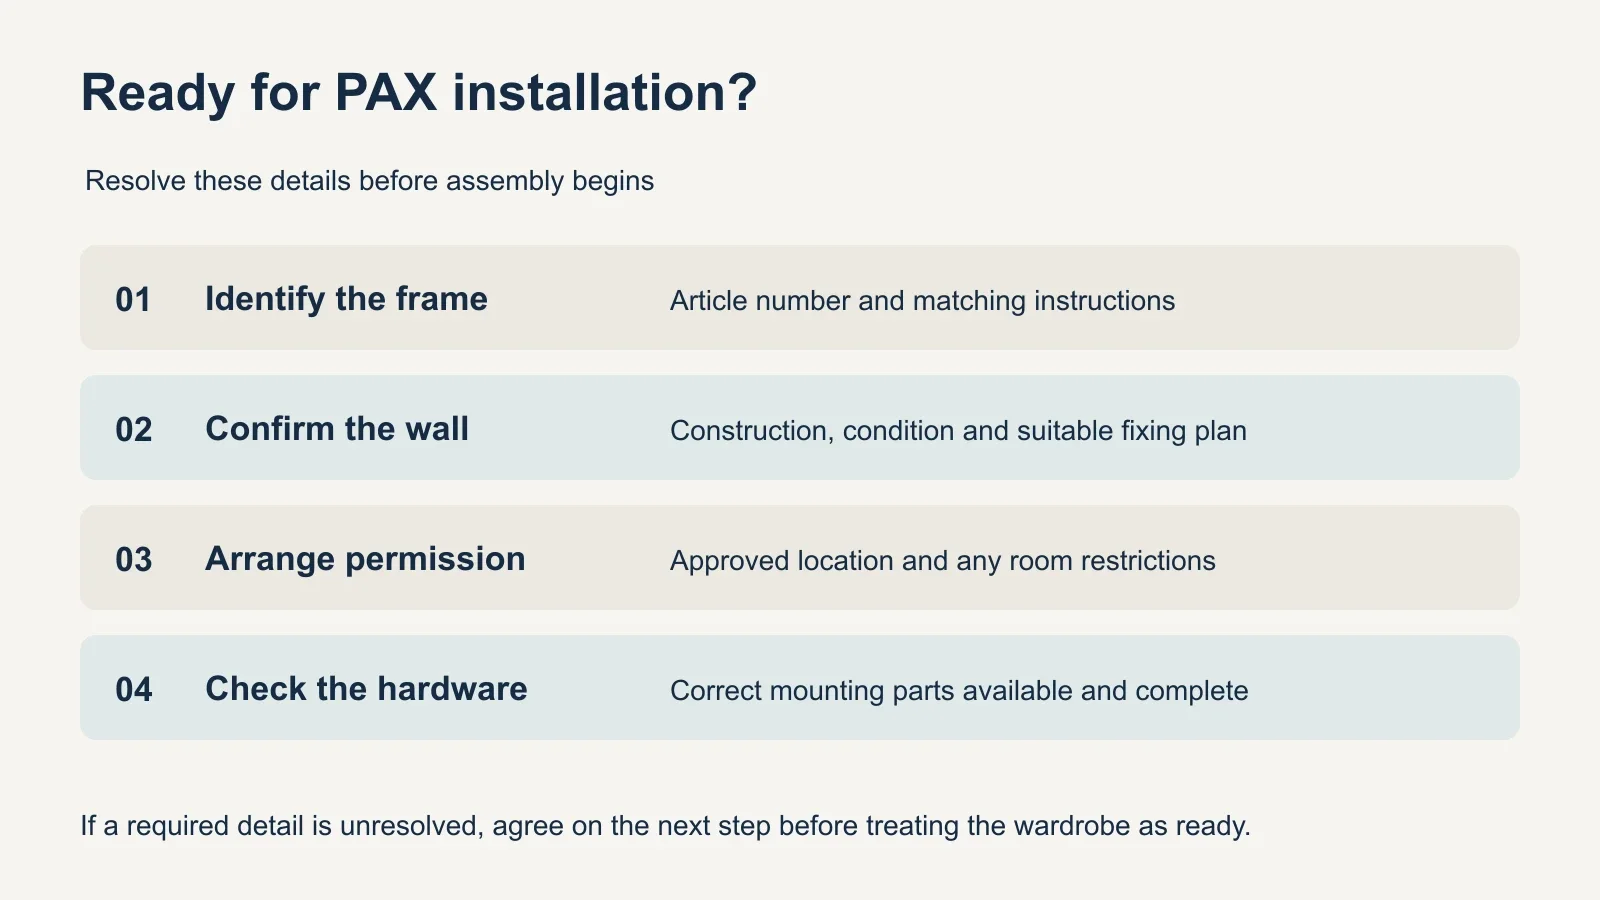
Discuss the actual installation with the person responsible for approving changes to the room. Provide the frame instructions and explain that wall attachment is required. Agree on the allowed location, who will do the work, and how any later wall repair will be handled. Keep that practical agreement with the assembly plan.
A restriction on making holes does not create a no-drill PAX method. Adhesive hooks, tape, pressure against the ceiling, or a snug fit between other furniture are not substitutions established by the checked PAX instructions. Do not buy a generic adhesive restraint on the assumption that its advertised rating makes it appropriate for this wardrobe.
If suitable mounting cannot be authorized or achieved, pause the PAX installation. Consider a different location with an acceptable attachment plan, or another storage product whose manufacturer’s installation requirements you can meet. Do not assume a shorter replacement automatically needs no anchoring; check its own instructions too.
The wall and room still need a fit check
A wall that looks solid in a photograph may be drywall over framing, plaster, masonry, or another construction. The correct fixings depend on the actual wall and the frame’s mounting system. IKEA directs users to choose suitable wall hardware and seek professional advice when uncertain. The presence of screws in the package does not establish compatibility with every wall.
Baseboards, a sloping floor, outlets and nearby door trim can affect the intended position. Use the PAX baseboard guide to identify interference before asking someone to mount the frame. Avoid solving a visible gap by bending mounting hardware, pulling the wardrobe out of alignment, or inventing a stand-off arrangement.
Resolve the ceiling-height and assembly-clearance checks at the same time. A wardrobe that fits the room’s width may still lack the space needed for its specified assembly method. Wall attachment, floor support and room fit should all be feasible before the installation starts.
Make wall attachment part of the handoff
- Keep the exact frame manual and identify the wall-mounting steps.
- Confirm that the wall type and any unusual conditions have been assessed.
- Have the installer explain the completed attachment and any remaining work.
- Resolve missing or unsuitable components before loading or using the wardrobe.
- Retain the product details and review mounting again if the wardrobe is relocated.
For an existing unsecured PAX, keep people from climbing on or pulling at it and arrange the required attachment promptly. If it is leaning, damaged or unstable, keep the area clear and get qualified help rather than trying to straighten a loaded frame. A general checklist cannot certify the condition of a particular wardrobe.
Include the frame details, wall photos and any drilling restrictions with your wardrobe assembly request. Ask for the installation scope to cover the applicable mounting requirements. The useful endpoint is a wardrobe assembled and attached according to its instructions, with any unresolved work clearly identified before use.