IKEA PAX on Uneven Floors: How Much Leveling Is Possible?
PAX has adjustable feet, but there is no single leveling allowance to apply to every version. Measure the room and check the exact frame before assembly.
Table of contents
Why one leveling number does not cover every PAXMeasure the whole footprint in two directionsSeparate floor slope from other installation problemsAccount for the height that leveling usesWhen the standard adjustment is not enoughPrepare the details before booking assembly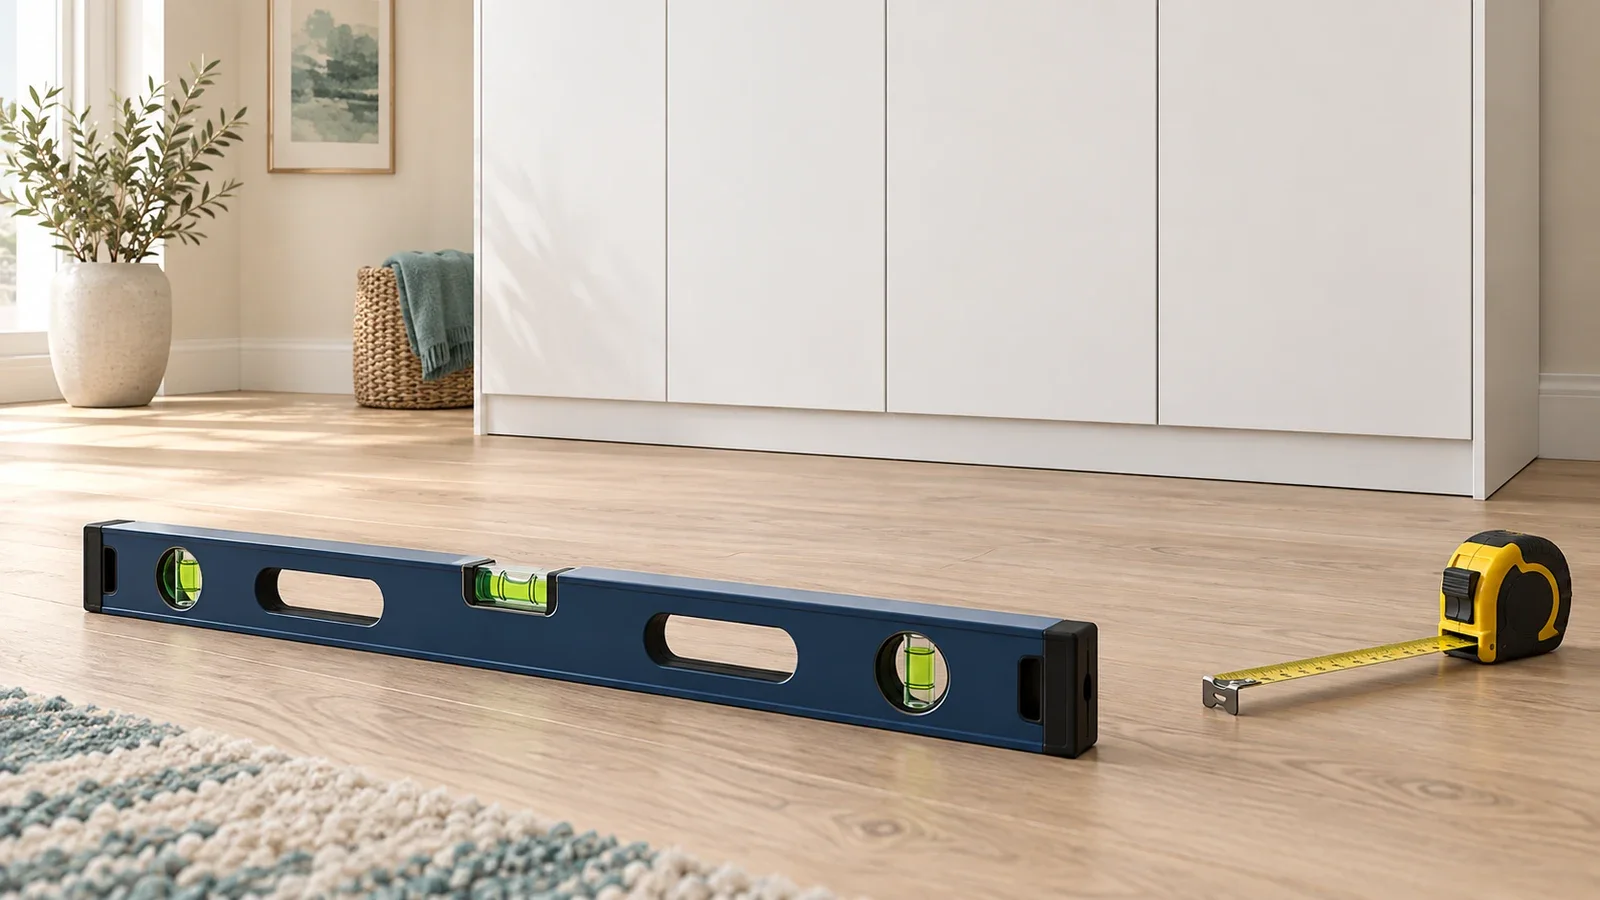
PAX can accommodate some floor unevenness, but the allowable adjustment depends on the exact frame and its feet. IKEA’s current U.S. PAX product page confirms adjustable feet without giving a universal numerical range. Before assembly, measure the floor across the entire wardrobe footprint, identify your frame, and check its instructions. If the required correction exceeds the confirmed range, resolve the support plan before building or loading the wardrobe.
Why one leveling number does not cover every PAX
A frequently useful distinction is the source of a measurement. IKEA Sweden’s support guidance describes front leveling feet that adjust by 10 mm, approximately ⅜ inch. That figure belongs to the configuration described there. It should not automatically become the maximum adjustment for every U.S. PAX frame, replacement foot, or installation method.
Current U.S. foldable PAX frames have their own construction and wall-rail instructions. Match the article number on your packaging to the manual, including the frame depth and height. If the permitted foot adjustment is not clear, ask IKEA to confirm it for that article number. Do not estimate safe travel from how much threaded hardware can be exposed.
Measure the whole footprint in two directions
A floor may slope along the wall, fall away from it, or have a local bump. Each condition affects support differently. Checking one short section near the middle can miss the highest point under an end frame or a dip beneath the front edge. Mark the complete run and its depth before taking measurements.
- Identify the proposed frame positions and mark the front and back of the footprint.
- Use a level and straightedge, or an appropriate leveling instrument, to compare floor heights along the run.
- Check front to back at each frame position, including local high and low spots.
- Record the largest measured difference and where it occurs; include a simple sketch.
- Measure the available ceiling clearance at the relevant positions rather than assuming the ceiling is level.
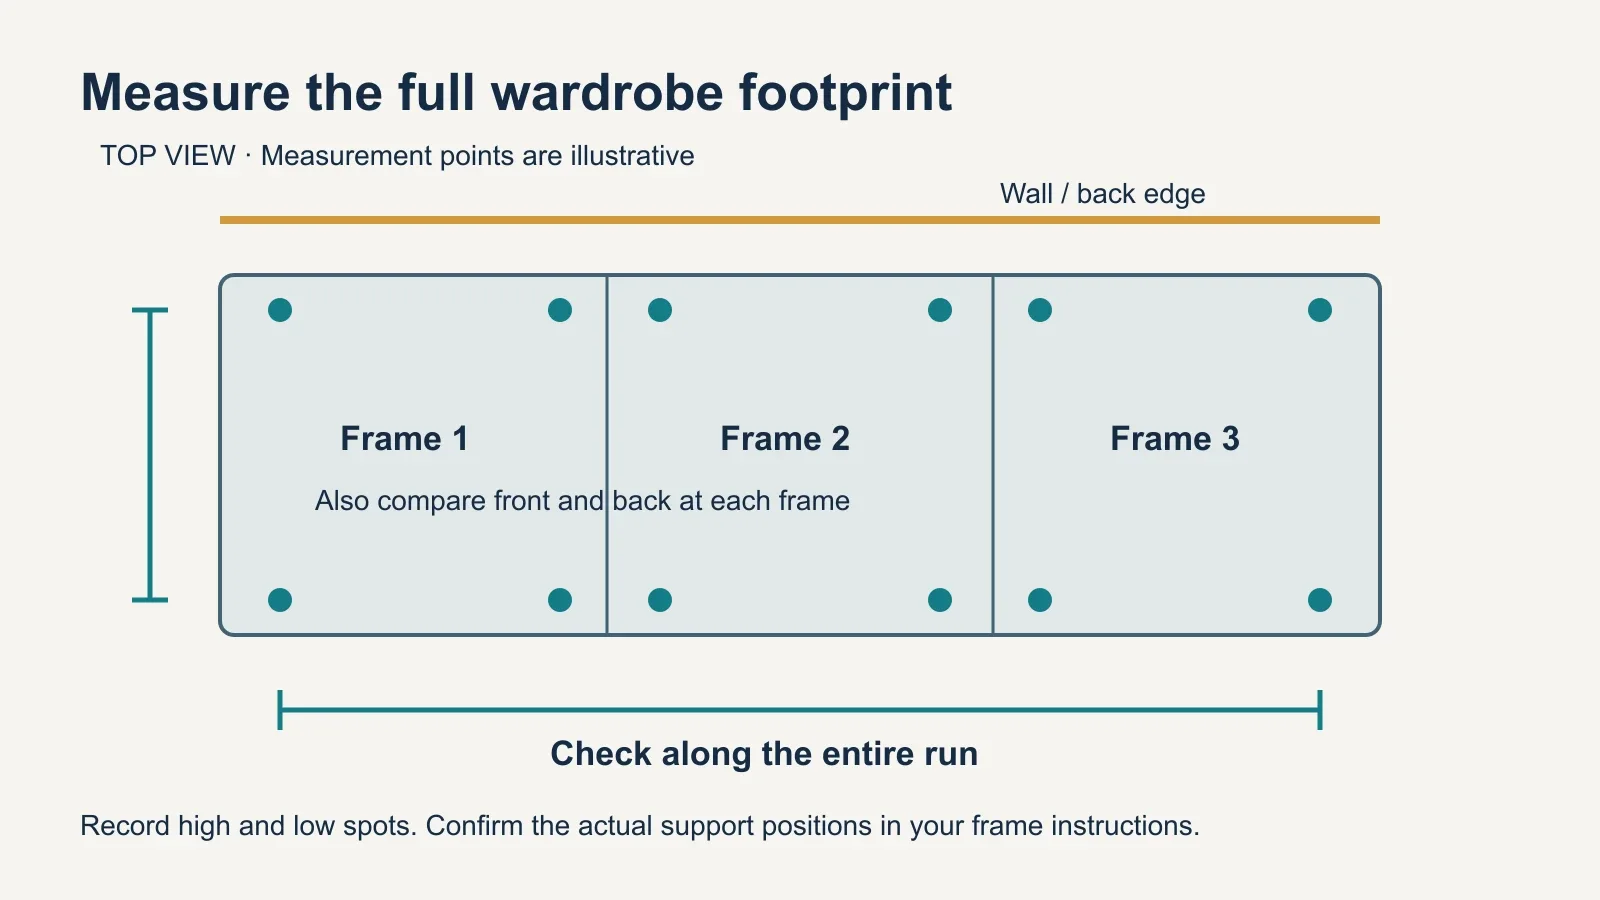
For example, if one measured support location is ¼ inch lower than another, bringing both to a common level calls for a ¼-inch difference in support height. That is geometry, not approval to extend a particular foot by that amount. The actual solution still depends on which points the frame uses for support and the manufacturer’s adjustment limits.
Separate floor slope from other installation problems
| Observation | What to check | Why it matters |
|---|---|---|
| Different floor heights across the footprint | Frame-specific leveling range and support positions | Each frame needs suitable support at its intended height |
| Frame appears to lean away from the wall | Vertical alignment, trim interference and mounting method | A wall gap alone does not diagnose floor slope |
| Top edges do not line up across frames | Floor measurements and the installation sequence | Do not force frames together to conceal a support problem |
| Doors have uneven gaps | Frame alignment before hinge or door adjustment | Door adjustment does not replace leveling the structure |
Level means horizontal; plumb means vertical. A wardrobe can look aligned with a sloping ceiling and still be out of level. Likewise, a wall may not be plumb. Check the frame itself using the appropriate reference instead of using the room’s trim lines as a guide.
Baseboards can also prevent the planned relationship between the wardrobe and wall. Treat that as a separate fit check using the PAX baseboard guide. Pushing a frame against projecting trim or pulling it backward with fixings is not a substitute for resolving the obstruction.
Account for the height that leveling uses
Leveling a run may put some support points higher above the local floor. Any proposed additional base raises the wardrobe further. Both affect the space left above the frame, so a room-height check made before deciding the support arrangement may no longer be sufficient.
As a planning example, adding a ½-inch-high support arrangement would consume ½ inch of the original overhead gap at the same location. This is not a recommended PAX platform dimension. It illustrates why floor correction and ceiling clearance need to be assessed together, including the space needed for the applicable assembly method and doors.
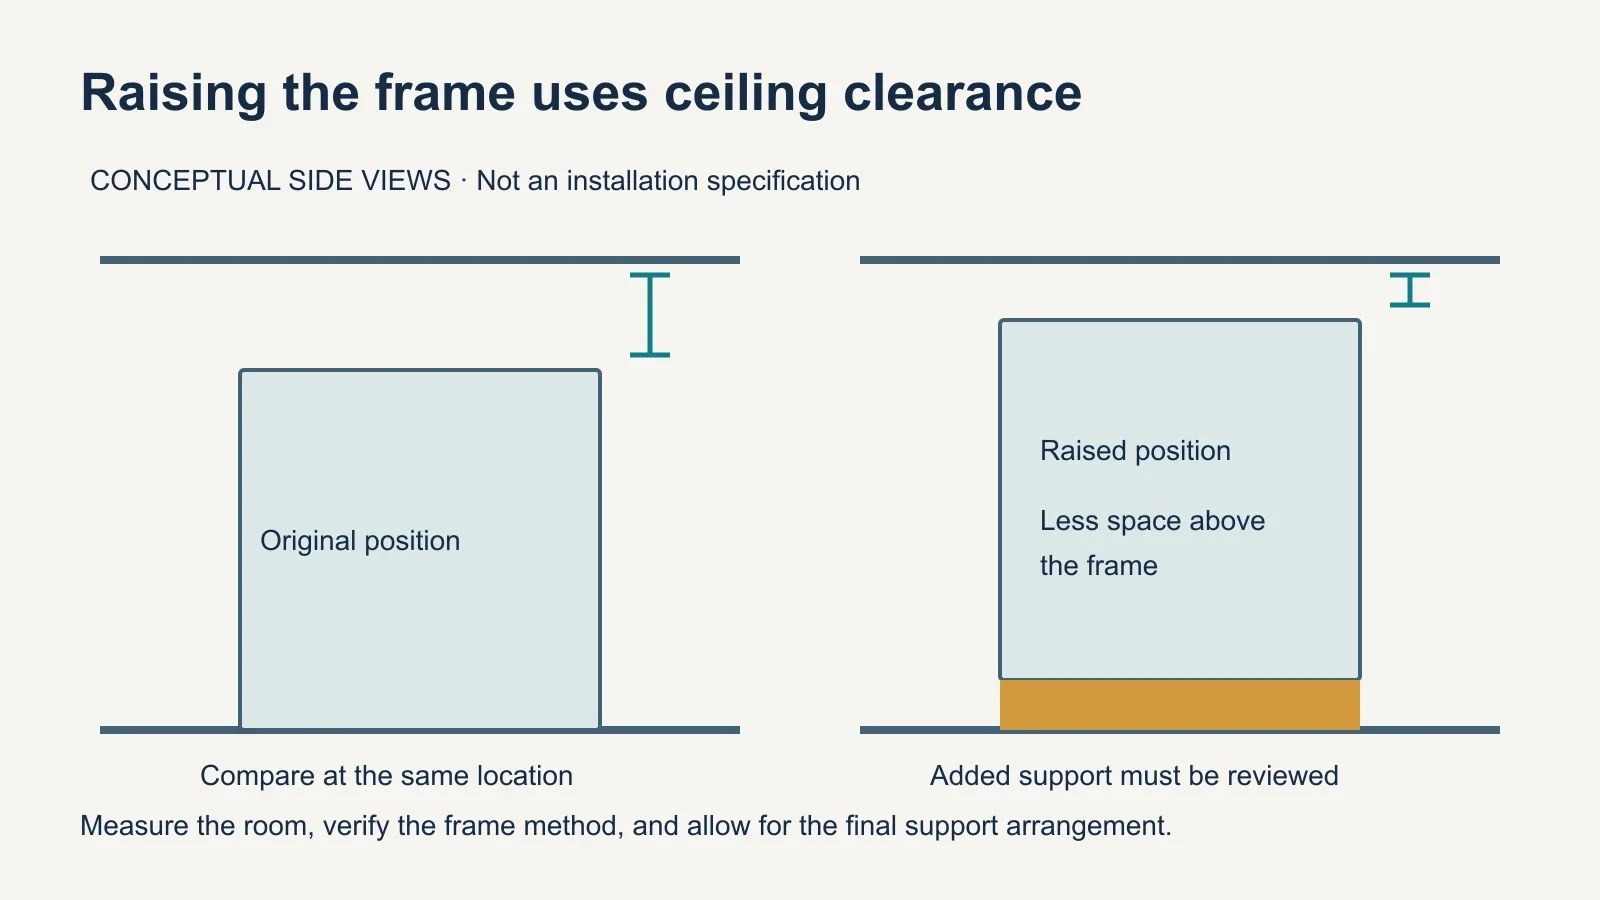
Use the PAX ceiling-height guide alongside the floor survey. A nominally tall enough room does not settle every installation question, especially where the floor and ceiling vary in opposite directions. Keep the smallest relevant clearance in the plan.
When the standard adjustment is not enough
If the frame cannot be leveled within its confirmed adjustment range, stop and obtain a suitable plan. Depending on the room, that may involve correcting the floor, reviewing the layout, or having a properly designed support arrangement evaluated. A general article cannot establish the support dimensions or fixing details for an unknown floor and frame.
Do not extend feet beyond their intended travel, stack loose scraps under selected corners, or use wall fasteners to suspend a frame that should have floor support. Similarly, a cosmetic plinth is not automatically a structural base. Any proposed packing or custom base needs to be suitable for the actual support points and accepted installation method.
Wall mounting remains a separate requirement. The current U.S. PAX instructions say assembly is not complete until the furniture is attached as directed. Leveling does not replace that attachment, and a wall rail does not excuse an unresolved floor-support problem. Plan both before fitting the interior components and doors.
Prepare the details before booking assembly
- Frame: article number, height, depth and number of sections.
- Floor: a footprint sketch, measured differences and photos of unusual areas.
- Room: minimum ceiling clearance, baseboard profile and wall construction if known.
- Scope: who confirms leveling limits and handles any floor or support preparation.
Include these details with a wardrobe assembly request. If floor correction or a custom base is needed, describe it separately from assembling the supplied wardrobe. The PAX assembly cost guide can help you distinguish the furniture configuration from additional preparation.
The useful result of a floor survey is a decision: standard adjustment is confirmed as sufficient, or the room needs a reviewed solution first. Keep that decision with the measurements and exact frame instructions. It is more reliable than choosing a universal leveling number and hoping the wardrobe can absorb the difference.