How Much Space Do You Need to Assemble a Bed, Wardrobe or Dresser?
A piece fitting in its final position does not prove it can be assembled there. Check the working area, handling space and access route before opening the boxes.
Table of contents
Check three different kinds of spacePlan a bed from its outside dimensionsCheck wardrobe height and installation accessGive a dresser room for both cabinet and drawersSeparate cartons, work space and the exit routeResolve a tight room before assembly starts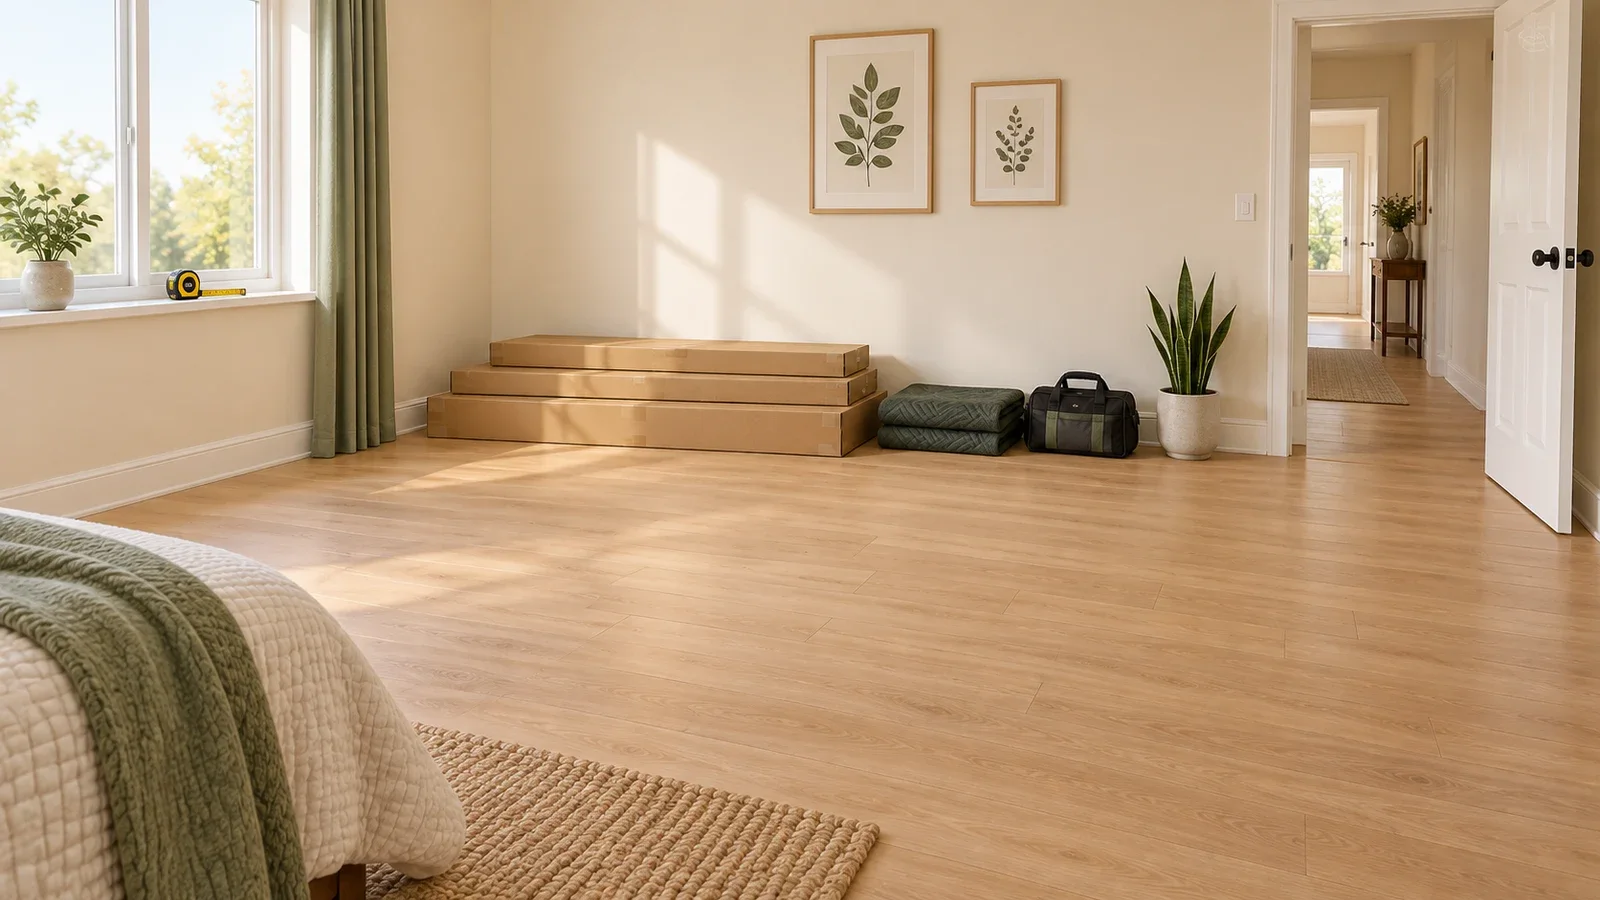
You need room for the furniture’s assembly method, its parts and the people doing the work—not just its finished footprint. Check the exact manual for floor and ceiling requirements, then allow separate space for cartons and a clear access route. Beds need access to their connections; wardrobes may need upright or raising clearance; dressers need space for the cabinet and drawer builds. There is no universal square-foot minimum that fits all three.
Check three different kinds of space
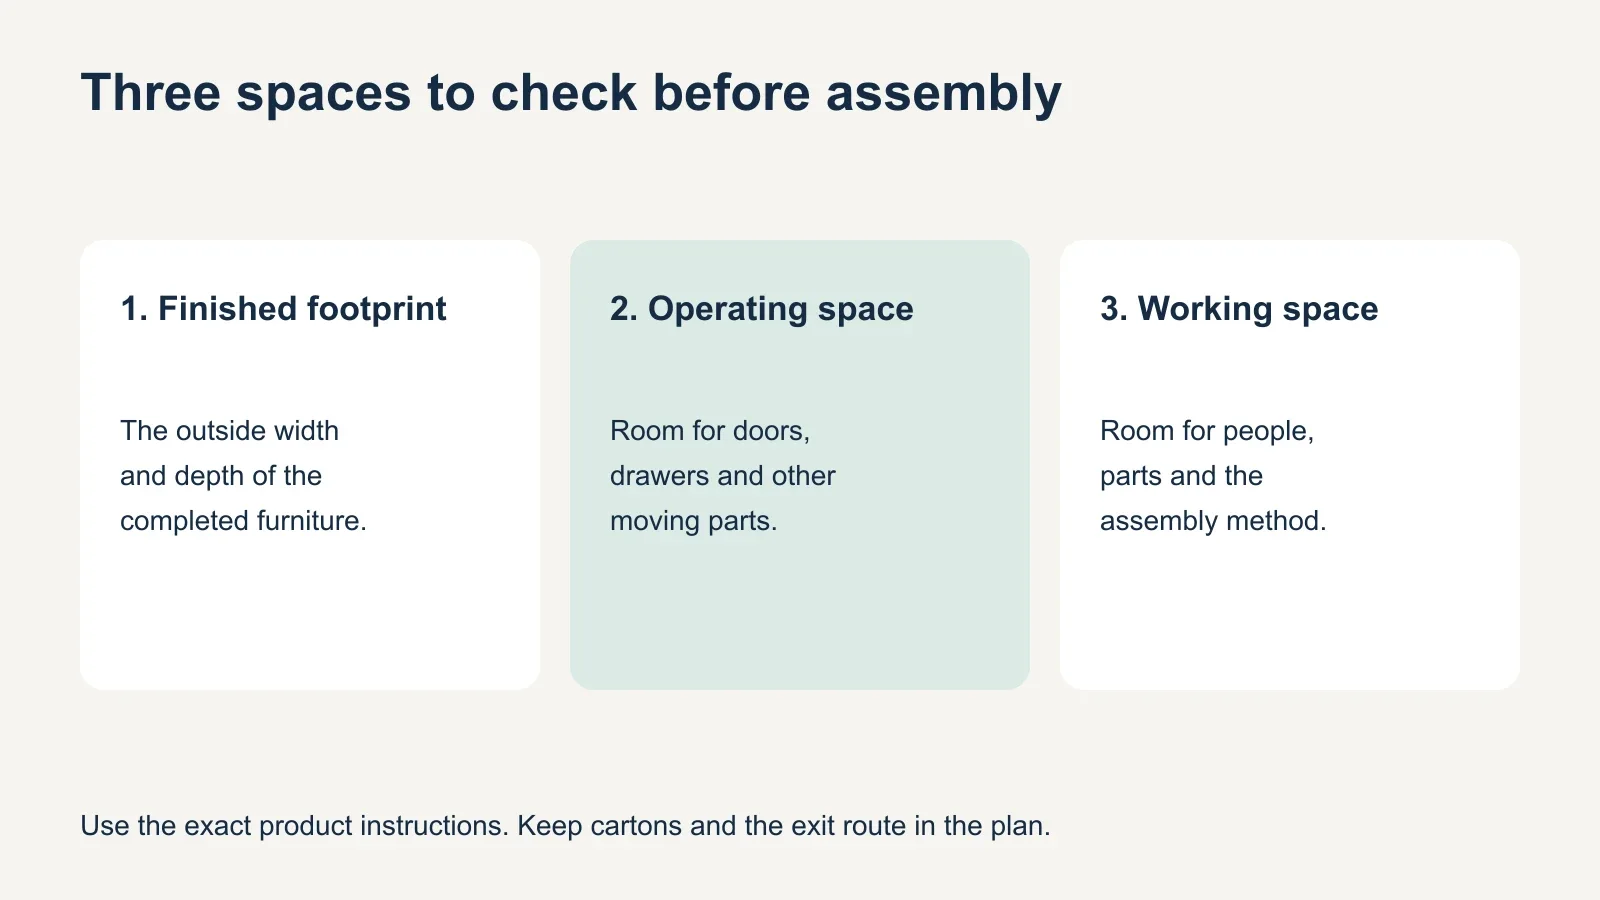
Start with the final footprint: the width and depth the completed furniture occupies. Next identify its operating space, such as an open drawer, a swinging door or an extended trundle. Finally, check the working space needed during assembly. These areas can overlap at different stages, but none should be assumed from the footprint alone.
IKEA’s general assembly preparation guide explains that furniture may need to be lifted or rotated and recommends protecting the floor. It also directs readers to review the instructions before starting. Use the exact product’s diagrams to identify where the large parts lie, which sides need access and when a second person is required.
| Furniture | Space needed during assembly | Check before calling the layout ready |
|---|---|---|
| Bed | Access to frame joints, supports and separate storage components | Outside frame dimensions; drawer, trundle or lift movement |
| Wardrobe | The specified frame-building method, door installation and wall access | Ceiling height, trim, obstructions and required attachment |
| Dresser | Cabinet assembly plus a separate area for drawer boxes | Drawer opening space, handling route and restraint position |
Plan a bed from its outside dimensions
Use the manufacturer’s overall frame dimensions, not the mattress size. Headboards, upholstered rails and storage can extend beyond the mattress. Check where bolts or brackets are reached during the build, and leave the mattress outside the working area until the instructions call for it. Keep the doorway usable throughout the planned sequence.
Here is a measurement example, not a clearance recommendation. A hypothetical frame measuring 64 by 84 inches sits in a room that is 120 by 144 inches. With its head against the short wall and equal side spacing, the remaining width is 120 − 64 = 56 inches, or 28 inches per side. The open length beyond the foot is 144 − 84 = 60 inches.
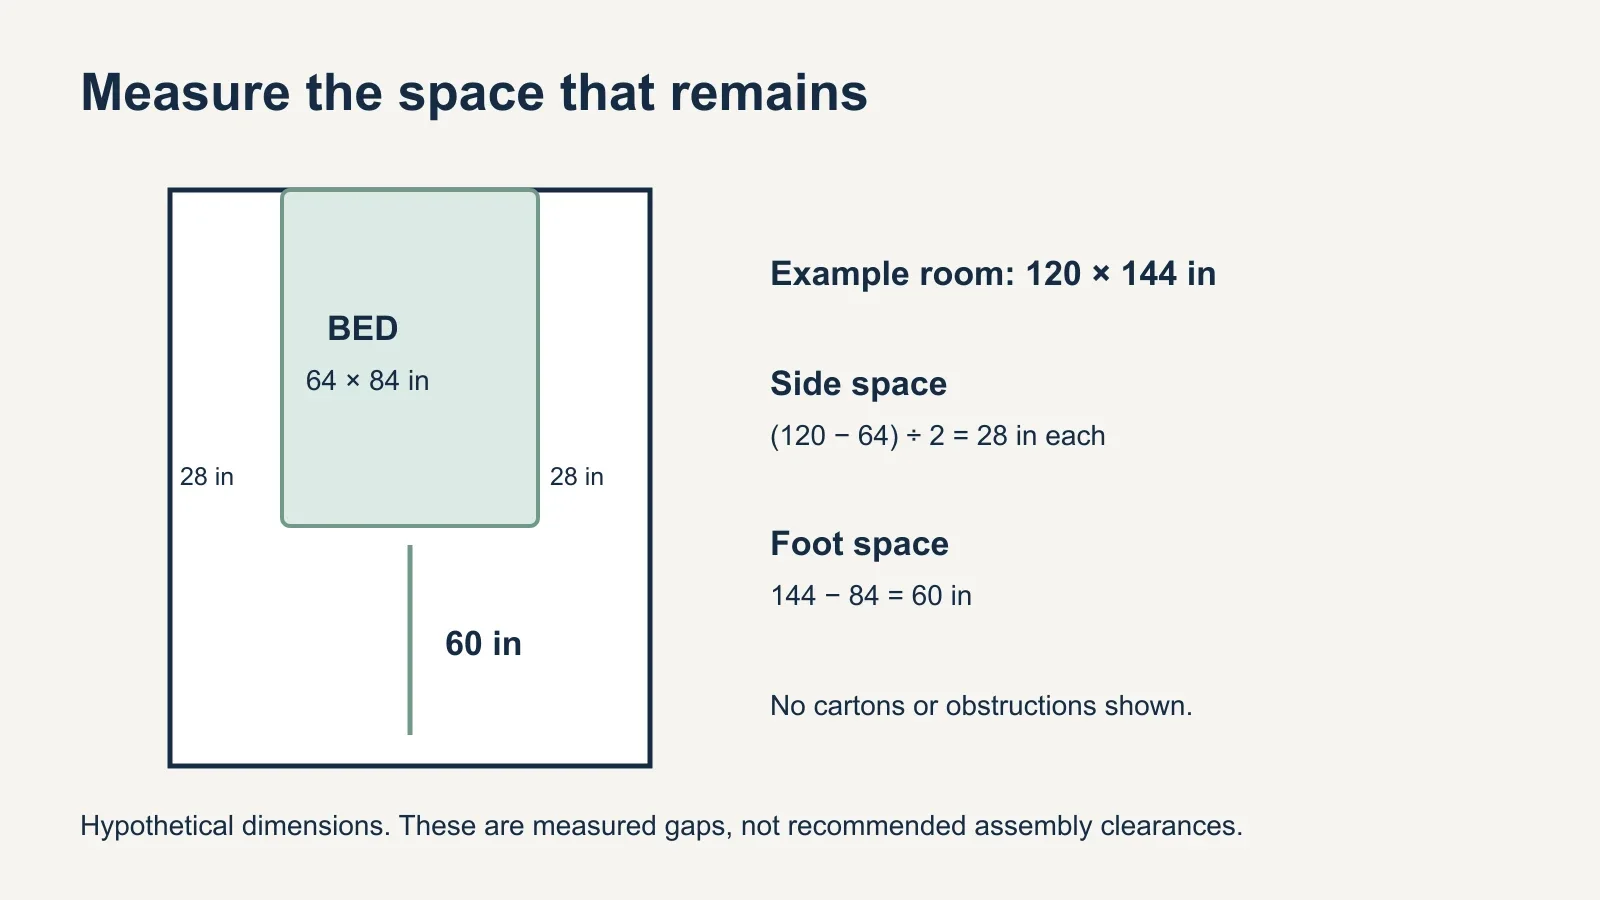
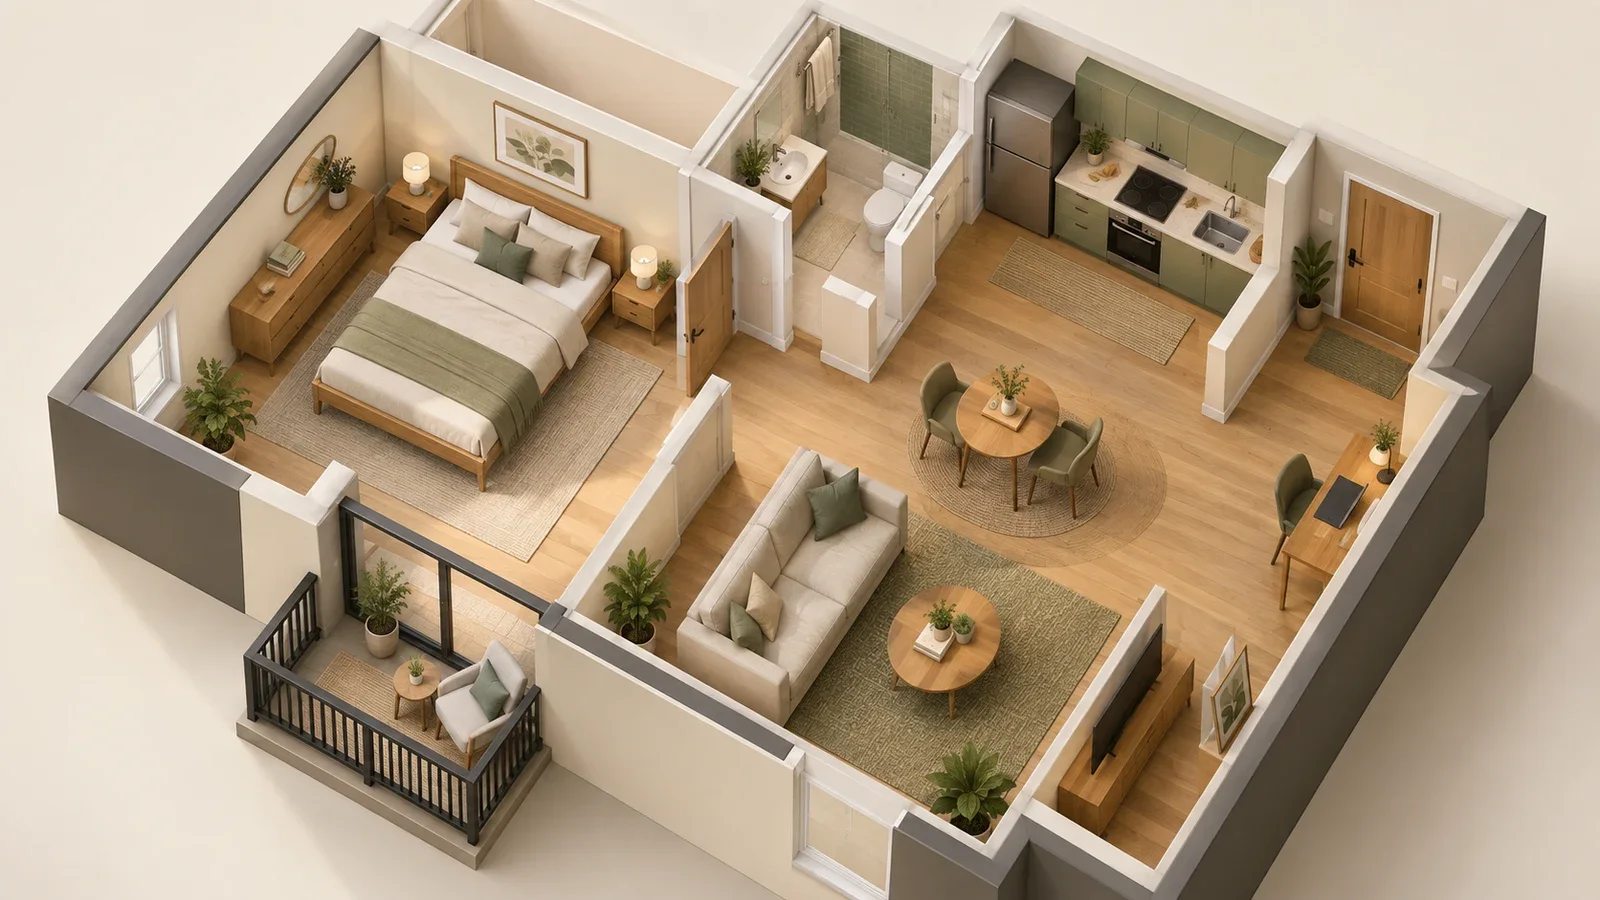
Those numbers describe empty space on paper. A radiator, nightstand, door swing or cartons can reduce the usable area. They do not establish that a storage drawer opens fully or that an assembler can complete the required operation. Compare the actual manual and room conditions with the sketch, then discuss a tight layout before the visit.
Check wardrobe height and installation access
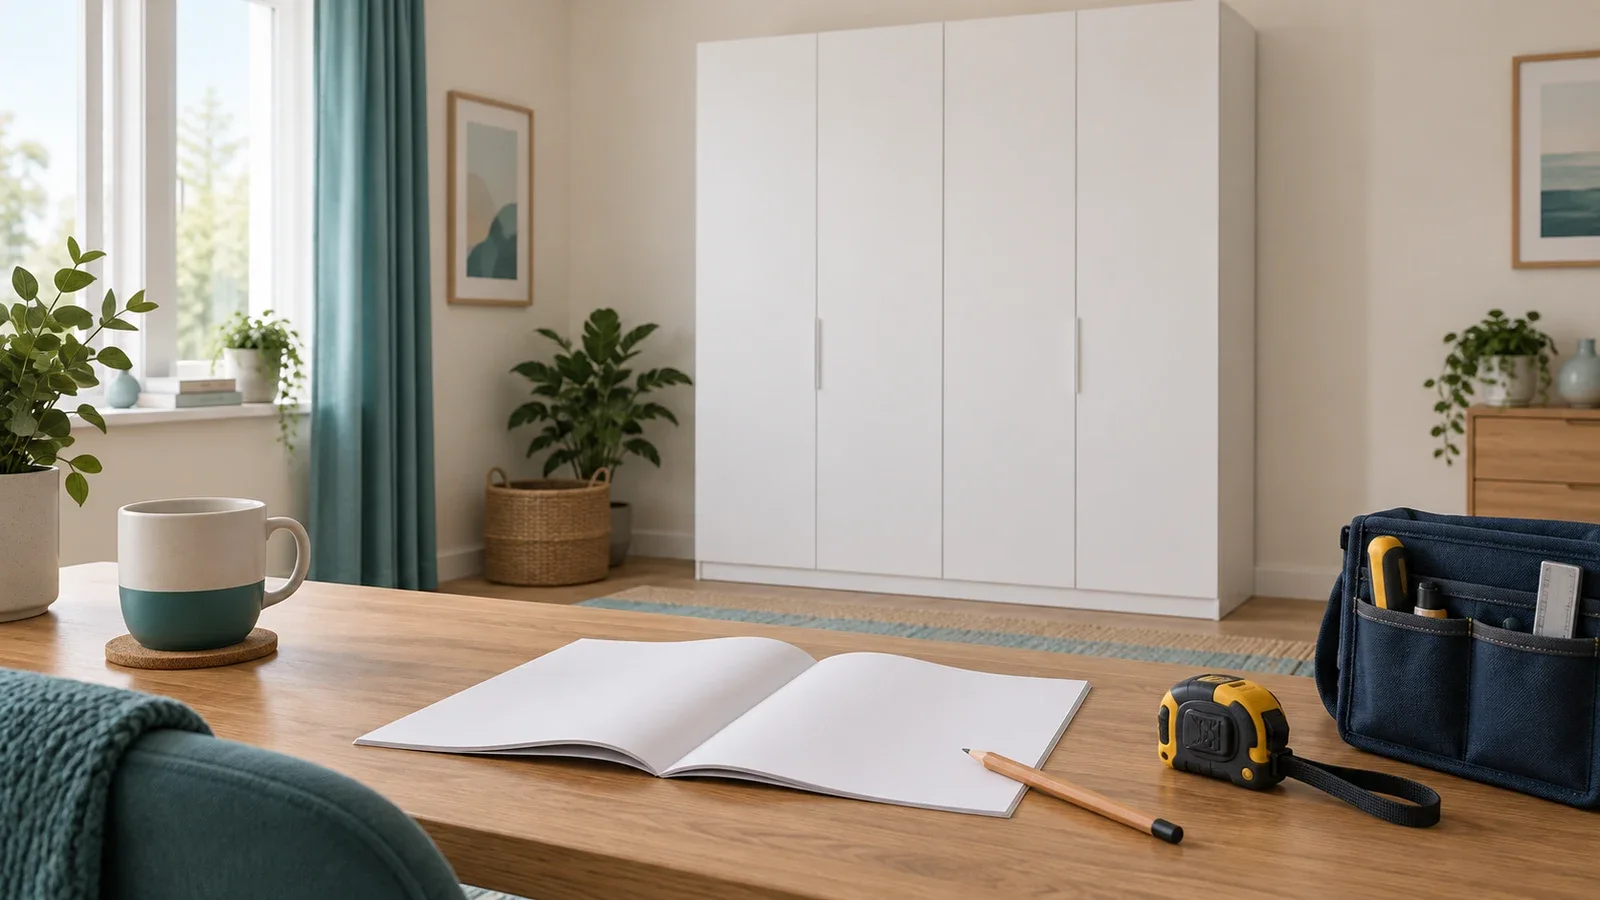
A tall cabinet can fit when standing and still need more height during installation. Some designs are built on the floor and raised; others have a specified upright method. Do not substitute one method for another simply because the room is small. Frame generation, depth and door system can change the requirement.
For example, IKEA’s U.S. PAX/GRIMO combination 195.608.26 lists a finished height of 93⅛ inches and a minimum ceiling height of 94½ inches, checked September 27, 2026. It also requires two people for assembly and secure anchoring. That is a requirement for this configuration, not every PAX wardrobe or every tall cabinet.
Measure the available height where the wardrobe will actually stand, including a lower soffit or sloped section. Check baseboards and nearby switches, outlets and fixtures without assuming the furniture can cover them. Leave access for the prescribed wall attachment. For a PAX-specific assessment, use the ceiling-height guide and the baseboard guide.
Give a dresser room for both cabinet and drawers
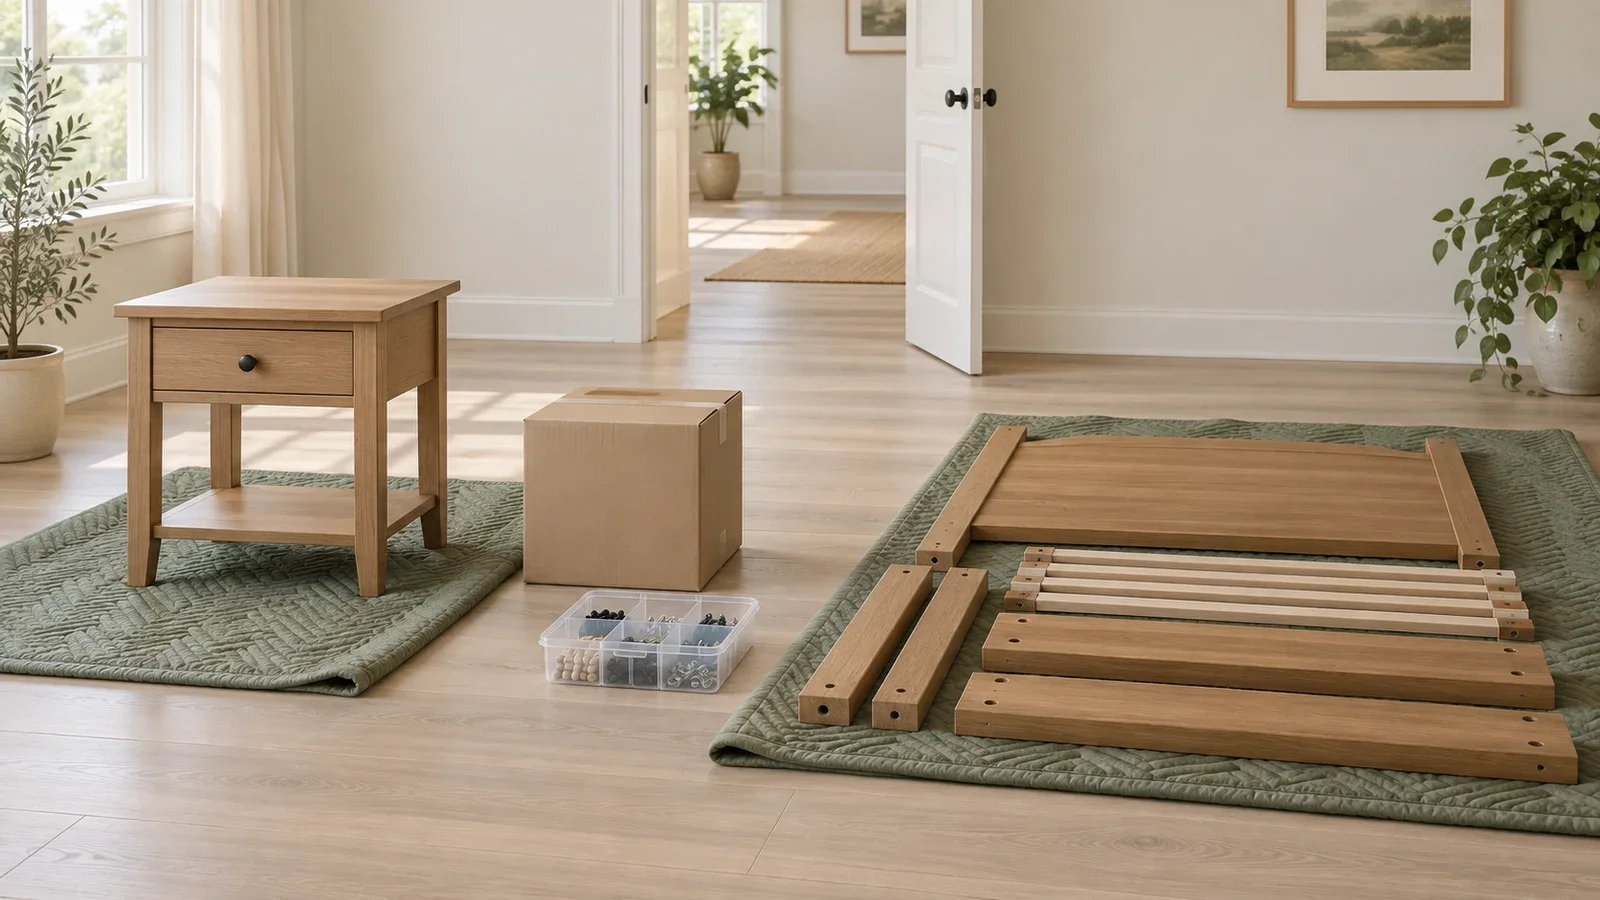
A dresser’s compact finished shape can hide a large collection of parts. The cabinet and each drawer may be separate builds before they come together. Identify a clean, protected place for those parts without occupying the area needed to handle the cabinet. Keep fittings separated by kit and follow the specified assembly order.
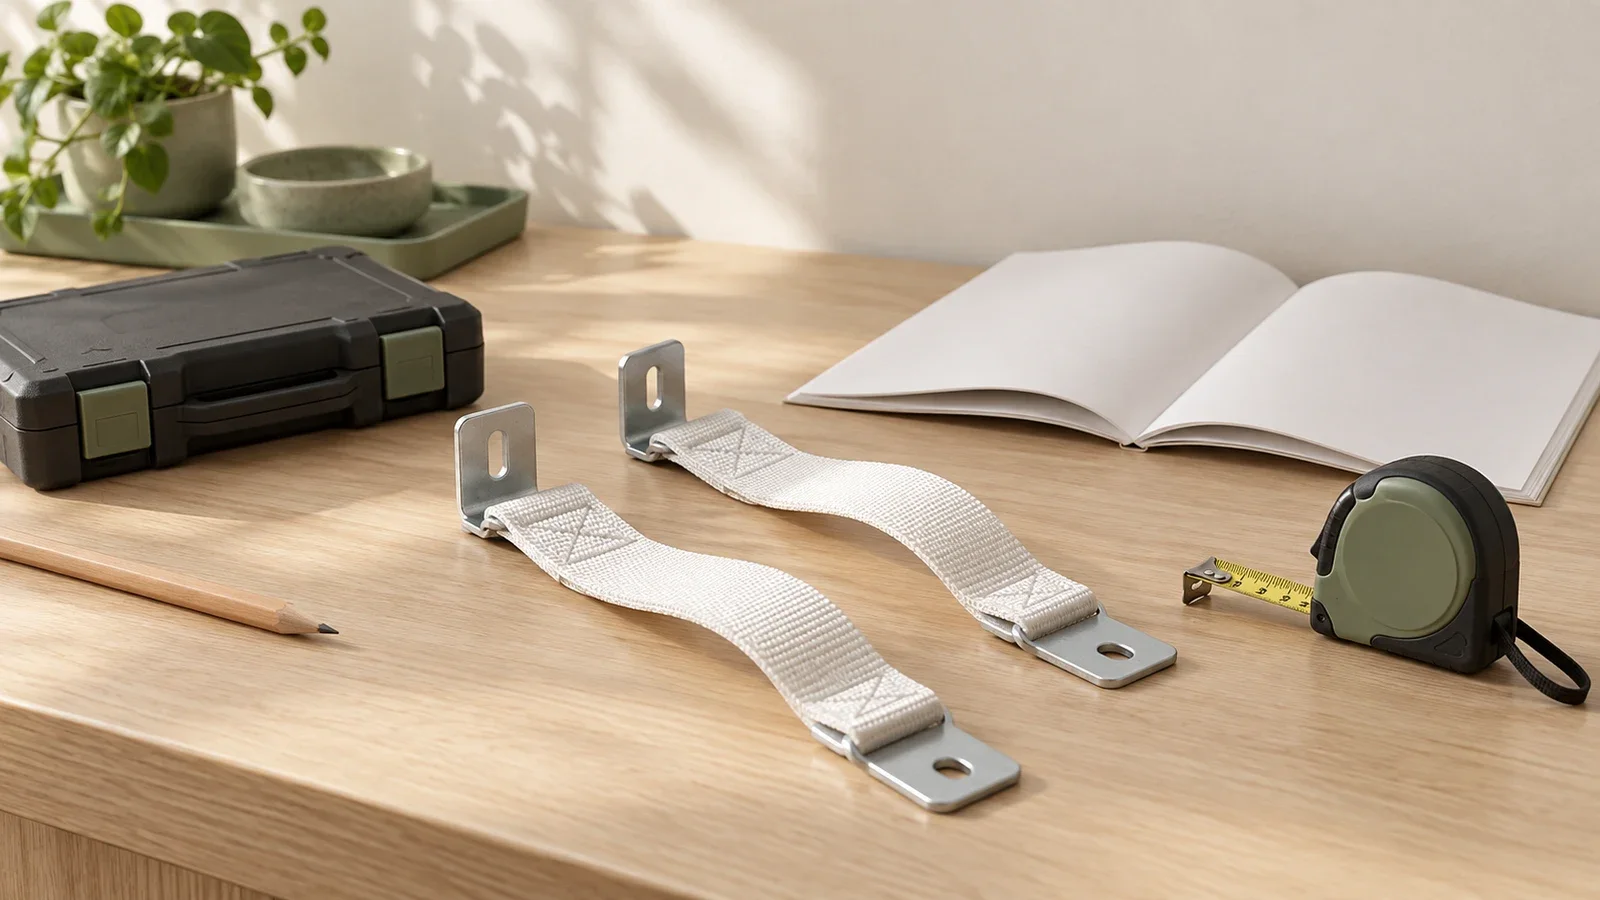
Check that the intended location allows the drawers to open as designed. Keep the rear attachment area accessible until required anti-tip work is complete. A dresser that stands in place with closed drawers has not yet passed all these checks. Avoid using a narrow hallway as the default build area unless the completed piece and handling method have been assessed.
Separate cartons, work space and the exit route
Plan where unopened cartons, unpacked components and completed pieces will go as the work progresses. Floor area occupied by deliveries is not available for assembly at the same time. For a multi-item appointment, avoid opening every kit across the room at once. Agree on a sequence that leaves space for the next piece.
IKEA’s U.S. service instructions say to leave products in their original packaging in the room where they will be assembled and provide a safe work area. Follow the preparation directions for the service you book. If the boxes are elsewhere, discuss carrying rather than assuming it is included in an assembly appointment.
- Measure the usable room, including fixed obstructions and the door swing.
- Record the furniture’s full outside dimensions and model number.
- Read the manual for assembly position, people and height requirements.
- Check moving parts and access for required wall attachment.
- Assign space for cartons and components while keeping the exit clear.
- Send photos and measurements if any stage looks tight.
Resolve a tight room before assembly starts
The practical options may be moving smaller existing items out, changing the order of builds, selecting a different furniture model or arranging professional assessment. Extra people do not create missing clearance. Stop planning around an improvised lift, a blocked doorway or an unsupported change to the manufacturer’s sequence.
When requesting furniture assembly help, share the product details along with the room measurements and photos. For beds, include the selected size and storage features when reviewing the bed assembly service. A useful plan shows where the furniture ends up and how it can be completed there.