Can You Install IKEA PAX With Baseboards? What Your Options Are
Measure how far the trim projects, match the PAX instructions, and choose an installation approach before the frames arrive.
Table of contents
Measure projection, not just baseboard heightMatch the frame and wall-mounting methodChoose an approach that fits the actual obstructionCheck what moving the wardrobe forward changesAvoid shortcuts that change the furnitureSend a useful baseboard check before the visit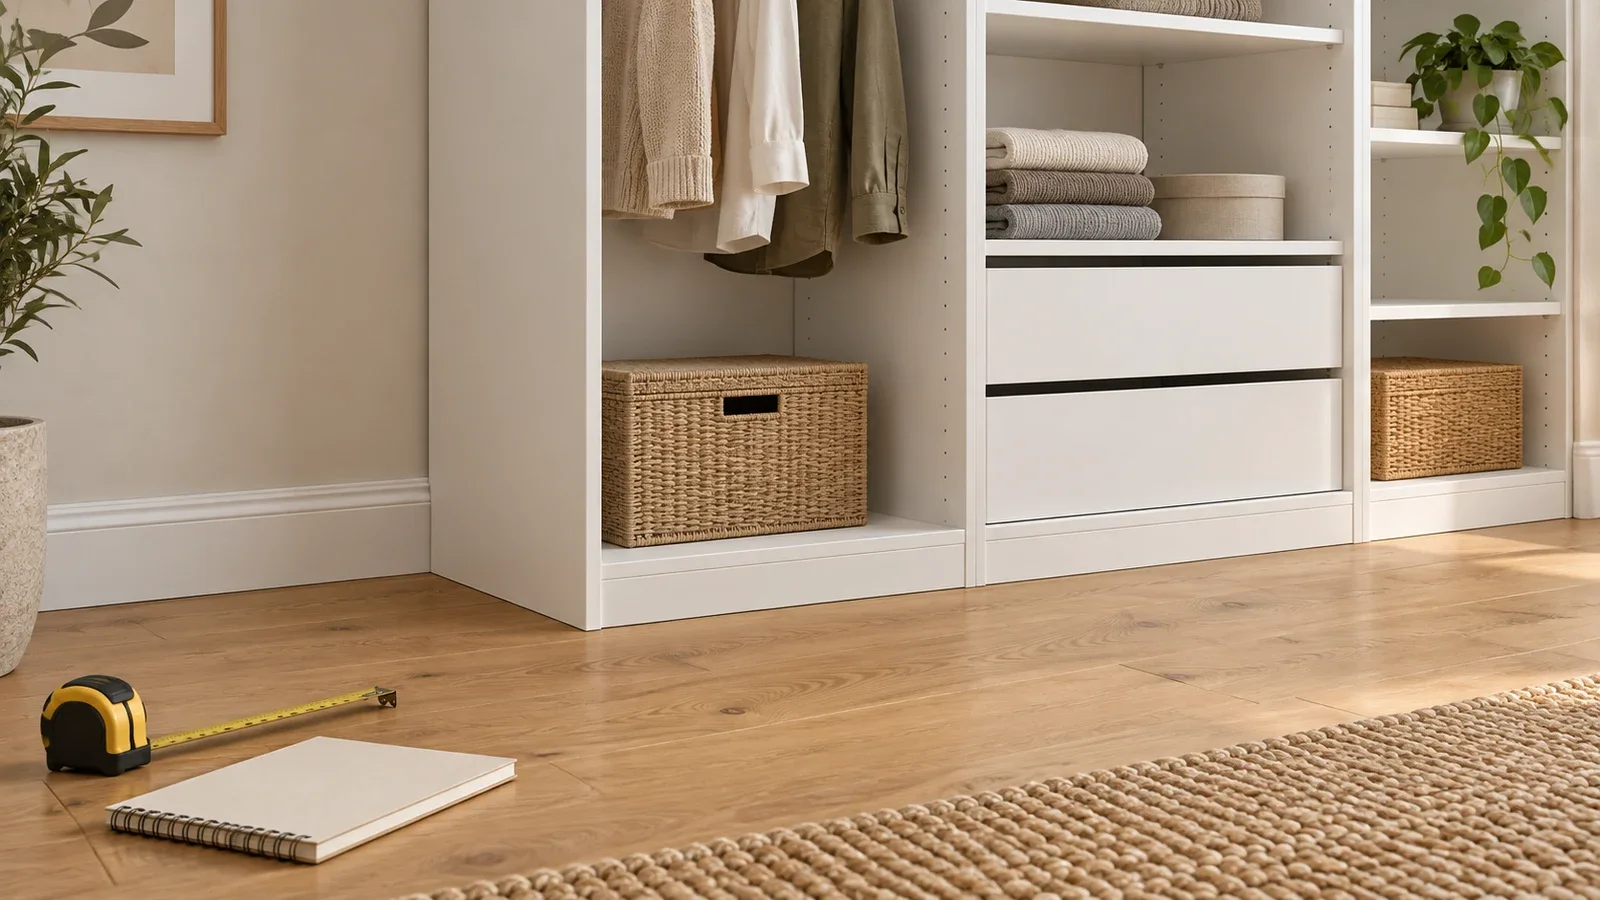
Yes, PAX can be installed with some baseboards left in place. The current U.S. foldable-frame instruction AA-2462037-5 shows a maximum baseboard projection of ⅞ inch (2.2 cm). That is a check for the illustrated system, not permission to fit every PAX over any trim. Identify your frame, measure the full projection, and confirm the required wall mounting before choosing whether the baseboard can stay.
Measure projection, not just baseboard height
Baseboard height is how far the trim rises from the floor. Projection is how far it sticks out from the wall into the room. The dimension marked in the checked IKEA instruction is the horizontal projection. A tall, relatively thin baseboard and a short, bulky molding can therefore create different fit questions.
Measure to the outermost part of the complete trim profile, including shoe molding or quarter-round if present. Do not measure only the flat upper board. Check the full wardrobe run and any side wall where a frame will sit close to the corner. Keep the trim height in your notes too, because its profile and location still matter to the actual arrangement.
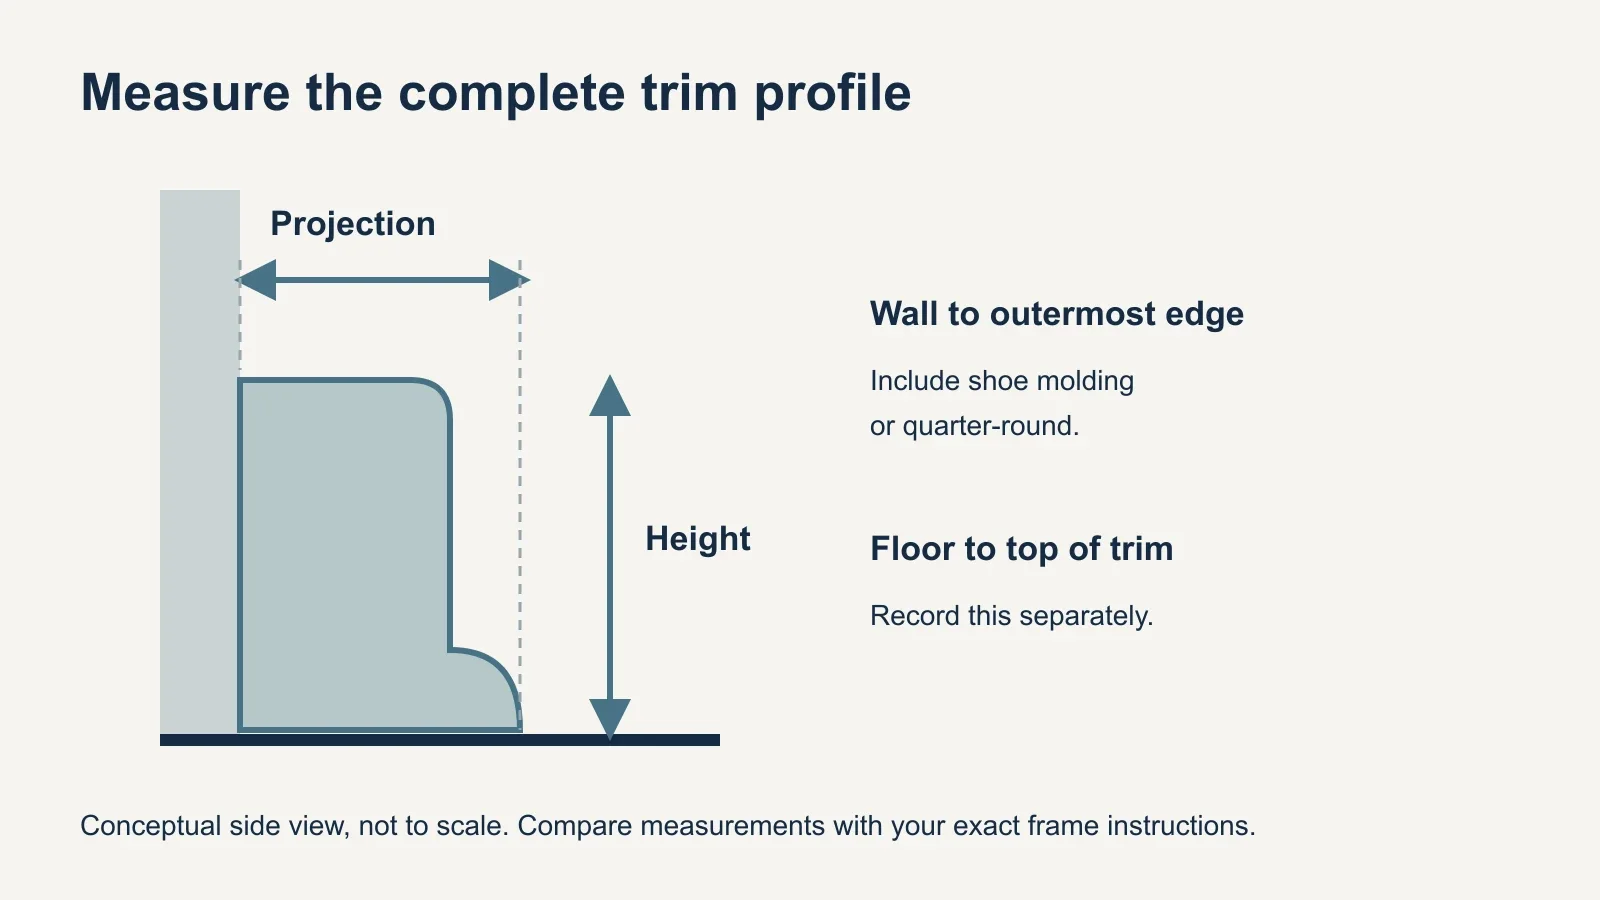
For a simple numerical comparison, a measured ¾-inch projection is ⅛ inch below the illustrated ⅞-inch limit. A 1¼-inch projection exceeds that limit by ⅜ inch. Those calculations help screen a plan, but they do not replace checking the frame version, wall, floor, and complete installation instructions.
Match the frame and wall-mounting method
Current foldable PAX frames use a wall rail as part of installation. Older PAX products have different construction and instructions, so advice about a spacer used on someone else’s wardrobe may not apply to yours. Find the article number and the corresponding manual before copying an installation method from a photograph.
The checked instruction also requires wall mounting to complete assembly and calls for fixing hardware suited to the wall. A frame looking upright against the trim does not establish that the mounting is correct. The solution must preserve the specified relationship between the frame, its mounting components, and the wall.
Choose an approach that fits the actual obstruction
| Approach | When to consider it | What to confirm |
|---|---|---|
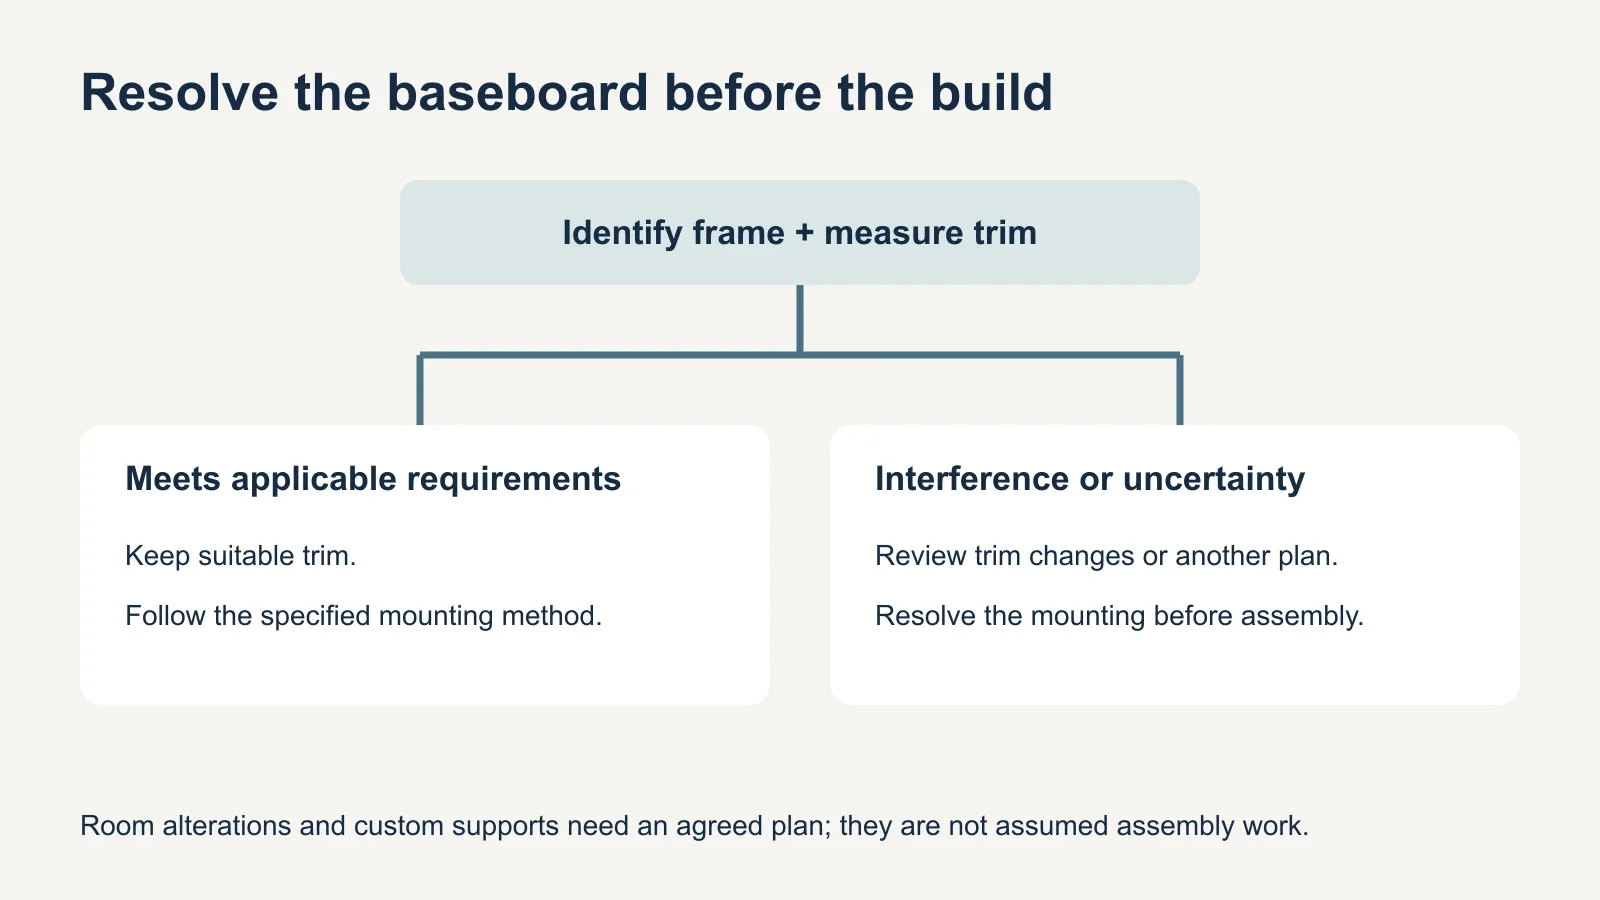
| Keep the baseboard | Its full profile fits the applicable installation requirements | Frame version, mounting method, trim projection and room clearances |
| Alter or remove interfering trim | The trim prevents the specified installation | Permission, extent of work, wall/floor finish and reinstatement |
| Review a different mounting or layout plan | Trim must remain or room conditions are unusual | A suitable solution confirmed for the exact frame and wall before assembly |
Leaving suitable trim in place avoids unnecessary changes to the room. It does not mean forcing the wardrobe backward until the gap disappears. Follow the manufacturer’s position and mounting sequence, and evaluate the finished appearance separately. A small visible gap and an incomplete wall attachment are different issues.
If the trim interferes, removing or changing the relevant section may be an option. Decide the finished edges, any visible returns, and who handles repair or repainting before the work begins. Make sure the person authorizing the project can approve changes to the room. Do not assume trim alteration is included in a standard assembly visit.
If the baseboard must stay, ask for a reviewed solution before buying materials or moving the frame farther forward. A custom stand-off or support arrangement changes installation details and is not a universal PAX accessory recommendation. The installer must establish a suitable approach for the exact furniture and wall, with IKEA guidance where needed.
Check what moving the wardrobe forward changes
A proposed gap behind the wardrobe affects more than the view from the side. It moves the front edge into the room, which can reduce an aisle or bring a door closer to other furniture. Mark the proposed footprint on the floor and check the complete operating space before accepting a layout that looks fine in a front-view drawing.
At a side wall, baseboard and door casing can also narrow the usable opening. Measure at the points where the frame and doors actually need clearance, not only above the trim. A wardrobe that fits between bare walls may encounter a projecting profile lower down. Corner layouts deserve a full check of both wall directions.
Raising the wardrobe on a custom base is another design change, not a simple substitute for checking baseboards. It reduces overhead clearance and changes support and installation details. If that look is part of the project, have the complete arrangement reviewed before assembly instead of adding a platform after selecting the tallest frame.
Avoid shortcuts that change the furniture
Do not cut a notch in a structural side or back panel simply because it would clear the molding. Do not use longer screws across an unsupported gap as a substitute for a suitable mounting arrangement. Both decisions affect more than cosmetic fit and should not be inferred from a general blog illustration.
Likewise, decorative filler panels or caulk do not perform the job of required wall hardware. Settle the installation method first, then plan cosmetic finishing. If the frame cannot be mounted as required, pause before loading it with clothes or treating the project as complete.
The furniture assembly cost guide explains why scope matters when comparing quotes. Trim work, custom supports, and finishing should be described separately from assembling the supplied wardrobe. A clear description helps avoid booking a standard build when the room still needs preparation.
Send a useful baseboard check before the visit
- Find the PAX article number and matching assembly instructions.
- Measure the trim’s maximum projection and height along the run.
- Photograph the whole wall and close-ups of the trim profile and corners.
- Record wall conditions, nearby outlets, door casing, and planned changes.
- Agree whether the trim stays, changes, or needs further review.
- Confirm the wall-mounting approach and all preparation work before assembly.
For a Bay Area project, include these details with your wardrobe assembly request. UPTask’s published scope includes fitting suitable supplied anti-tip hardware when appropriate for the wall; it does not justify assuming that every custom baseboard solution is covered. Describe the condition before agreeing on the visit.
- Keep: trim that meets the applicable requirements and does not interfere.
- Change: interfering room trim only as part of an agreed plan.
- Review: unusual walls, larger projections, or proposed custom supports.
Once the baseboard question is resolved, use the relevant furniture assembly option for the complete configuration. Keep the measurements and approved scope with the wardrobe plan. The right outcome is a properly mounted wardrobe that fits the room, with any trim changes understood before work starts.