
How to Prepare Your Yard Before a Gazebo Assembly Appointment
Prepare more than the gazebo footprint. Confirm the kit, finished base, access route, staging area and attachment plan before the crew arrives.
Table of contents
Confirm the kit and delivery before the appointmentConfirm the base is ready for this exact layoutClear the route and create a staging areaMake responsibility for each task explicitPlan for weather and household accessDo one final walk-through before the crew arrives
Before a gazebo assembly appointment, confirm that the correct kit has arrived, the agreed base is ready, the route into the yard is clear and there is room to organize parts. Also settle permanent anchoring, permissions and any remaining preparation work. Tell the installer about missing pieces, access restrictions or changing site conditions before arrival so the visit can be planned accurately.
A finished gazebo occupies less working space than the process of assembling it. Roof sections, long beams, cartons and equipment need room temporarily. Think of the yard as an installation workspace for the day, then plan how it will return to an outdoor living area afterward.
Confirm the kit and delivery before the appointment
Match the delivered model and size to the order and the instructions. A delivery confirmation does not necessarily establish that every carton has arrived. Check the carton count against the shipment information, photograph obvious damage and keep the packaging labels available until the contents have been verified.
Agree with the installer on who will unpack and inventory the kit. Yardistry’s YM12983X manual begins assembly with a hardware, wood and accessory inventory. That is a useful reminder to leave time for a missing-part issue before the scheduled build. If something is absent or damaged, contact the seller or manufacturer and update the installer rather than improvising a substitute.
- Model name and number match the booked kit.
- All expected cartons are present and identifiable.
- The current instructions and parts list are available.
- Any damage or missing pieces have been reported.
- The installer knows who will unpack and check the contents.
Keep small hardware organized and identifiable if you do open the cartons. Do not mix bags from different kits or discard labels while sorting. Store components as the manufacturer directs and avoid leaving exposed parts in a wet area. The goal is to make the kit easier to check without creating another handling problem.
Confirm the base is ready for this exact layout
Give the installer photos of the actual installation area and the model’s post-layout drawing. Describe what the surface is made of and what is known about its support. Yardistry’s manual requires a square, solid and level starting base; a mowed patch of lawn or a visually smooth patio does not establish all of those conditions.
If a separate provider is building or correcting the base, agree on the handoff before fixing the assembly date. Ask who confirms the support arrangement, required readiness and post positions. Do not assume that concrete placed recently is ready for drilling and loading just because it looks dry.
A patio may slope for drainage while the gazebo needs a coordinated level support arrangement. Share measured differences if available and let the responsible provider verify them. The gazebo leveling guide explains what information helps resolve that issue before assembly.
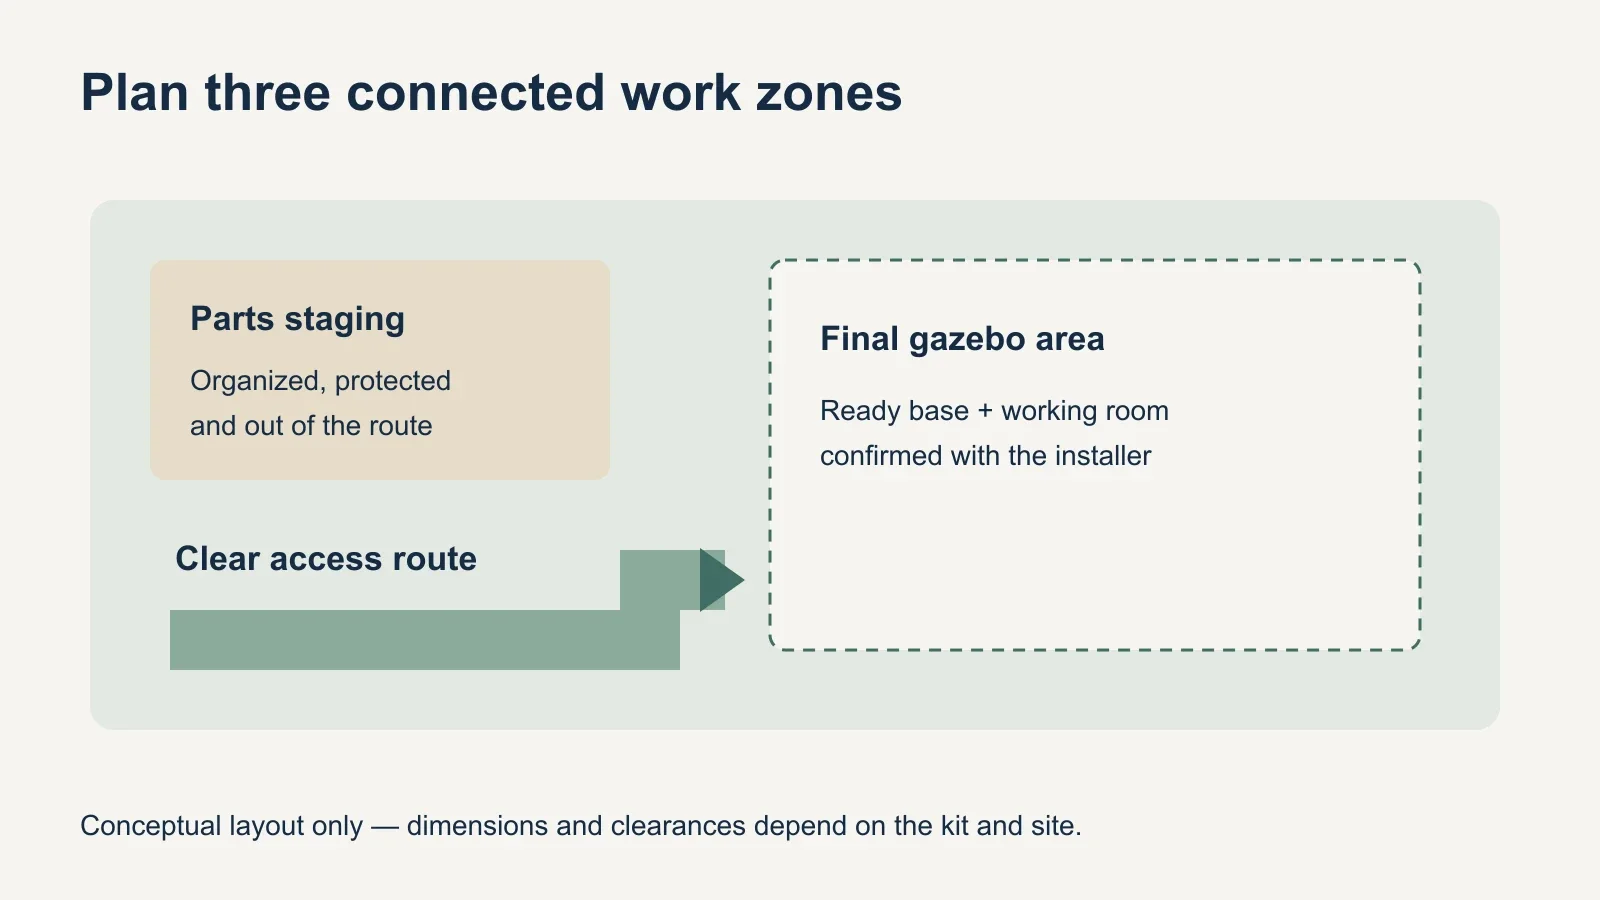
Clear the route and create a staging area
Walk the entire route from the unloading location to the patio. Measure the narrowest gate or passage and note tight turns, steps, steep sections and overhead obstructions. Send photos of those constraints in advance. A gate can be wide enough for a person while still making long cartons or beams awkward to move.
Move portable furniture, planters, toys and hoses out of the working area. Choose a nearby place for organized parts that does not block the access route or a household exit. Ask the crew how much room it needs for this model; there is no single clearance this checklist can approve for every roof assembly or lifting method.
Identify plants, irrigation equipment and surfaces that need protection. Discuss suitable protection with the installer instead of laying an unstable covering across the work area. The Yardistry manual, for example, calls for a non-abrasive surface for roofing material because it can be damaged during handling. Leave roof-panel handling and assembly to the agreed process.
Make responsibility for each task explicit
| Task | What to confirm before arrival |
|---|---|
| Permissions and project documents | Relevant approvals or local determination, plus any inspection sequence, are available. |
| Base preparation | The responsible provider has completed and checked the agreed preparation. |
| Kit and staging | Delivery, inventory responsibility and storage location are confirmed. |
| Permanent attachment | The connection plan, hardware supplier and person installing it are identified. |
| Access and cleanup | Gate access, parking or unloading arrangements and packaging removal are agreed. |
Keep permanent attachment in the conversation even if it is priced separately. The gazebo anchoring guide explains why supplied post brackets do not necessarily include every site fastener. Do not wait until a completed frame is standing to discover that nobody has supplied the required anchors.
If excavation, drilling or other site work is needed, assign it before the visit and confirm the appropriate utility and site checks. Do not drive stakes or begin ground work simply to make the yard look ready. Yardistry’s instructions specifically call for checking underground utilities before digging or driving stakes.
Plan for weather and household access
Ask the installer how weather decisions and rescheduling are handled for the job. Share a forecast concern early, but let the crew decide whether conditions allow the planned work. Avoid promising a same-day finish around a storm or assuming that a finished gazebo’s weather rating describes the safety of handling roof parts during assembly.
Keep children and pets away from the work area and arrange a household route that does not pass through staged components. Tell the installer about locked gates, access times and anyone else working on the property. If the route or base becomes muddy, flooded or obstructed, send updated photos rather than relying on the earlier site description.
Do one final walk-through before the crew arrives
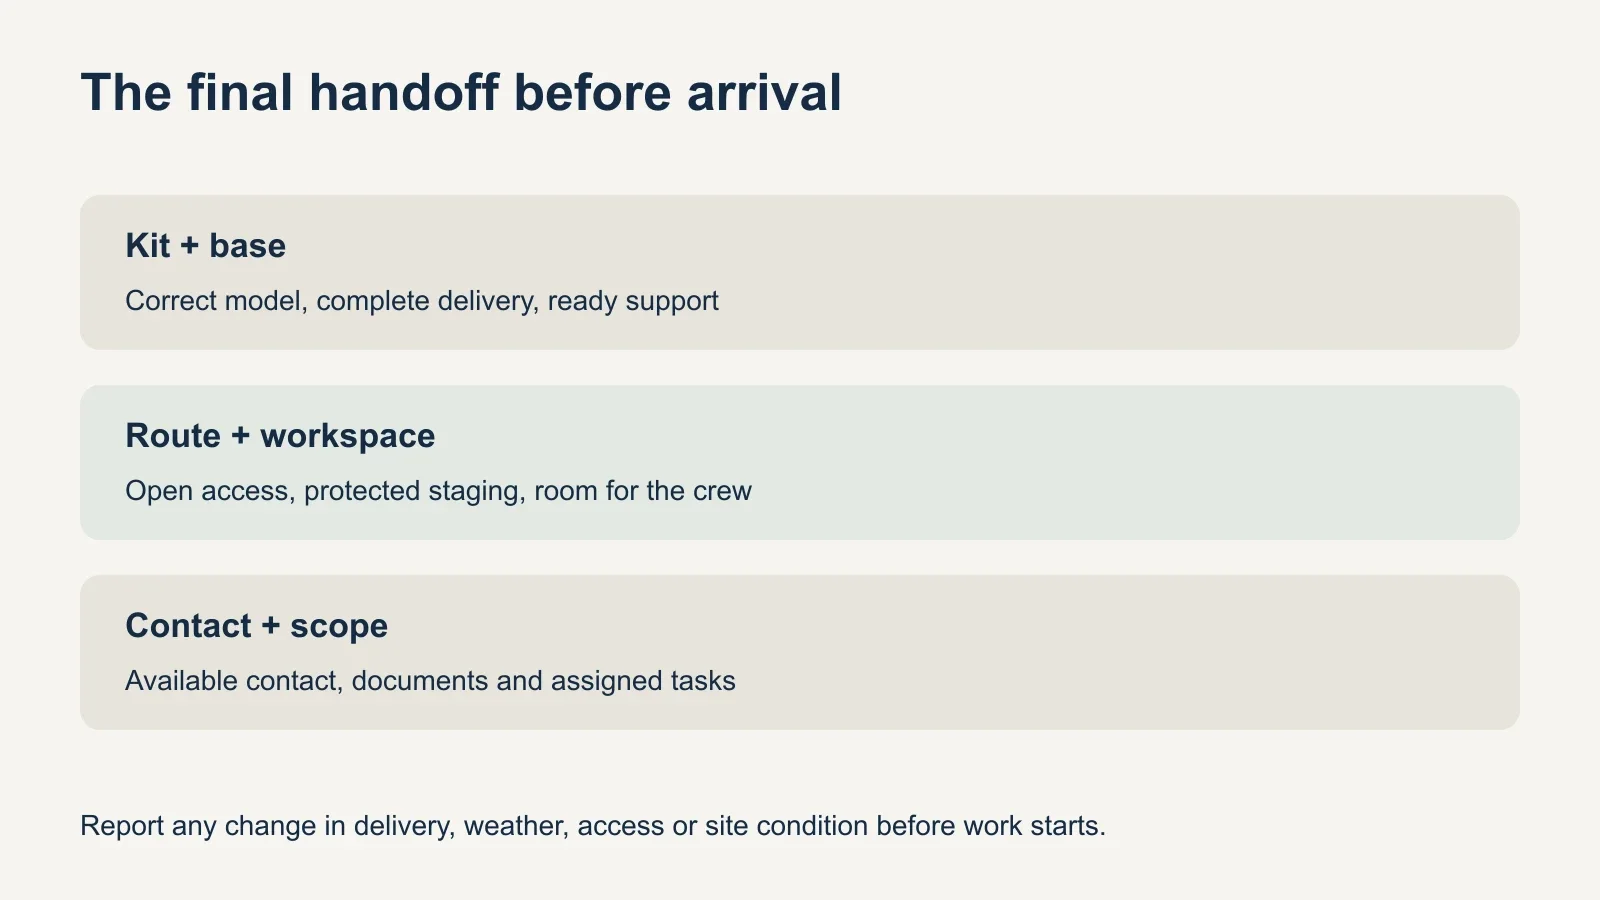
- Confirm the kit and any separately supplied installation materials are accessible.
- Check that the agreed base and post locations have not changed.
- Open the approved access route and remove new obstructions.
- Make the manual, site information and relevant project documents available.
- Confirm the day-of contact and report any unresolved issue before work starts.
For gazebo assembly with UPTask, send the model details and photos of the base, access route and staging area while confirming the appointment scope. A clear handoff helps the team understand what is ready and what still needs attention before the installation visit.