IKEA Missing Parts: How to Get Replacement Screws and Panels
Missing a screw, a panel, or an entire box? Identify the problem, collect the right product details, and choose the appropriate replacement-parts route before resuming assembly.
Table of contents
Check every package before requesting a partSeparate the product number from the fitting numberCheck the current route for replacement screwsRequest panels and larger components with more detailDistinguish missing hardware from parts sold separatelyResume assembly only after checking the replacement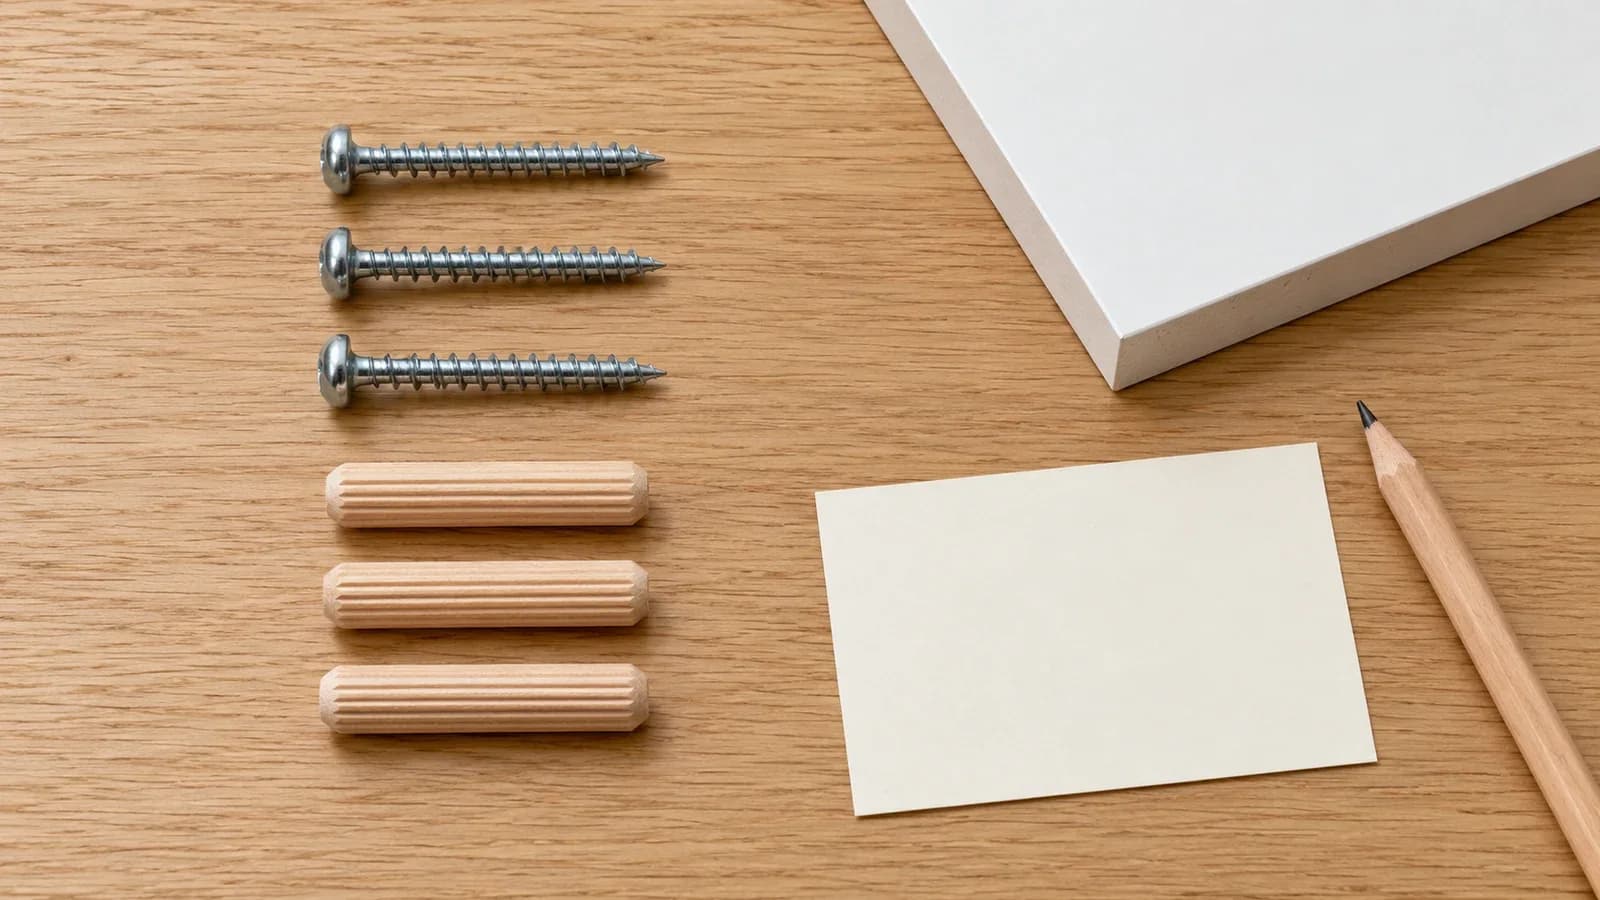
Start by identifying what is missing: a numbered fitting, a larger furniture component, or an entire package. Those problems need different information and may follow different replacement routes. Check the full packaging first, then record the product and missing part before contacting IKEA. A clear request is more useful than a photo of an almost-finished cabinet with the message “something is missing.”
Check every package before requesting a part
Find the package count for your product and compare it with what arrived. Labels such as 1 (2) and 2 (2) identify two packages belonging to the same product. A missing second box can account for several absent panels and fittings at once. For a delivery with a whole package missing, collect the order details and product article number for Customer Support rather than treating every component as a separate spare-parts request.
If all packages are present, inspect the packing folds, cardboard pockets, protective wrapping, and small bags. Keep the empty packaging until you have checked the parts against the instructions. Separate the fittings by shape, then count each type against the hardware list. Two screws that look similar may have different lengths or functions, so avoid combining them into one pile.
Use the assembly guide for your exact product version. On IKEA’s product page, instructions are normally under Product details, then Assembly and documents. Match the product article number where possible, especially if you bought the furniture some time ago. A familiar product name alone may not identify the hardware used in your version.
| What is missing? | Information to gather | Where to start |
|---|---|---|
| One or more small fittings | Fitting part number, quantity, manual page | Check the current spare-parts service or ask store staff |
| A panel, drawer front, or other large component | Product article number, finish, manual reference, photos | Customer Service for identification and availability |
| An entire package from a delivery | Order details, article number, package count | Customer Support for the delivery issue |
| Wall screws or anchors | Product instructions and wall requirements | Check whether they were meant to be included |
Separate the product number from the fitting number
The product article number identifies the furniture or component you purchased. A hardware part number identifies a particular fitting shown in the assembly instructions. IKEA’s guidance describes small-part codes with six or eight digits. Because both product and fitting identifiers can contain eight digits, number length alone does not tell you which one you have. Record what the number labels and where you found it.
Copy the fitting code exactly and add the quantity missing. Include the instruction page or step that uses it. If the drawing shows the fitting from a different angle, compare the complete shape and dimensions shown in the guide; do not select a replacement solely because its head looks similar in a photograph.
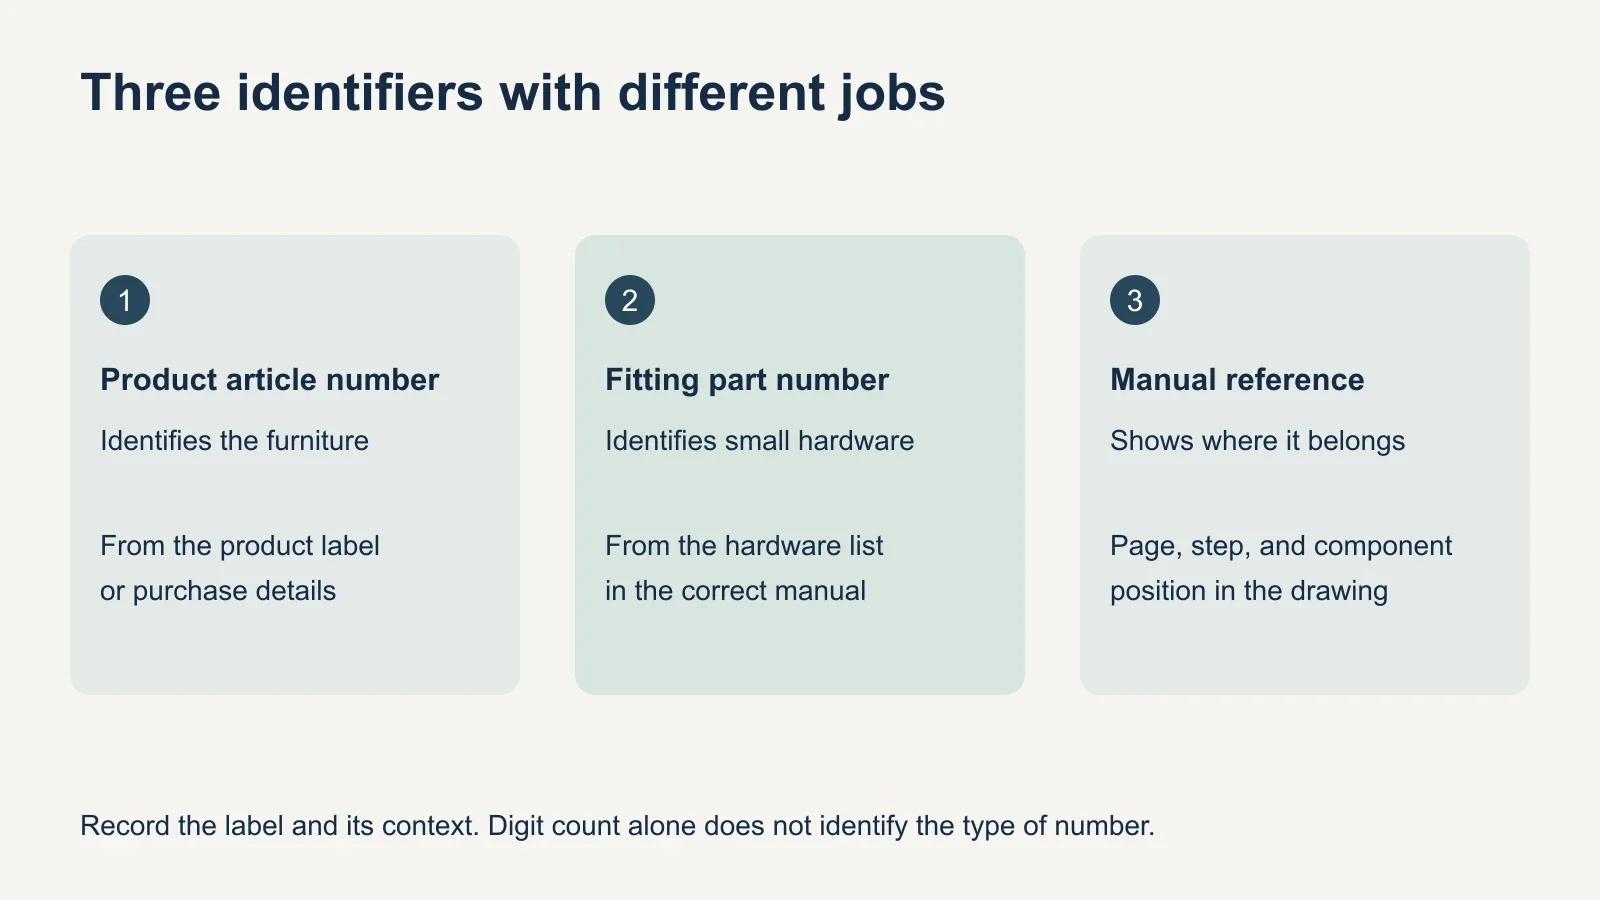
Keep your receipt or order confirmation with this information. For secondhand furniture or an older purchase, record everything you can identify without inventing a product version or date. A missing receipt does not justify guessing the part code, and having a receipt does not establish that every discontinued component is still available.
Check the current route for replacement screws
As of October 21, 2026, IKEA’s US spare-parts page says its online ordering system is unavailable and directs customers to ask a co-worker at their nearest store. Some other IKEA help pages still describe online ordering. Check the current service notice before planning around a web order. If the online service has resumed by the time you read this, follow the current instructions using the verified fitting number.
While that service is unavailable, ask store staff about the numbered fitting and the quantity you need. IKEA says most stores have a selection of small hardware, but availability varies; Plan & Order points should not be assumed to provide the same service. If visiting is difficult, contact Customer Service to establish the available route before making a trip.
Do not build an assembly schedule around an assumed same-day collection or delivery date. Confirm whether the part can be supplied, the quantity available, any charge, and the expected method and timing. The correct fitting code helps identify the request, but it is not a guarantee of stock or delivery.
Request panels and larger components with more detail
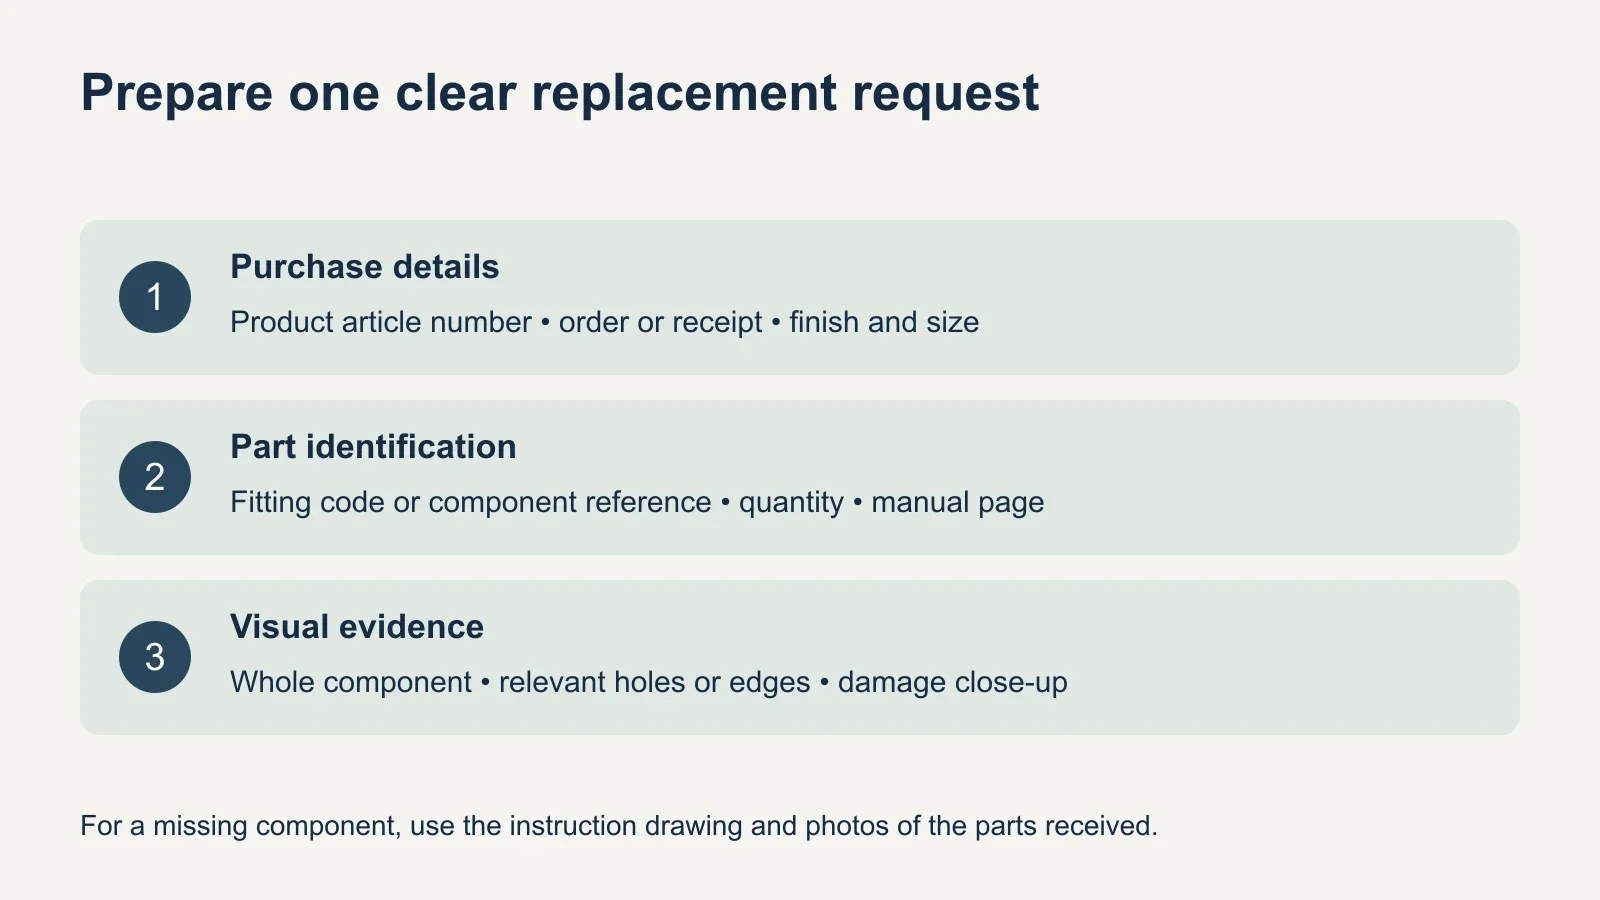
A missing side panel or drawer front may not have a small-part ordering code in the instructions. IKEA directs customers with an uncoded missing part to Customer Service with purchase details and photos. A larger component may sometimes be obtained through a store, but the replacement route, availability, and any charges need confirmation for that item.
Record the furniture’s article number, finish, and size, then identify the component on the instruction drawing. Describe its position in the finished product. If two side panels differ only in their hole pattern, “left side panel” by itself may be ambiguous. Include the relevant manual page and a clear view of the holes or edges that distinguishes it from the other side.
For a damaged part, photograph the whole component and take a closer image of the damage. For an absent part, photograph the parts you received and mark the missing component in a copy of the instruction drawing. Keep any remaining labels legible. These details help staff assess the request without relying on a guess about color or orientation.
If a store asks you to bring a damaged component, confirm what is required before transporting a large panel or dismantling a stable unit. Ask whether the request concerns one component, a package, or another resolution. Do not assume that a replacement will be free, that a particular finish remains available, or that a whole furniture return is necessary.
Distinguish missing hardware from parts sold separately
Wall screws and anchors are a common source of confusion. Some furniture instructions require wall attachment while leaving the wall fasteners to be selected for the specific wall. An empty anchor bag is not the right conclusion if the product never included those fasteners. Check the package contents and fastening notes before reporting them as missing.
That distinction does not make the wall attachment optional. Follow the product’s instructions and establish suitable fasteners for the actual wall. If an anti-tip bracket, strap, or other specified included component is missing, identify that item separately. Our wall-anchoring guide explains which furniture situations need this planning.
Do not use partially assembled furniture while waiting for a required structural or safety component. Keep loose panels protected from damage and out of walkways. Avoid improvising a temporary joint with tape, adhesive, or spare screws from another product. If the incomplete assembly cannot be left stable, arrange a safe stopping point before leaving it unattended.
Resume assembly only after checking the replacement
- Check the delivered part against the confirmed code or component description before discarding its packaging.
- Compare its shape, quantity, finish where relevant, and hole pattern with the correct instructions.
- Inspect for shipping damage before installing it.
- Confirm that every part needed for the next assembly stage is now present.
- Resume using the manufacturer’s instructions and complete all required safety steps before use.
If an assembler has already visited, send the verified part details and delivery update before arranging a return. This prevents a second appointment from starting with the same unresolved shortage. Keep the manual and remaining hardware together, and use our assembly-space checklist to prepare the work area.
Need help completing the furniture once the replacement is ready? Share the product name, article number, current assembly stage, and photos when arranging furniture assembly assistance. A precise brief helps the installer understand what remains to be done.