Which Furniture Needs to Be Anchored to the Wall? A Homeowner’s Guide
Dressers, wardrobes, bookcases and other storage furniture need attention. Use the manufacturer’s instructions and a room-by-room check to plan the right restraint.
Table of contents
Check storage furniture throughout the homeDo not use size, weight or age as the safety testMatch the restraint to the furniture and wallPlan the final position before fasteningTreat the television as a separate itemUse a clear handover checklistRecheck after moving furniture or changing the room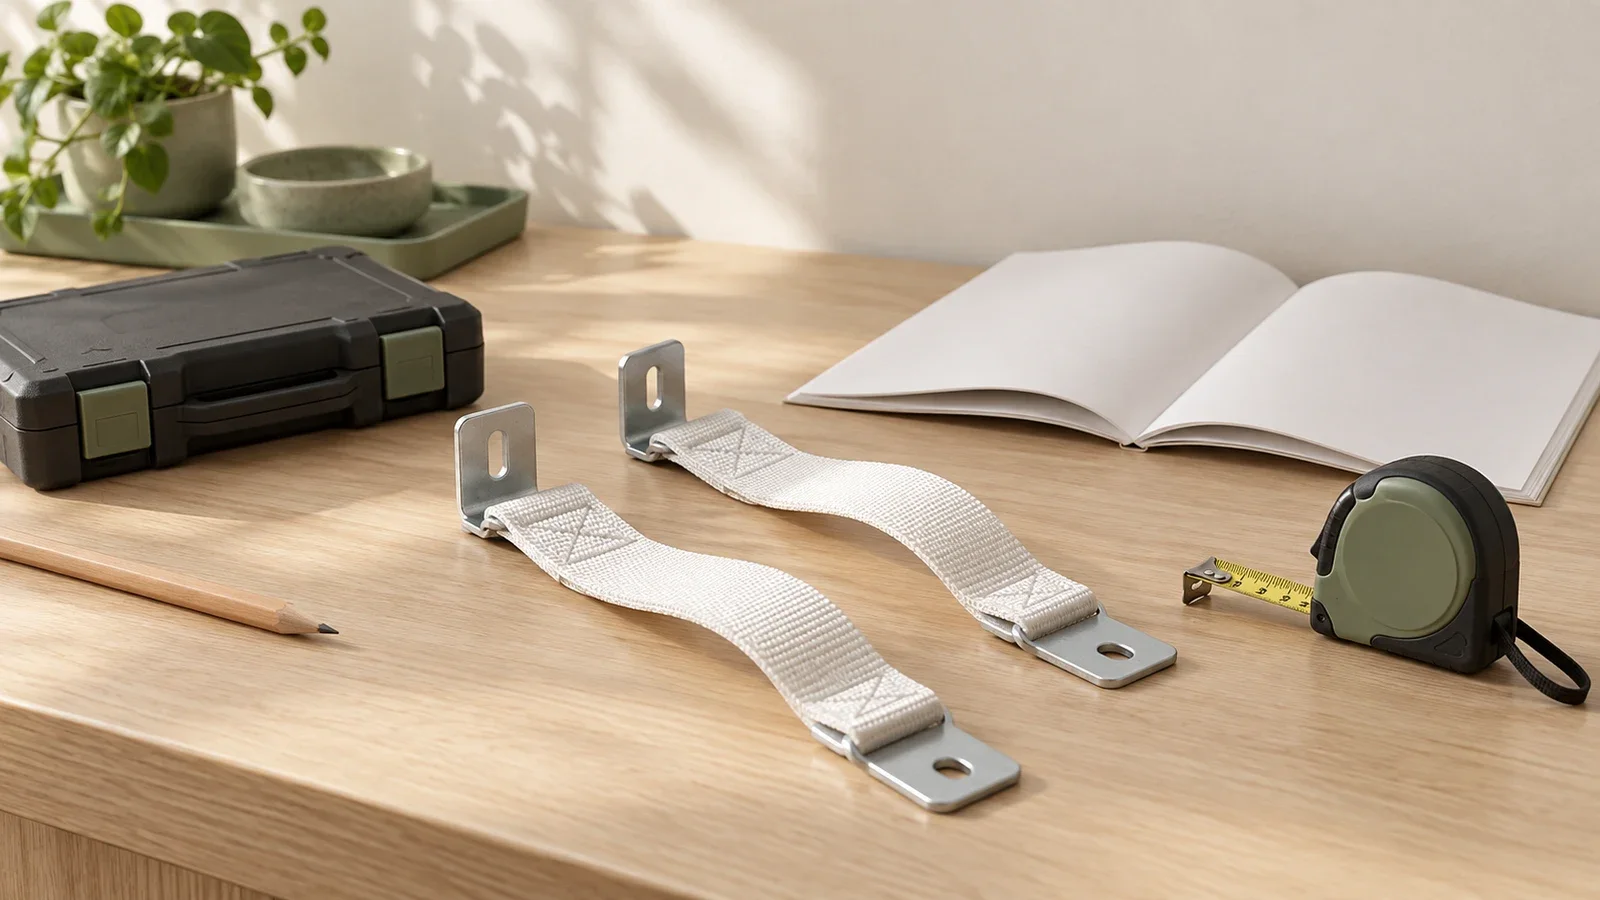
Plan to anchor dressers, wardrobes, bookcases and other furniture with drawers, doors or shelves to the wall, following the product and restraint instructions. This reflects the U.S. Consumer Product Safety Commission’s Anchor It! guidance. Also secure televisions using an appropriate mount or restraint. Do not decide that a piece is exempt because it is heavy, wide or standing steadily when nobody is touching it.
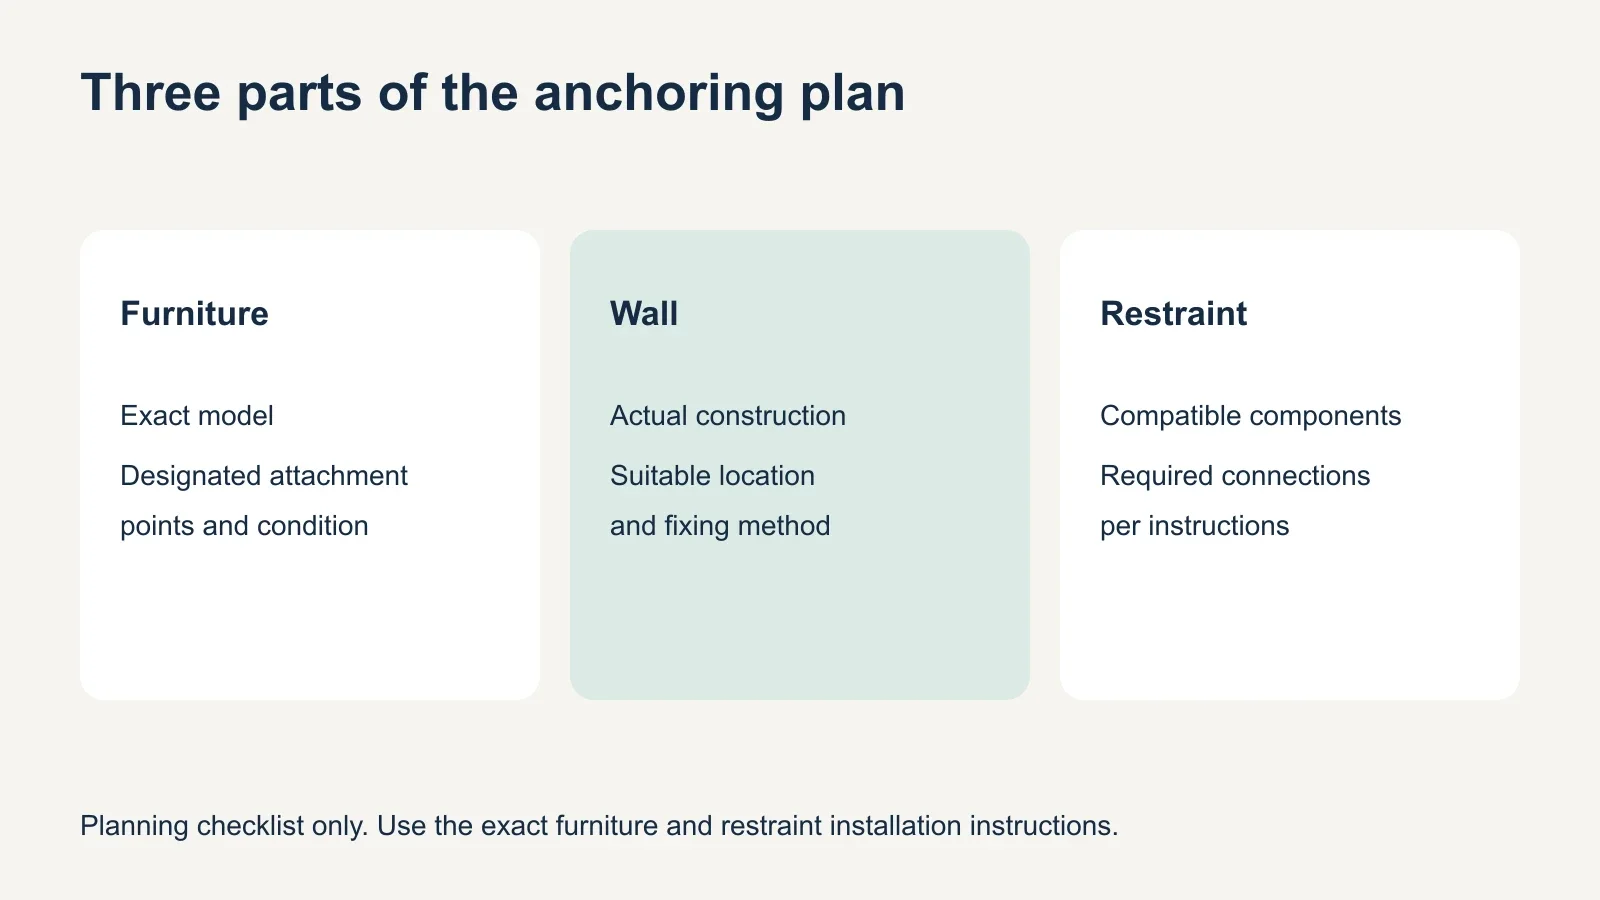
Start with the furniture’s exact instructions and the wall where it will stand. The attachment points, restraint and wall fasteners must work together. This guide helps you identify the items and information needed for that plan; the installation details come from the relevant manufacturer and a qualified installer when the wall or furniture is uncertain.
Check storage furniture throughout the home
Walk through each room, including the entry, home office and guest bedroom. Do not limit the check to furniture sold for children. Anchor It! notes that tip-over incidents can involve different prices, qualities and intended uses of furniture. A cabinet used for craft supplies still deserves attention even if it is outside a bedroom.
| Item | Planning decision | Information to confirm |
|---|---|---|
| Dresser or chest of drawers | Plan secure wall attachment | Exact model, specified restraint and furniture attachment points |
| Wardrobe or armoire | Follow the frame’s wall-attachment requirements | Required fixing locations, wall type and trim clearance |
| Bookcase or shelving unit | Include it in the wall-anchoring plan | Assembly configuration, suitable restraint and permitted loading |
| Cabinet or storage unit with doors | Check the complete unit and its instructions | Whether sections connect and which sections require attachment |
| TV and media furniture | Secure the TV and assess the stand separately | TV-compatible restraint or mount; furniture designed to support a TV |
For IKEA clothing storage furniture, the company’s U.S. safety guidance calls for secure wall attachment with the supplied tip-over restraint and hardware appropriate to the wall. Its separate PAX guidance also requires permanent wall anchoring in accordance with the assembly instructions. A joined row of wardrobes still needs the required wall connections; connecting neighboring frames is a different operation.
For ordinary chairs, sofas, beds and tables without storage, follow the exact product’s instructions instead of applying a cabinet restraint by analogy. Some products have their own mounting, joining or installation requirements. Wall-hung cabinets and floating shelves require load-supporting installation; a freestanding furniture anti-tip strap is not a substitute for that system.
Do not use size, weight or age as the safety test
The Anchor It! kit guide specifically warns that heavy and wide furniture can tip. Its appearance at rest does not tell you how the item will behave with drawers open or a child interacting with it. Avoid setting your own height cutoff or assuming a low, broad dresser is automatically outside the anchoring plan.
New furniture is not a reason to skip the instructions either. In its announcement of the safety standard adopted under the STURDY law, CPSC described stability testing for clothing storage units and still recommended anchoring furniture securely to the wall. A product’s compliance claim should not be treated as permission to omit a required restraint.
Secondhand furniture needs the same model-based check. Locate its label, ask for the manual and inspect the restraint parts. Check manufacturer and CPSC recall information for both the furniture and any separately purchased kit. If an item is recalled, follow the specific recall remedy; adding a generic strap is not a substitute for that remedy.
Match the restraint to the furniture and wall
Keep the supplied anti-tip components when unpacking furniture. Their small size does not make them spare hardware. If parts are missing, contact the manufacturer for the correct replacement or an approved alternative. The restraint instructions should identify the suitable furniture connection and how many attachments are required. Do not choose that number from a general internet rule.
The wall finish alone does not establish the fixing method. Drywall or plaster may cover different framing, while masonry requires an appropriate approach for the actual material. The Anchor It! installation guide stresses checking the supplies for the wall type and following the kit instructions. Ask an installer to identify uncertain construction and the attachment location before drilling.
Both ends of the connection matter. Anchor It! warns against attaching a furniture bracket to thin material such as a stapled-on back. Use the manufacturer’s designated structural attachment points and compatible hardware. A wall connection cannot compensate for a furniture-side fitting attached to the wrong panel or a damaged frame.
Before the visit, take a wide photo showing the intended position and a closer photo of the baseboard and any visible obstructions. Keep product labels and kit packaging available. These are useful planning records, but a photo cannot confirm everything inside a wall. The installer may still need an on-site assessment before selecting or fitting hardware.
Plan the final position before fastening
Decide which wall and room the piece will occupy before the attachment work. Measure trim and identify nearby outlets, switches and other obstacles. If a baseboard creates a gap, use the product’s approved solution or obtain manufacturer guidance. Do not force the cabinet against the wall or improvise a long unsupported fastener to bridge the gap.
For a PAX installation, the baseboard guide and the wall-type guide explain the questions to resolve before assembly. Share the exact frame version because attachment details can differ. Have the required leveling and joining completed as directed without treating either step as a replacement for wall attachment.
Renters should discuss the intended attachment with the landlord or property manager before arranging the work. Keep the conversation specific: identify the furniture, planned location and installer’s proposed method. If the required attachment cannot be completed, keep the item out of use and resolve the installation or furniture choice. Do not treat an unspecified adhesive product as an equivalent replacement for the required fixing.
Treat the television as a separate item
A secured cabinet does not automatically secure a television sitting on it. Anchor It! recommends furniture designed to hold a TV and either an appropriate wall mount or a compatible restraint for the television. Check both the television setup and the supporting furniture’s requirements. A TV placed on an ordinary dresser creates a different problem from a correctly specified media stand.
List the TV and stand separately when requesting installation help. Include model details for each and state whether you want wall mounting or a supported standing arrangement. This gives the installer a clear scope and avoids a visit where the furniture restraint is ready but the necessary TV fitting has not been selected.
Use a clear handover checklist
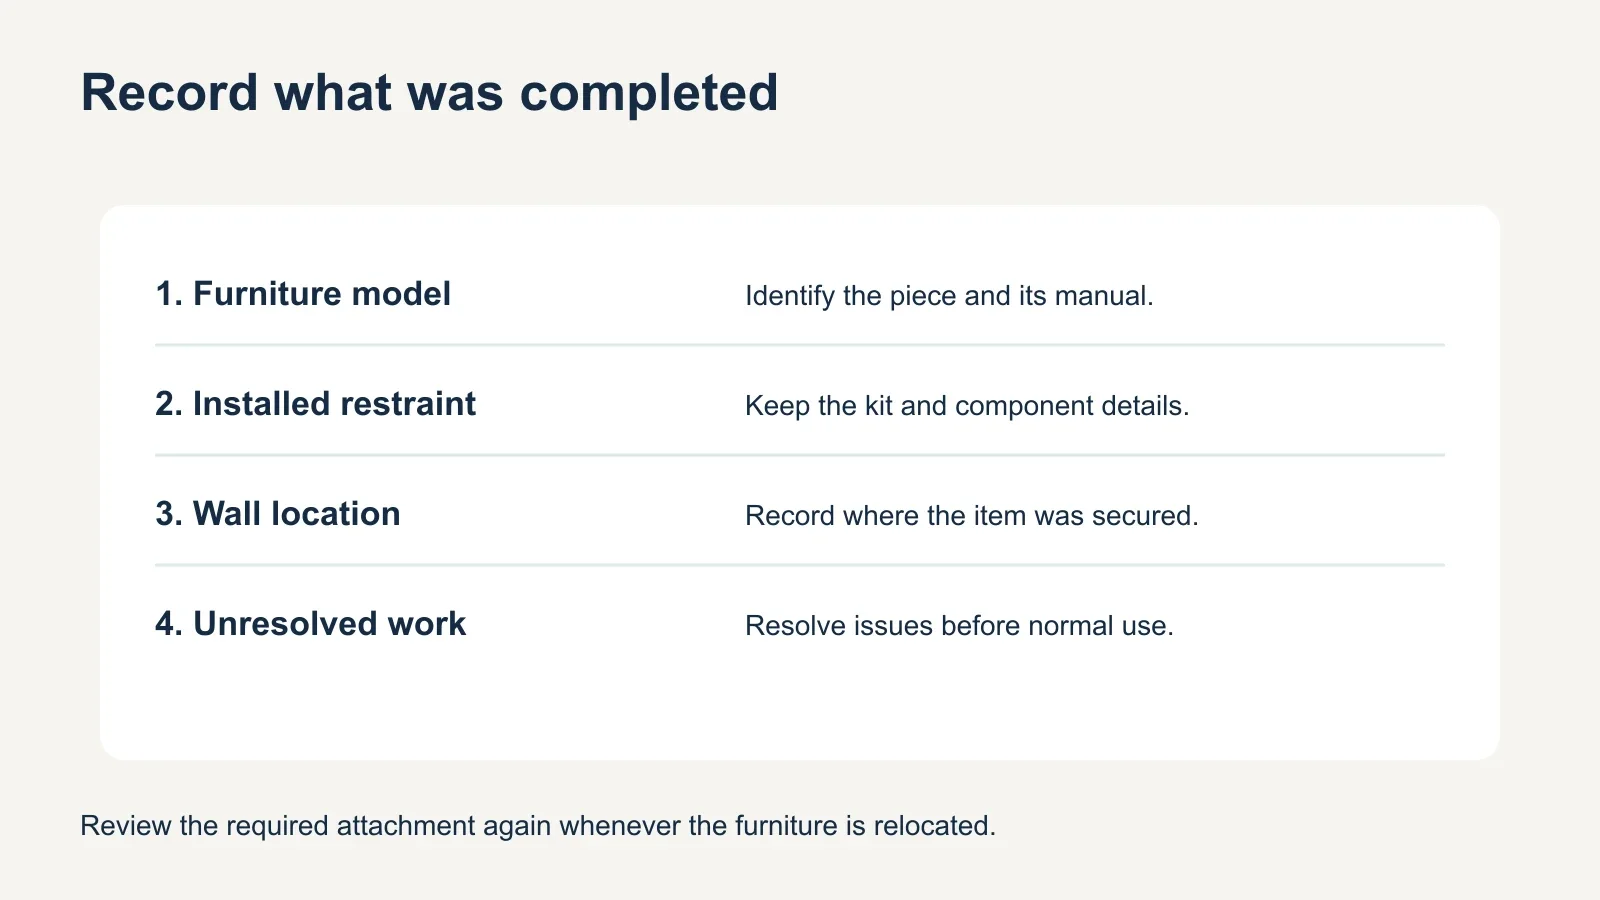
Before calling the room complete, ask the installer to explain what was attached, which instructions were followed and whether any issue remains unresolved. Save the manuals and the restraint’s product details with your furniture records. A useful completion record identifies the actual item and location rather than simply saying that the room was checked.
- Confirm the model and all required restraint components.
- Confirm that the attachment method suits the actual wall and furniture.
- Resolve placement, trim and access before installation.
- Have the specified connections installed and checked according to their instructions.
- Record any damaged parts or unfinished work and keep affected furniture out of use.
- Retain the instructions for future inspection or relocation.
Recheck after moving furniture or changing the room
A restraint disconnected for cleaning or relocation must be restored correctly before the furniture returns to use. Inspect according to the manufacturer’s directions and address loose, damaged or missing components. Do not drag an anchored piece away from the wall while its restraint remains connected. A new location may require a different assessment and suitable replacement wall hardware.
Use the furniture as intended after installation. IKEA recommends placing heavier contents in lower drawers and keeping children from climbing or hanging on doors, drawers or shelves. These practices complement secure attachment; they do not replace it. Avoid treating supervision as the only protection, especially in rooms used by visiting children.
When arranging furniture assembly, include wall attachment in the discussion from the start. Send the model, room photos and any known wall details, then confirm the kit and installation scope. Completing the required restraint is part of making the furniture ready for the room, so it belongs in the plan before the final drawer closes.