Can IKEA PAX Be Installed on Drywall, Plaster or Metal-Stud Walls?
These wall types do not automatically rule out PAX. The frame, wall layers, supporting structure and fixing method must be assessed together.
Table of contents
Identify the surface and the structure behind itDrywall: check where each fixing will actually goPlaster: find out what supports the finishMetal studs: use a method assessed for the partitionDo not turn an anchor rating into a wardrobe guaranteeResolve room conditions before the wall is hiddenSend an assessment brief instead of an anchor guess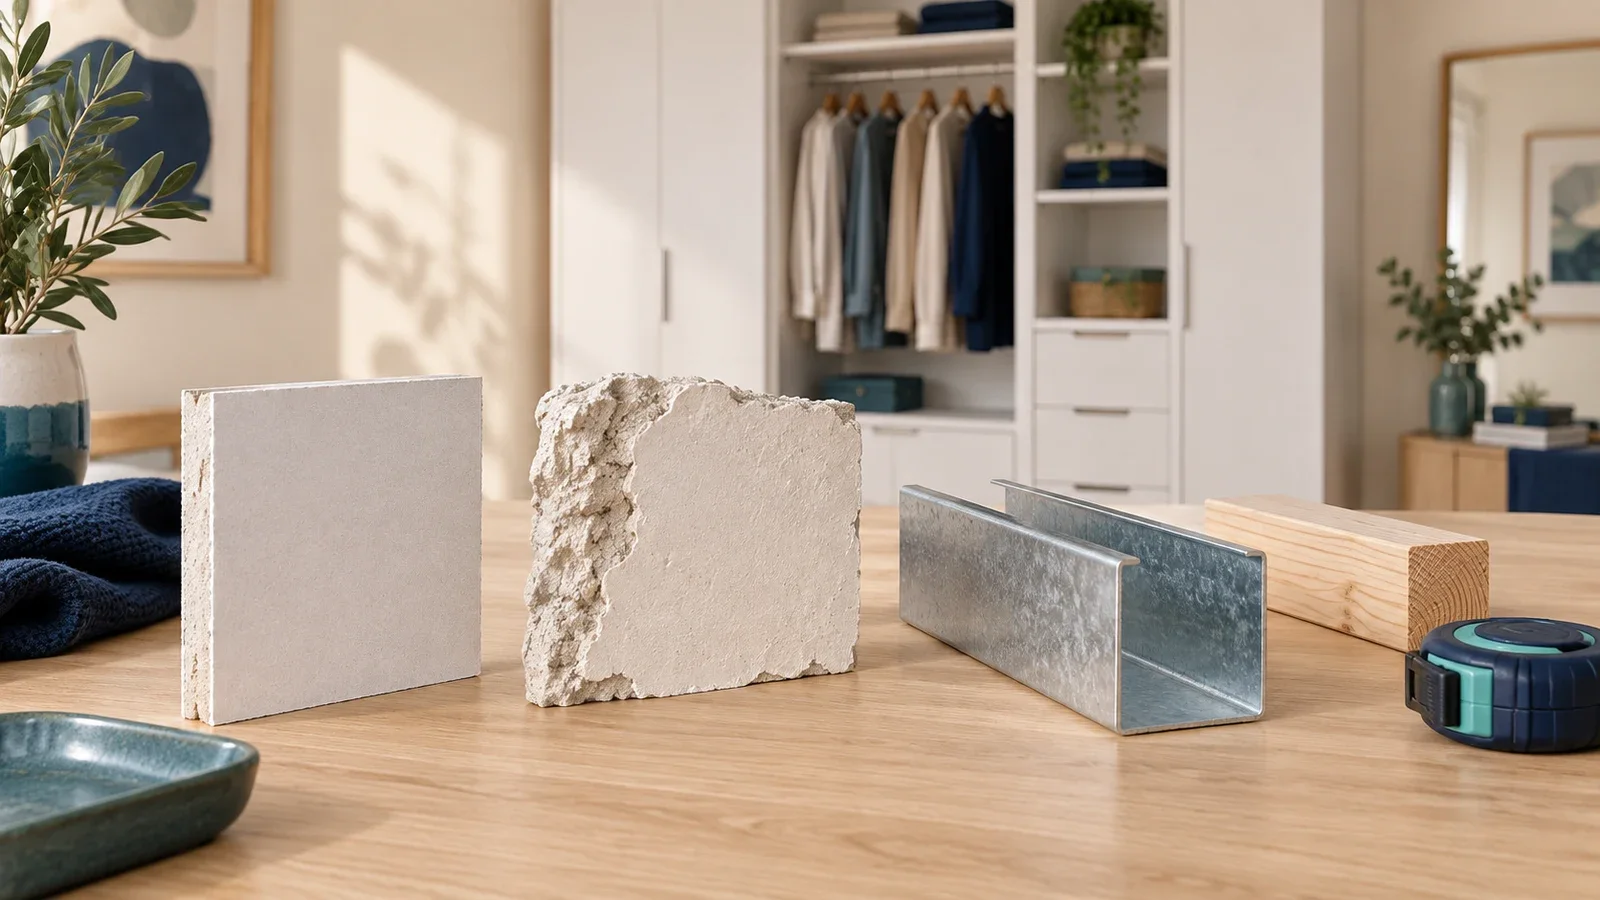
PAX can often be installed against drywall or plaster walls, and metal framing is not an automatic disqualification. The deciding factor is whether the exact frame can be attached using a suitable method for the complete wall construction. Drywall and plaster describe surface systems; metal studs describe framing behind them. Identify both, check the wall’s condition, and confirm the fixing plan before assembly. No single anchor is appropriate for every wall carrying the same label.
Identify the surface and the structure behind it
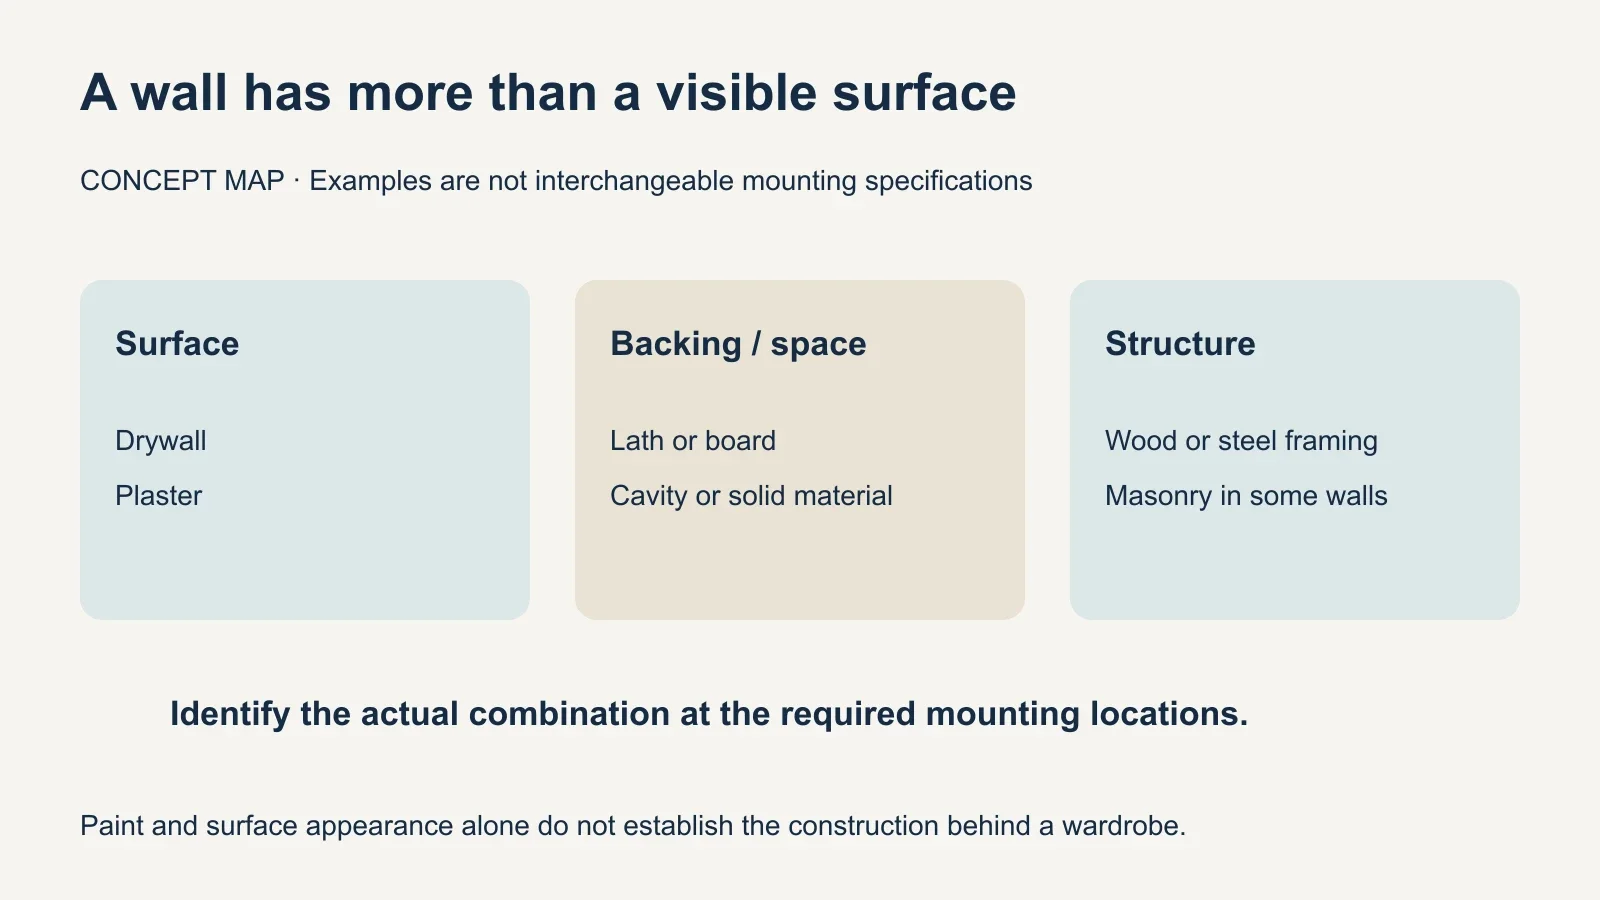
A painted wall can hide several different arrangements: drywall on wood studs, drywall on steel studs, plaster over lath, or plaster over masonry. These combinations do not behave as interchangeable anchor locations. Knowing that a room has drywall leaves important questions unanswered, including its thickness, condition and backing at the proposed fixing points.
Start with information already available: building drawings, renovation records, or details from the property manager. Photographs help show the intended location, trim and visible damage, but they cannot confirm hidden construction on their own. A competent installer should verify the conditions relevant to the proposed attachment rather than choose hardware from the paint finish.
| Wall condition | What needs confirmation | Avoid assuming |
|---|---|---|
| Drywall with wood framing | Usable stud positions, wall layers and frame mounting layout | Every required fixing point lands on a stud |
| Drywall with no usable stud at a fixing point | Suitable hollow-wall method for the exact installation | Any plastic plug or advertised load rating is sufficient |
| Plaster wall | Plaster base, framing or masonry, thickness and condition | The hard surface is solid masonry all the way through |
| Metal-stud partition | Wall layers, steel framing and compatible fixing method | A wood-screw method transfers directly to steel |
Drywall: check where each fixing will actually go
IKEA’s PAX anchoring guidance distinguishes drywall or plaster with an available wood stud from drywall without an available wood stud. That is a useful starting point: fastening into sound wood framing is a different situation from fastening in the cavity between framing members. The exact wardrobe instructions and wall conditions still determine the installation.
Mark the proposed wardrobe location before evaluating mounting points. A stud somewhere along the wall is not necessarily aligned with the frame’s required connection. Door clearance, adjacent frames and room dimensions may limit how far the system can shift. Do not move or add holes in a mounting rail simply because that appears to solve the alignment problem; get a suitable plan for the supplied system.
A hollow-wall anchor must be compatible with the wall material, total thickness, space behind it and the attached hardware. Those details are part of selecting and installing it, not optional refinements. If a usable fixing cannot be established at a required position, discuss a different layout or properly designed backing with the relevant installer before proceeding.
Consider two rooms with identical-looking drywall. One may offer sound wood framing at the intended mounting locations; the other may have a cavity there and an old repair patch nearby. The shopping list for the first room is not evidence that the same installation will work in the second. Record the actual condition at the required locations.
Plaster: find out what supports the finish
Plaster is not a single wall construction. USG’s plaster-system documentation describes substrates including metal lath, gypsum base and masonry. Older homes can also have wood-lath plaster. The surface may be hard while the material behind it is a cavity or framing, so hardness alone does not identify the correct fixing.
For plaster with usable wood framing, IKEA’s general PAX anchoring guidance identifies direct attachment into the stud as one case. Other arrangements need their own assessment. In particular, finding a narrow strip of wood lath is not the same as confirming a framing member suitable for the planned connection.
Show the installer visible cracks, loose areas, previous anchor holes and repair patches before the wardrobe covers the wall. If the wall cannot provide suitable support in its present condition, address the repair or backing first. Do not assume that choosing a larger fastener will resolve an unsound substrate.
Avoid exploratory drilling just to settle what the wall contains. Use a planned identification process that accounts for concealed services and the condition of the finish. When information is incomplete, an assessment visit can be more useful than arriving with a fully assembled wardrobe and a guessed set of plugs.
Metal studs: use a method assessed for the partition
Metal-stud walls require a fixing approach suitable for the steel framing and wall layers involved. A wood screw selected for a wood stud does not become appropriate merely because a detector has found a vertical member. The material and configuration at that location matter.
Manufacturer documentation shows why the details cannot be skipped. TOGGLER’s SNAPTOGGLE technical flyer presents separate test conditions for drywall alone and drywall with a specified steel stud, and warns that substrate condition affects holding strength. That demonstrates the importance of matching an application; it is not a blanket recommendation to install that product on every PAX rail.
For a metal-stud partition, ask the installer to confirm the relevant framing details, available cavity space and compatibility with the wardrobe hardware. Where additional backing or another support arrangement is proposed, it needs a complete design for the wall and furniture. A row of guessed fasteners is not a substitute for that assessment.
Do not turn an anchor rating into a wardrobe guarantee
A package’s maximum weight figure applies to stated test conditions, not every finished installation. An anchor’s grip range, required cavity clearance and compatible bolt are separate requirements. The mounting arrangement must satisfy all relevant conditions, including the wall and the furniture connection.
TOGGLER’s technical guidance distinguishes ultimate test loads from recommended working loads and identifies substrate condition as a factor. Do not add several maximum ratings together and declare the wardrobe safe. This article does not calculate a PAX anchoring load or specify an anchor count, screw size or drilling pattern.
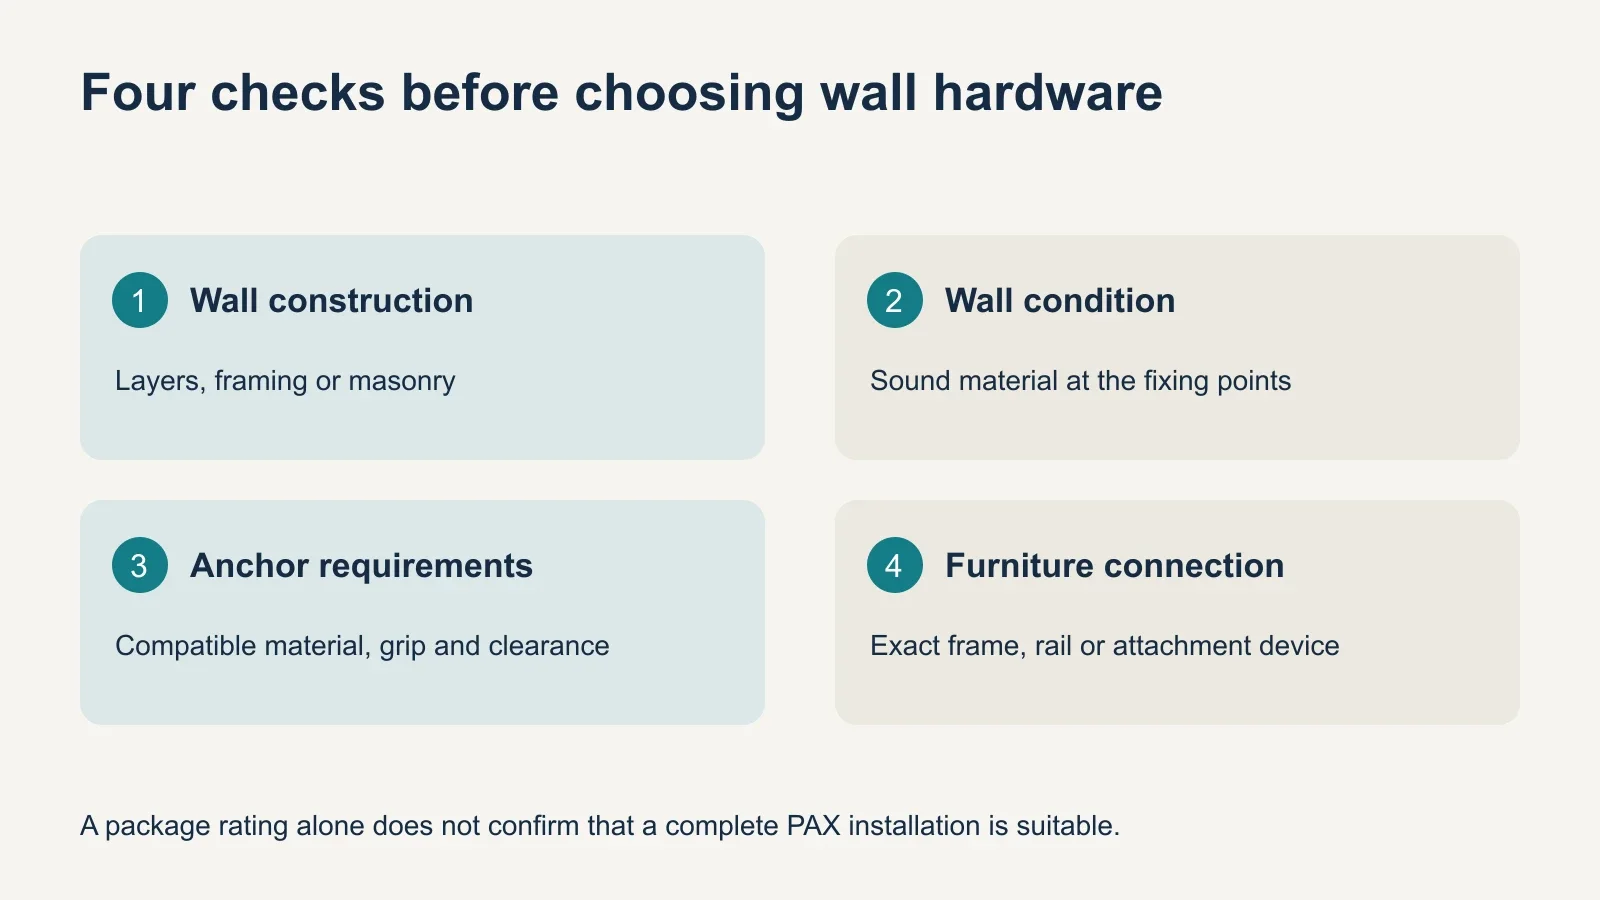
The current U.S. foldable PAX frame uses a wall rail, while older frames have different attachment details. Keep the matching manual available during the assessment. A successful installation of an older wardrobe elsewhere does not establish that a different frame and wall can use the same hardware.
Resolve room conditions before the wall is hidden
Baseboards can create interference or a gap, while an uneven floor can affect alignment and support. Resolve those issues without pulling the wardrobe out of shape with wall fixings. The PAX baseboard guide explains the trim measurements worth taking before installation.
Check the complete wardrobe footprint and the required ceiling clearance before accepting a revised position. Moving a frame to reach a suitable fixing location can change door clearance or its relationship to a corner. Treat the layout and the wall connection as one coordinated plan.
If the property requires permission for holes or wall alterations, resolve that before assembly. Also identify outlets and other features near the intended mounting area so the installer can plan the work appropriately. No surface category, including drywall, makes it sensible to drill into an unassessed location.
Send an assessment brief instead of an anchor guess
- Furniture: article numbers, frame dimensions, number of sections and matching manuals.
- Location: a whole-wall photo, room measurements and planned frame positions.
- Wall: known finish, framing or masonry, available records and any uncertainty.
- Condition: visible damage, prior holes, patches and proposed wall changes.
- Constraints: trim, nearby services, access and permission to drill.
- Scope: who confirms the mounting method and completes any preparation.
For a Bay Area project, include that brief with your wardrobe assembly request. UPTask describes fitting suitable supplied anti-tip hardware when appropriate for the wall. That wording does not promise that custom backing, wall repair or every unusual partition is covered by standard assembly.
Ask for any preparation to be identified separately from the furniture build; the PAX assembly cost guide helps explain that scope distinction. Proceed when the exact frame, wall construction and suitable attachment method are established. If any of those remain unknown, resolve the assessment before treating the wardrobe as ready to use.