How Long Does It Take to Assemble a Dresser?
Drawer count helps, but it does not tell the whole story. Compare published time estimates and plan through drawer fitting, wall restraint and final checks.
Table of contents
Use published times as context, not a countdownThe cabinet is only one part of the buildBuild required safety steps into the schedulePrepare a useful workspace before opening the kitRecognize a delay that needs actionGive the assembler enough information to estimate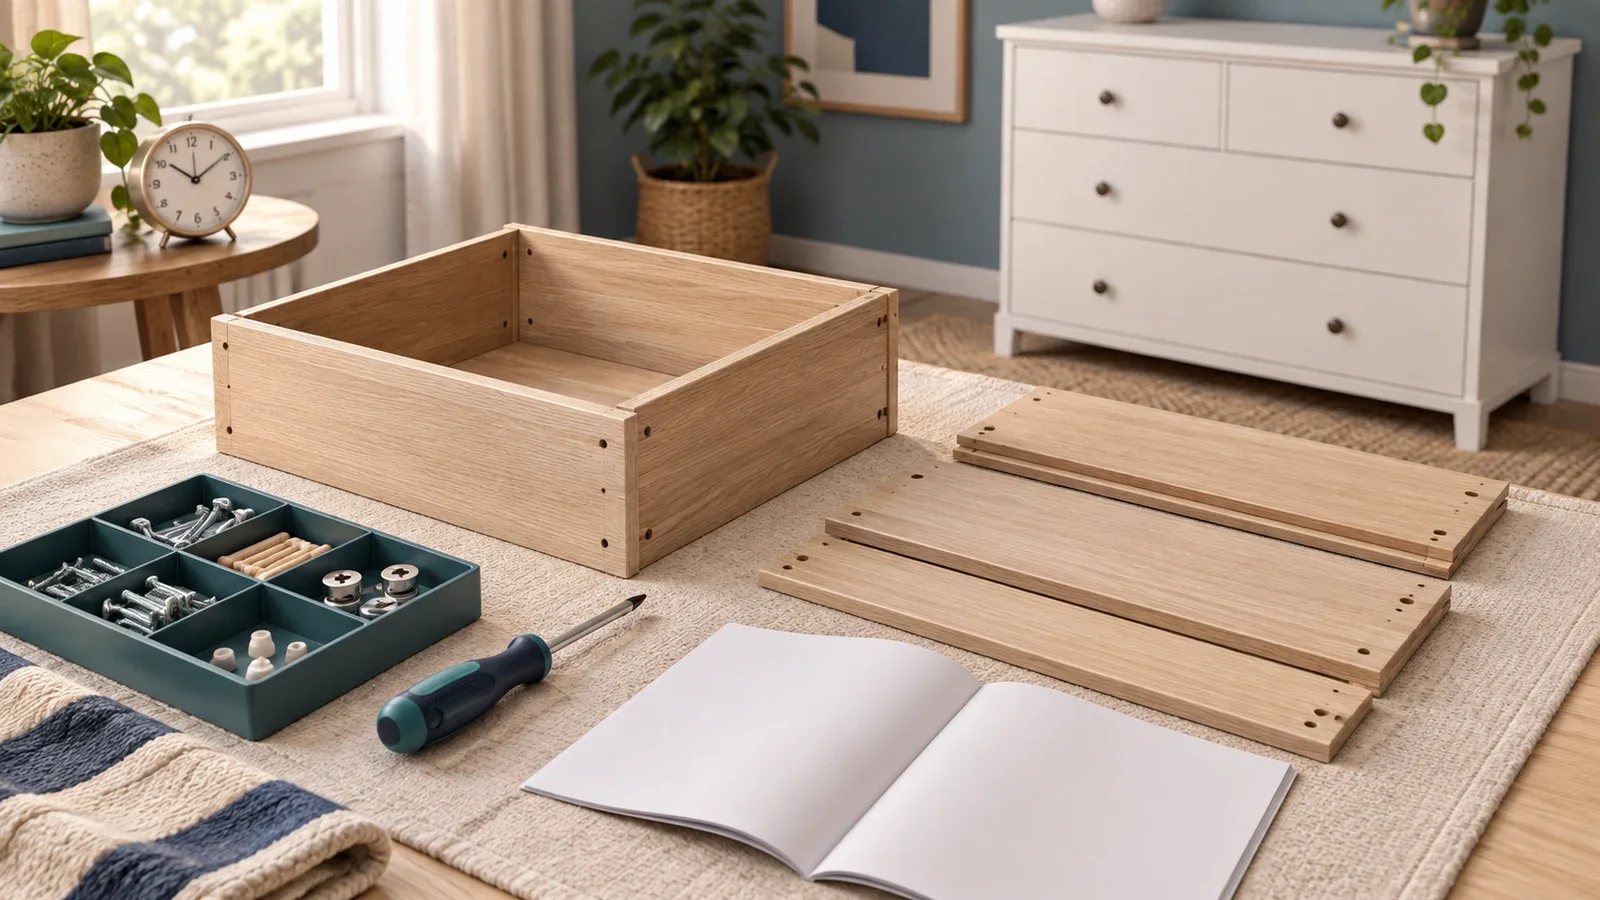
Allow several hours for a first-time dresser build, and ask for a model-specific estimate when hiring help. As one published reference, Duurs lists 1–2 hours for professional assembly of a six- to eight-drawer dresser and 2.5–4 hours for a first-time DIY build. Other providers publish shorter estimates. These are planning examples, not a measured national average or an UPTask time promise; construction, preparation and completion steps matter as much as drawer count.
Use published times as context, not a countdown
The table compares two providers’ guidance checked September 26, 2026. Duurs published its guide September 5; Flat Rate Assembly’s NYC guide is dated April 28. Neither row identifies your exact dresser, so the figures should help frame a scheduling conversation rather than establish a deadline for an unfamiliar kit.
| Source and dresser | Professional estimate | First-time DIY estimate |
|---|---|---|
| Duurs: six to eight drawers | 1–2 hours | 2.5–4 hours |
| Flat Rate Assembly, NYC: six drawers | 30–45 minutes | 90–120 minutes |
The difference is substantial. It would be misleading to average these ranges and call the result a universal six-drawer assembly time. Ask which model, preparation and finishing steps a quote includes. A provider familiar with your exact dresser can make a more useful estimate than a general furniture table.
Drawer count still helps describe the project: every drawer box must be built and fitted. But a newer safety mechanism, a different back-panel system or a wide cabinet with several internal divisions may change the work. Even two products sold under the same series name can have different sizes or revisions.
The cabinet is only one part of the build
Seeing the outer frame standing can create a false sense of progress. The remaining drawer boxes, slides, fronts, handles and final checks may represent many separate tasks. Plan around the sequence in the manual instead of estimating completion from how much the furniture resembles the finished photograph.
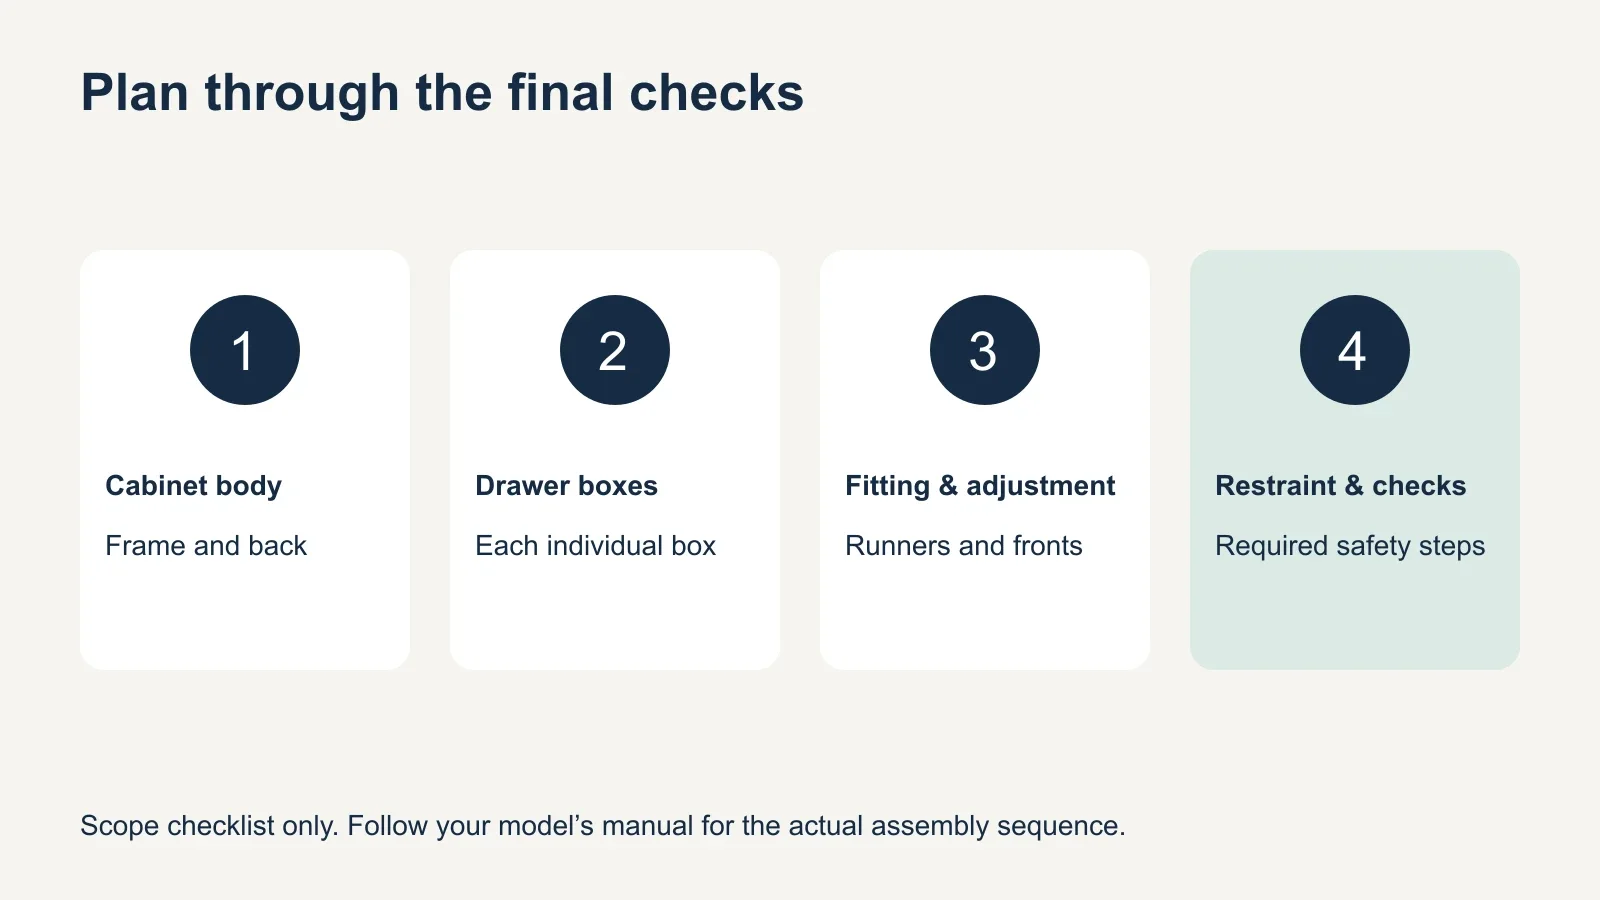
- Cabinet body: base, side panels, dividers and supplied back panel.
- Drawer boxes: individual sides, bottoms, backs and fronts.
- Fitting: runners, handles and the specified drawer installation.
- Completion: drawer checks, required wall restraint and work-area tidying.
Do not assume that reaching the drawer stage means only a few minutes remain. The first drawer may require careful instruction checking, and different drawer positions can use different parts. Sorting components by the manual’s identifiers is more useful than forcing every similar-looking panel into one pile.
Build required safety steps into the schedule
For some dressers, wall attachment is linked to drawer operation as well as tip-over prevention. IKEA’s U.S. VIHALS six-drawer model 904.832.49, for example, uses an Anchor and unlock feature: the manufacturer says the chest must be anchored before more than one drawer can open at once. The product page also explicitly requires secure anchoring with suitable wall hardware.
Decide where the dresser will remain before work begins. Keep the supplied restraint available and raise uncertainty about the wall early. If the kit is missing or a suitable attachment cannot be established, more minutes on the calendar will not resolve that preparation problem by themselves.
Prepare a useful workspace before opening the kit
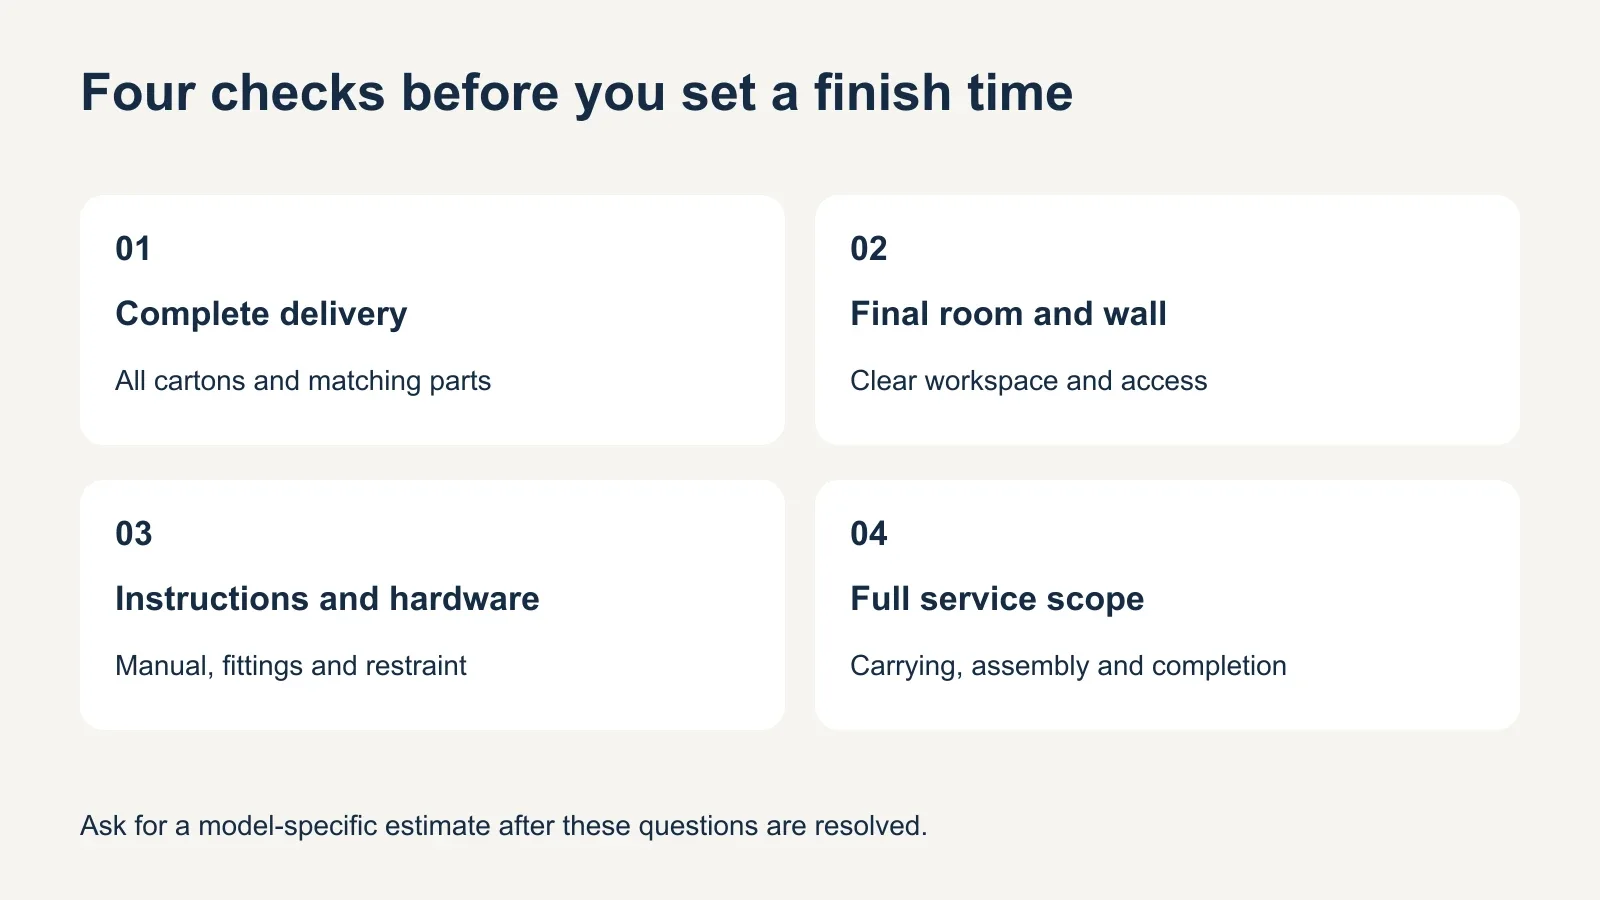
- Confirm that every required carton has arrived and belongs to the same dresser.
- Choose the final room and wall, with room for drawers to open.
- Clear enough floor space for the parts and handling described in the manual.
- Keep the instructions and hardware packets identifiable.
- Arrange any help the manufacturer requires for handling or assembly.
- Report damaged or missing parts before an appointment.
Assembling in a larger room is not automatically a shortcut. The completed dresser may be awkward to move or may not fit through the route to its final location. Check that route before choosing where to build, and follow the manufacturer’s handling instructions rather than assuming the finished cabinet can be carried like a sealed delivery carton.
For a professional visit, make clear whether cartons are already in the assembly room. UPTask lists bringing a boxed dresser from a nearby location into the room as a separate selectable extra. A time estimate for furniture already laid out should not silently become an estimate for carrying, clearing the old furniture and then building.
Recognize a delay that needs action
An unclear diagram calls for checking the matching instruction and part orientation. A missing panel, damaged fitting or absent restraint calls for resolving the parts issue. These situations have different remedies; neither should be hidden inside a promise to “work faster.” Stop before a forced connection damages the furniture or changes its intended construction.
If you have already started the dresser, share its current condition when requesting help. Identify which stages are complete, any parts installed incorrectly and any damage. An unfinished kit can require inspection or correction before normal assembly continues, so a fresh-kit time estimate may no longer describe the job.
For several items, ask for the complete visit duration. A dresser, two nightstands and a bed remain separate builds even when they arrive together. The furniture assembly time guide explains how to discuss the broader schedule, while the furniture assembly category helps identify the separate services.
Give the assembler enough information to estimate
Send the product link or model number, drawer count, finished dimensions and any extra structure. Explain the delivery status, room access and any assembly already attempted. Ask whether the estimate includes carrying, restraint fitting, adjustments and tidying, and distinguish the arrival window from the expected working time.
If the service charges hourly, timing also affects the budget; the furniture assembly cost guide covers the questions to ask about minimums and scope. For a Bay Area dresser, describe the complete kit through the UPTask dresser assembly page and confirm a schedule for that model before planning other commitments around the finish.