Can You Reuse a TV Wall Mount for a New TV? Compatibility Checklist
An existing wall mount may work with a replacement TV, but matching the screen size is only the beginning. Use this checklist before reusing the bracket or its hardware.
Table of contents
Identify the complete mounting systemCompare the limits separatelyChoose hardware for the new televisionInspect the mount and its wall attachmentCheck height, connections and movementPrepare a replacement-TV brief
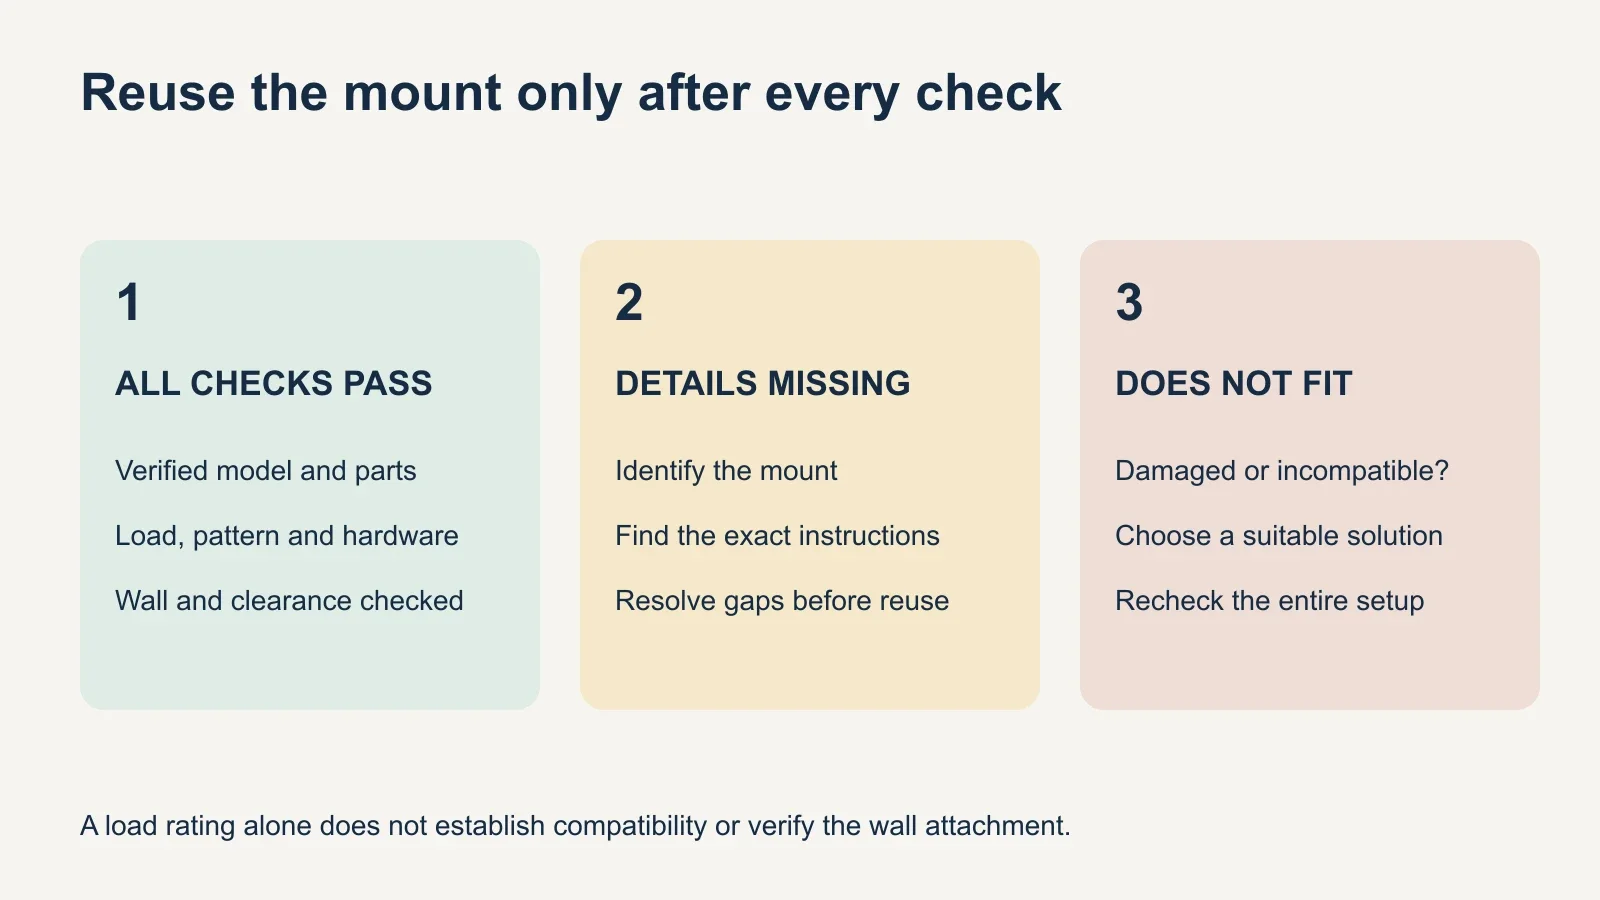
Yes, you can sometimes reuse a TV wall mount for a new TV. The existing mount must support the new model’s weight and mounting pattern, include the correct matching parts, and remain securely attached to suitable wall structure. The replacement TV also needs its own compatible screws and spacers. Start with the mount’s model number and both manuals; a screen that looks about the same size is not enough to establish compatibility.
Identify the complete mounting system
Find the manufacturer and model number on the mount, its paperwork or the original purchase record. Photograph an accessible label without releasing the television. You need the instructions for that exact model, including its wall requirements, supported mounting patterns and locking mechanism. If you cannot identify the mount, resolve that uncertainty before planning to reuse it.
Check the wall plate, TV rails or interface plate, moving arms and retaining parts as one system. Do not mix rails from one mount with another wall plate just because the hooks appear to fit. A rail can sit on a plate without engaging its intended lock. Replacement components need the manufacturer’s confirmation for that particular mount.
Compare the limits separately
| Check | What to confirm | Reason to pause |
|---|---|---|
| Model and parts | Exact mount identification and a complete, matching assembly | Unknown model, missing locks or mixed components |
| Supported load | TV weight without its stand, plus supported accessories | Combined load exceeds the mount rating |
| VESA pattern | Horizontal and vertical hole spacing supported by the mount | Either dimension falls outside the approved patterns |
| TV hardware | Correct screw thread, length and any required spacers | Unidentified screws or uncertain engagement |
| Wall attachment | Suitable wall structure and the specified fasteners | Loose attachment, damage or an unverified installation |
| Fit and movement | Final height, port access and clearance through intended movement | Screen, plugs or arms contact the surroundings |
Look up the replacement television’s weight without the tabletop stand. Add anything the mount will also carry, such as a soundbar and its attachment bracket. For illustration, a 62-pound TV plus 9 pounds of attached equipment totals 71 pounds. That falls below a hypothetical 100-pound rating, but it answers only the load question; it does not approve the mounting pattern, wall attachment or hardware.
Check the mount’s stated screen-size range as well as its load capacity. Then compare the VESA pattern: the horizontal distance between mounting holes followed by the vertical distance, in millimeters. A 400 × 300 pattern is different from 400 × 400 even though the width matches. Confirm both dimensions in the television and mount documentation.
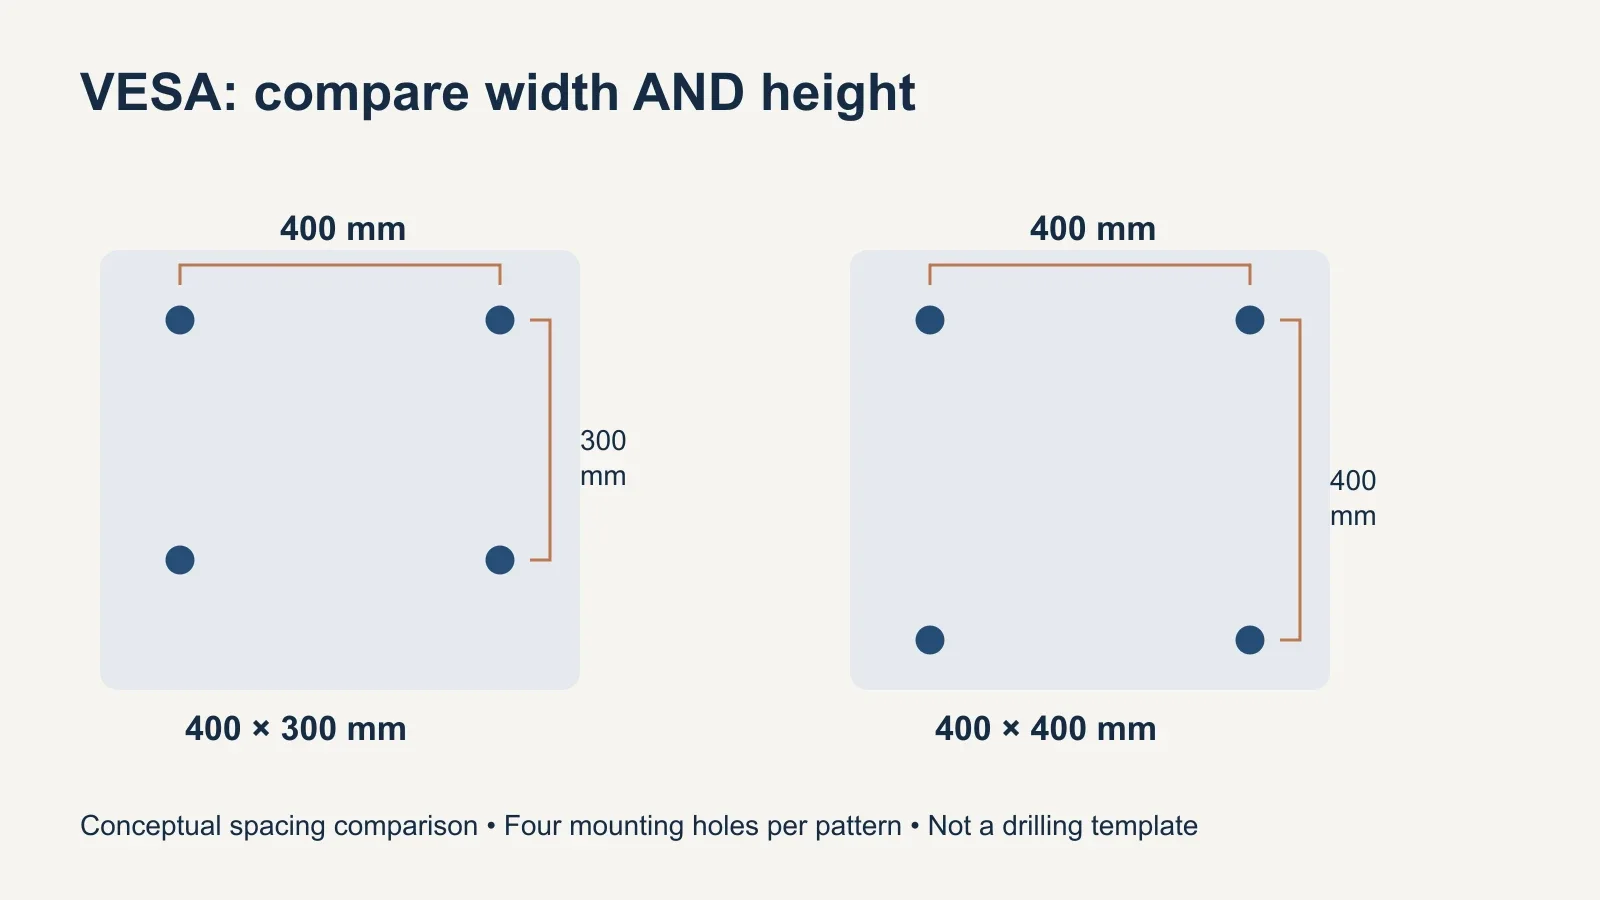
Some mounts accommodate several patterns through adjustable rails. Others need a specific manufacturer-approved adapter. An improvised plate, extra hole or loose combination of brackets is not a substitute for documented compatibility. If an approved adapter is required, include its instructions and any revised limits in the check before ordering parts.
Choose hardware for the new television
Keep the old TV’s screws with that television rather than assuming they belong in the replacement. Thread size, permitted insertion depth and the shape of the back can change between models. A screw that turns into a hole is not automatically the right length, and forcing it can damage the television.
The TV manual and mount instructions determine the screw-and-spacer arrangement. Recessed mounting holes, a curved back or protrusions may require spacers; their thickness changes how much screw enters the TV. The SANUS LL11 instructions, for example, warn that screws must engage adequately and must not be too long. Use that principle with the actual model’s requirements, not a universal screw-length guess.
Inspect the mount and its wall attachment
Look for bent parts, cracks, significant corrosion, damaged threads, missing retainers and unexpected looseness in moving joints. Follow the manufacturer’s guidance if anything is suspect. For example, the SANUS OLL15 instructions say not to use damaged parts and to contact customer service about missing or damaged components. A heavier replacement screen is not a useful test of a questionable bracket.
An old TV remaining on the wall does not prove that the original installation followed the mount instructions. Confirm the supporting structure, fastener type and attachment condition. Wall construction matters: requirements for wood studs, masonry and metal studs differ. Our guide to TV mounting on metal studs explains why that wall type needs a separate assessment.
Moving the mount to another location means assessing the new attachment from the beginning. Do not assume existing holes or removed anchors can be reused. If the wall plate is loose or the supporting structure is unknown, have the attachment checked before hanging the replacement. Avoid pulling on the mount with body weight as a makeshift test.
Check height, connections and movement
The same wall plate can place a new television at a different height because the mounting holes may sit differently on its back. Use the actual screen dimensions and hole position to work out the finished location. The TV mounting height guide can help you relate that location to your seated viewing position.
Check that the mounting hardware leaves the ports, ventilation openings and cable connections accessible. Allow space for plugs without crushing them against the wall. With an articulating mount, a wider screen may hit a side wall or cabinet before the arm reaches its advertised swivel angle. Compare the practical tradeoffs in our fixed, tilt and full-motion mount guide.
Prepare a replacement-TV brief
Collect the details below before arranging the swap. They make it easier to distinguish a straightforward replacement from a job that needs another mount, additional parts or wall work. Include a clear destination for the old television so it can be placed securely after removal.
- The new TV’s exact model, weight without its stand and VESA pattern.
- The existing mount’s manufacturer, model and installation manual.
- Photos of the complete mount, accessible label and wall attachment.
- The TV hardware and retaining parts specified by the manuals.
- Your preferred screen position and any attached soundbar or accessories.
- Access around the TV and a suitable place to set the old television down.
Removal is a separate step with its own release procedure and handling requirements. Read the existing mount’s instructions and arrange enough capable help for the television’s size and weight. Do not loosen the wall plate’s mounting bolts while the TV is hanging on it. If the release mechanism is inaccessible or unidentified, get help rather than guessing.
For help with TV mounting, send UPTask the new TV model and photos of the existing setup. Ask the team to confirm compatibility, removal of the old TV and any additional parts or wall work in the job scope. The goal is a verified fit, secure attachment and usable viewing position—not simply getting a new screen onto the old bracket.